How to Do a Smooth Zoom Transition in Premiere Pro
There are reasons why people prefer creating a zoom transition instead of getting a camera with a massive lens (which can be quite expensive). With the right zoom transition effects, you will be able to deliver a more detailed visual effect without distorting the video. It is also a good way to crop people or things in or out of your video.
What if we tell you that you can combine two scenes while in the zoom transition? Yes, it is possible: this is usually done when you need to introduce two different video zoom transition scenes without letting them out of sight. It is the most recommended when either making the visual comparison or making a closer display of varieties of particular content.
Creating zoom transitions should not be difficult if you are using the right tool. Below, we have created a step-by-step guide on creating a good zoom transition using premiere pro. Premiere Pro is a popular video editing tool by Adobe and is popular among video content creators. Read on.
How to Create a Zoom Transition with Blur in Premiere Pro
How to Add a Smooth Zoom Transition in Video Directly
As easy as we have made the zoom transition premiere pro creation procedure look, it may still look complex to others. This is because it is indeed complex, considering the many adjustable features it comes with. But it can still get better and simpler, but you will need a more innovative tool, a tool like FlexClip.
FlexClip is the world's most innovative tool for creating the best zoom transitions. Aside from having a more simplified feature, it also comes with many zoom transitions to use and other interesting editing features to level up your work. And by the way, there is no download required. Below, we have listed a simple guide to help you create the best zoom transitions. Read on.


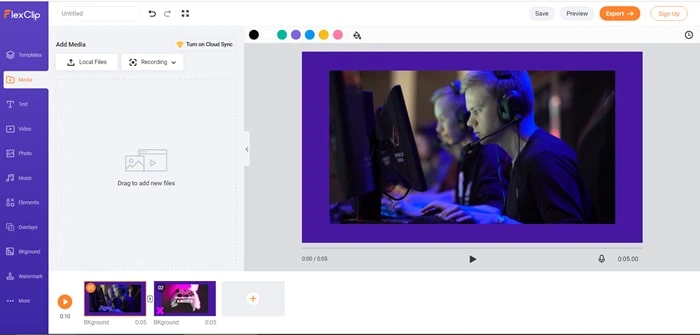
Upload Video Clips to FlexClip
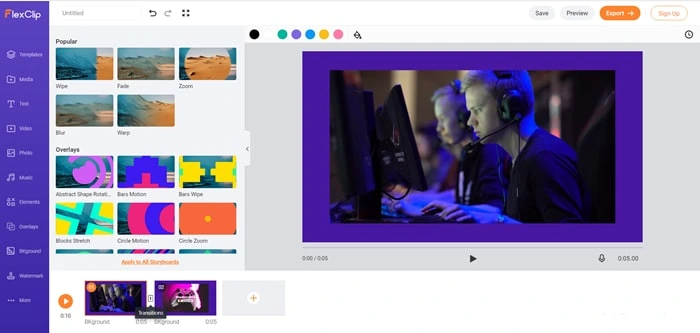
Go to Transition Panel
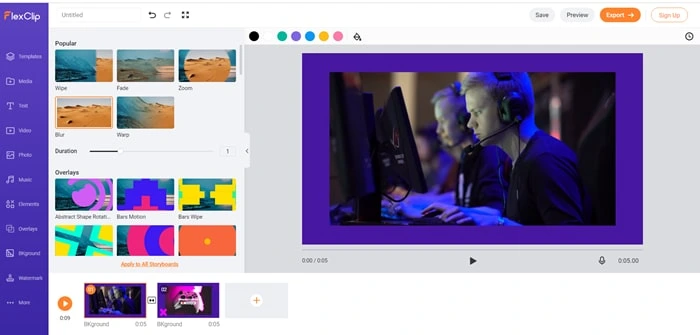
Add One Transition Effect to Your Video
Bottom Line
Although creating zoom transitions using Premiere pro can be tedious, it still works for some people. But it can never be compared to the innovation and simplicity the FlexClip tool brings to the table, hence, the need to stick to FlexClip online zoom transition tool. Finally, we urge you to leverage FlexClip while adding filters, animation, and changing video speed for more enhanced videos.


FlexClip AI Video Maker
Reach professional-quality videos faster with easy editing tools, templates, and smart AI.
Start Now for Free
Hot & Trending
-

Best Ways to Find Music in YouTube Videos
-

Instagram Story Video Quality Bad After Upload? Fix It!
-

How to Repost Video on TikTok & How to Remove TikTok Repost
-

Improve Video Quality Online: 3 AI Video Quality Enhancers You Can't Miss
-

4K Convert to HD 1080p without Watermark: Best 4k Video Converters
-

Top 13 Birthday Video Makers with Music and Effects Free
-

How to Search Filters on TikTok & Use a Filter You See - TikTok Filter Guide
-

Large Collection of Creative and Funny Birthday Video Ideas for Ones You Care