A Lower Third is a graphic overlay used in taking up the title-safe lower section of a video. It is used for displaying the viewer's comments and questions during a stream session. This is often used in the media industry, especially by news presenters, news reporters, etc., to explain further, give more description of the content they are showing to the public on the TV. While some Lower third OBS are textual, others come in an animated form, but in all, they serve one purpose: to provide extra contextual description to video footage.
The Open Broadcaster Software is an open-source, free, and cross-platform deployed while creating a lower third feature. Although there are many ways, techniques, tools to add lower thirds, using the OBS has proven to be much better. This is because it provides animated lower thirds with a dockable control panel which all users can directly add to OBS studio and apply to their videos with ease.
Many tools may offer you the opportunity to use the lower third feature, but sometimes, most of them are just too complicated: too complex to handle. Below, we have listed a guide you should stick to if you wish to come up with a perfect OBS lower third.
How to Set Up An Animated Lower Third in OBS Studio
How To Set Up an Animated Lower Third in OBS Studio
What's a Better Way to Add Lower Thirds to Any Video
Even with the simplified guide on setting up an OBS lower third (as explained above), it still looks a bit complex. Well, that's an OBS tool for you: it can never get any simpler. But what if we'd told you that there is yet another less technical way to do this without going through all the stressful methods.
This is where we would like to introduce FlexClip: the easiest way to add a lower third feature to any video. It is designed with the most appealing lower third templates, is very easy to use, and no downloads or installation is needed. Below, we have listed some simple steps you can follow to add a fine, clear lower third on your video. Click on the Create a Video button and follow.


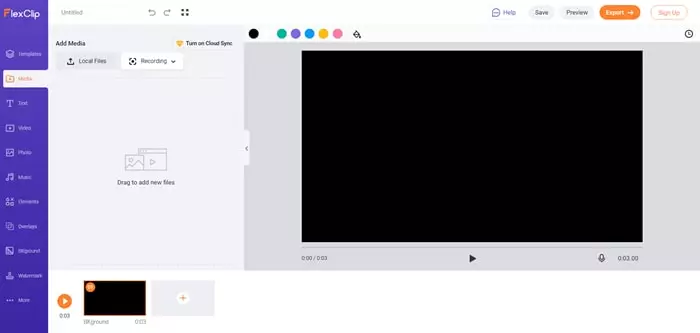
Upload Media Resources to FlexClip
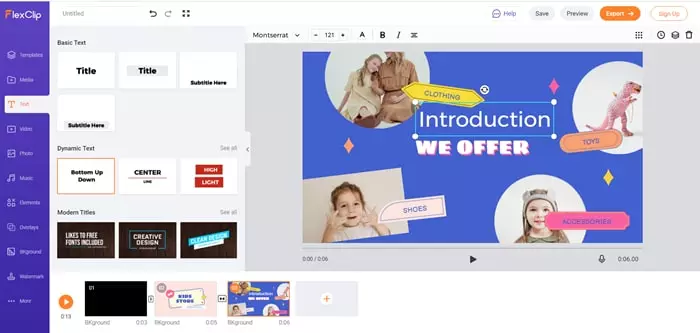
Add Text to Your Video

Add Lower Third to Your Video
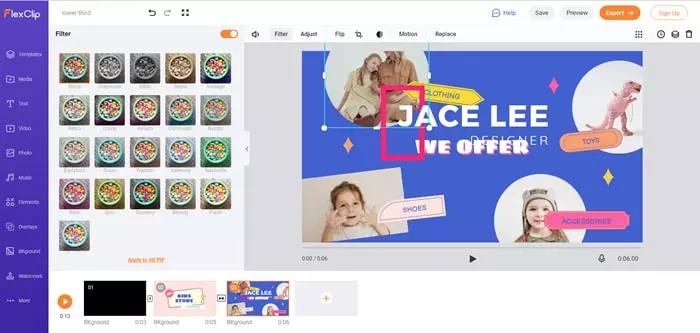
Add Filter to Adjust Video
The Bottom Line
The animated lower thirds OBS method may be suitable, but not too many people can handle it, obviously because of its complexity. But the emergence of FlexClip has eradicated those excuses; it has made lower third integration much easier than it used to, allowing every video content creator to come up with awesome videos. It is also worthy to note that FlexClip can also be used to perform general video and image editing – as in YouTube, Instagram, and Facebook video editing. It is also a great tool for creating GIFs, collage, etc. So, when next you think of embedding and animated lower thirds, try FlexClip.


FlexClip AI Video Maker
Reach professional-quality videos faster with easy editing tools, templates, and smart AI.
Start Now for Free
Hot & Trending
-

Best Ways to Find Music in YouTube Videos
-

Instagram Story Video Quality Bad After Upload? Fix It!
-

How to Repost Video on TikTok & How to Remove TikTok Repost
-

Improve Video Quality Online: 3 AI Video Quality Enhancers You Can't Miss
-

4K Convert to HD 1080p without Watermark: Best 4k Video Converters
-

Top 13 Birthday Video Makers with Music and Effects Free
-

How to Search Filters on TikTok & Use a Filter You See - TikTok Filter Guide
-

Large Collection of Creative and Funny Birthday Video Ideas for Ones You Care