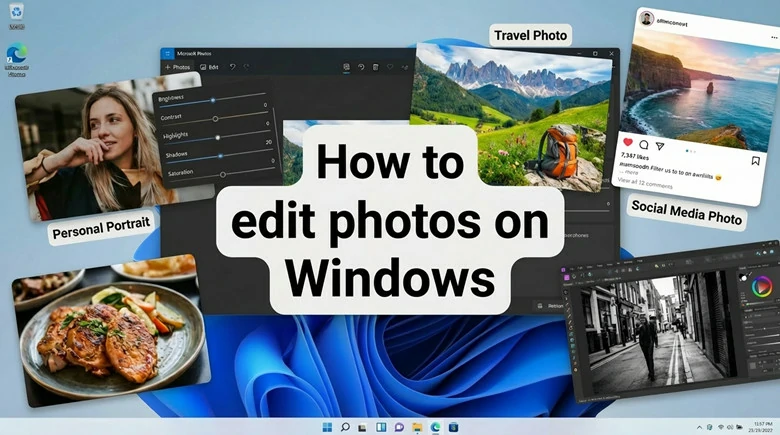
Looking for the easiest ways to edit photos on Windows? You’re in the right place. Whether you’re touching up a portrait, enhancing travel shots, or preparing images for social media, there’s no shortage of powerful Windows photo editors out there.
To save you time, we’ve put together a simple guide covering two built-in Windows tools and three popular third-party editors—all designed to help you customize your photos with ease. Let’s jump in!
How to Edit Photos on Windows
Free and Customizable Photo Slideshow to Showcase Your Beautify Images


Also Interested: 4 Easy Ways to Extract Frames from Video Windows 10>>
Two Built-in Windows Tools to Edit Pictures on Windows
Firstly, let’s take a closer look at the built-in Windows tools—Windows Photos and Paint—and see how you can use them to edit your images.
Photos: Edit Pictures with AI Features on Windows 10/11
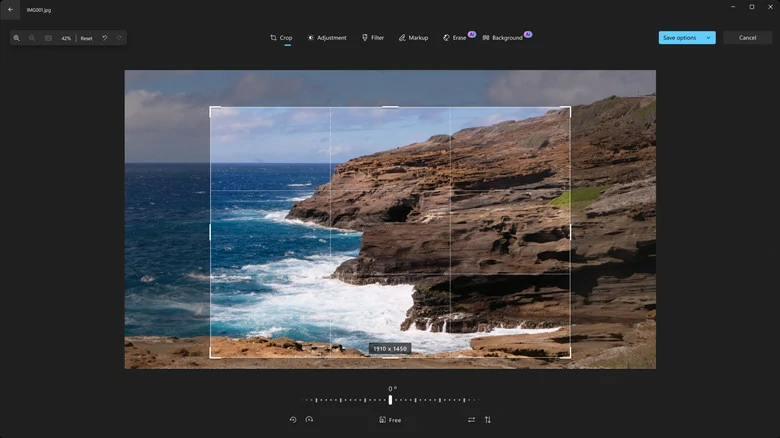
The Windows Photos app was originally designed for viewing and basic edits, offering simple tools like crop, rotate, and filters to quickly polish your pictures. Now, with AI built into the latest version, it goes a step further—letting you blur backgrounds, remove unwanted objects, and apply automatic enhancements for a more creative touch.
Best of all, it’s completely free. Even the AI-powered features come at no cost, making it an excellent choice for anyone looking to edit images on Windows without installing extra software or paying for upgrades.
Photos: Edit Pictures with AI Features on Windows 10/11
How to Edit Pictures on Windows Using Photos App
Note: The Edit with Designer feature in latest version is available on Windows 11 to start and currently limited to users within specific countries. Before you begin, check whether an update is needed and if the AI features are available in your area for full edits.
How to Edit Photos on Windows Using Microsoft Photos App
Drawbacks of Windows Photos App:
While Windows Photos app is an excellent built-in photo editor, it still comes with a few drawbacks:
Paint: Edit Photos on Windows 11
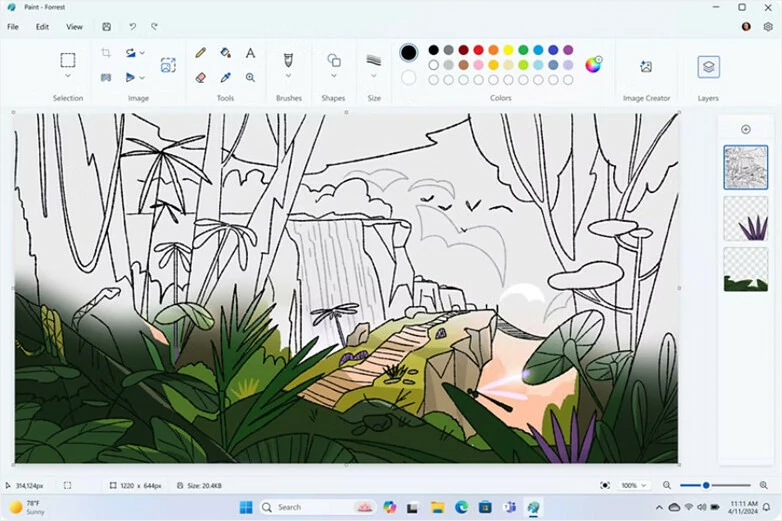
The Paint app, a simple drawing and editing tool on Windows, now also includes AI features to spark creativity. It’s ideal for quick tasks like cropping, resizing, drawing, layering multiple images, and adding basic shapes or text.
However, access to its AI capabilities, such as background removal, text-to-image generation, and generative erase—requires a subscription for free users. Fortunately, Microsoft provides every user with 50 starter credits to try, with each AI action costing just one credit. Thanks to its simplicity and ease of use, Paint remains a helpful tool for beginners who want to edit images quickly and effortlessly.
Paint: Edit Photos on Windows 11
Edit Photos on Windows Using Windows Photos App
How to Edit Photos on Windows Using Paint
Drawbacks of Windows Paint App:
Although Paint is a versatile tool for creating original artwork and making basic edits to images, it still has several limitations:
Three Third-party Photo Editors to Edit Pictures on Windows Effortlessly
Windows’ built-in tools are convenient, but they’re still quite limited. If you’re looking for more advanced editing capabilities or more powerful AI features to boost your workflow, here are three third-party photo editors worth exploring.
FlexClip: AI-powered Online Photo Editor for Windows
Want to experience a full AI-powered photo editing workflow? Try FlexClip! This comprehensive yet easy-to-use online photo editor makes editing as simple as typing and clicking.
Whether you want to restore old photos, upscale images for sharper quality, change styles, generate images from text, swap faces for fun, animate still photos, or perform more advanced edits like changing hairstyles and outfits, combining multiple images, or adding text with strong consistency, FlexClip has you covered. It gives you access to the latest trending AI generation models, and you don’t need any prior editing experience—AI handles all the work for you.

FlexClip: AI-powered Online Photo Editor for Windows
How to Edit Photos on Windows Using FlexClip:
How to Edit Photos on Windows Using FlexClip
Drawbacks of FlexClip Photo Editor:
FlexClip makes it easy to edit photos on Windows, but there are some limitations you might want to know:
Photoshop: Professional-level Photo Editor for Windows
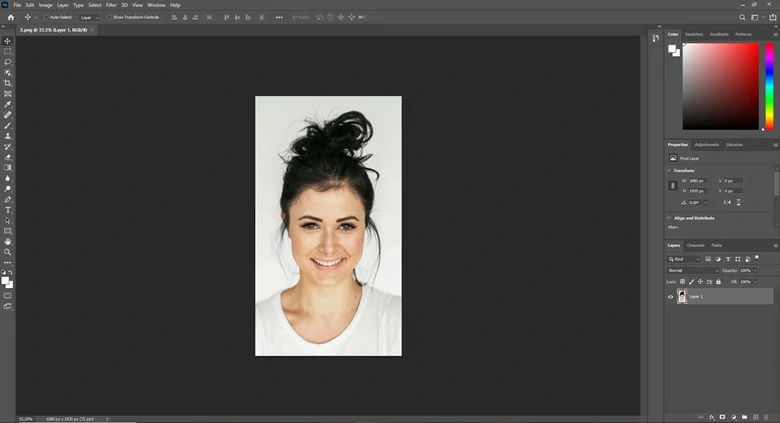
Photoshop is a professional, high-end image processing tool for Windows, offering an industry-leading set of features tailored to advanced creative needs. With Photoshop, you can perform precise photo retouching, execute complex cutouts, edit RAW files, batch-process images, and even generate AI-powered content.
Whether you’re making simple touch-ups or pushing your designs to a more sophisticated level, Photoshop delivers top-tier performance to support your workflow. For photographers, designers, illustrators, and other creative professionals, Photoshop remains one of the best solutions for meeting all photo-editing standards on Windows.
Photoshop: Professional-level Photo Editor for Windows
How to Edit Photos on Windows Using Photoshop:
Drawbacks of Photoshop:
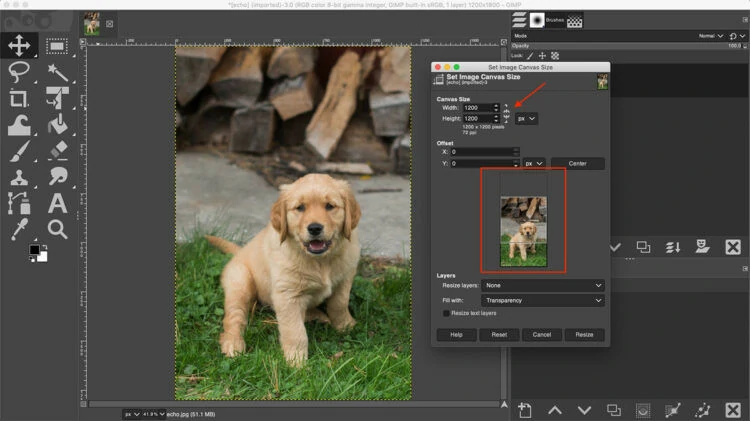
GIMP: Open-source Photo Editor for Windows
GIMP is a free, open-source photo editor for Windows that offers many Photoshop-like features for editing and retouching images. Its feature-rich interface lets you handle everything from basic tasks—such as cropping, resizing, and rotating—to advanced work like color correction, retouching, and layer-based editing.
For creative projects, GIMP also allows you to add and stylize text, create smooth gradients, and apply a wide range of filters for sharpening, blurring, or crafting unique visual effects. If you’re looking for a free editor that still delivers professional-level capabilities, GIMP is an excellent choice.
GIMP: Open-source Photo Editor for Windows
How to Edit Photos on Windows Using GIMP
Drawbacks of GIMP Photo Editor:
GIMP delivers a powerful photo-editing experience on Windows, but it also comes with a few drawbacks:
FAQs About Editing Photos on Windows
1.What built-in tools can I use to edit photos on Windows?
Windows offers two native tools for quick edits: Windows Photos and Paint. Both allow basic adjustments like cropping, resizing, annotating, and applying simple filters.
2.How do I blur part of a photo on Windows?
Built-in photo editor doesn’t support selective blur. You’ll need third-party applications like FlexClip, GMIP and Photoshop to blur part of your photo on Windows.
3.Can I remove unwanted objects from a photo?
Yes. Both built-in editing apps and recommended third-party tools can help you easily remove unwanted objects from photo with the help of AI.
4.What formats can Windows tool export?
Paint supports PNG, JPEG, GIF, BMP, and TIFF. Windows Photos typically exports to JPG or PNG, depending on the file. Advanced formats require professional editors.


FlexClip AI Video Maker
Reach professional-quality videos faster with easy editing tools, templates, and smart AI.
Start Now for Free
Hot & Trending
-

Best Ways to Find Music in YouTube Videos
-

Instagram Story Video Quality Bad After Upload? Fix It!
-

How to Repost Video on TikTok & How to Remove TikTok Repost
-

Improve Video Quality Online: 3 AI Video Quality Enhancers You Can't Miss
-

4K Convert to HD 1080p without Watermark: Best 4k Video Converters
-

Top 13 Birthday Video Makers with Music and Effects Free
-

How to Search Filters on TikTok & Use a Filter You See - TikTok Filter Guide
-

Large Collection of Creative and Funny Birthday Video Ideas for Ones You Care


