Want to give your video a creative look? Try to add camera recording overlay. By simply applying a REC overlay, the ordinary visuals become more storytelling and interactive for audience to watch and engage. So, how to enhance your video with a camera recording overlay? Look no further! In this blog, we'll offer you three ways to effortlessly reach this trending REC effect. Let's dive in!
Free and Customizable Templates with REC Effect for You:


Also Interested in: 3 Excellent Film Reel Collage Makers Help You to Design Vintage Filmstrip Collage>>
Part 1. Apply Free REC Overlay to Video Online
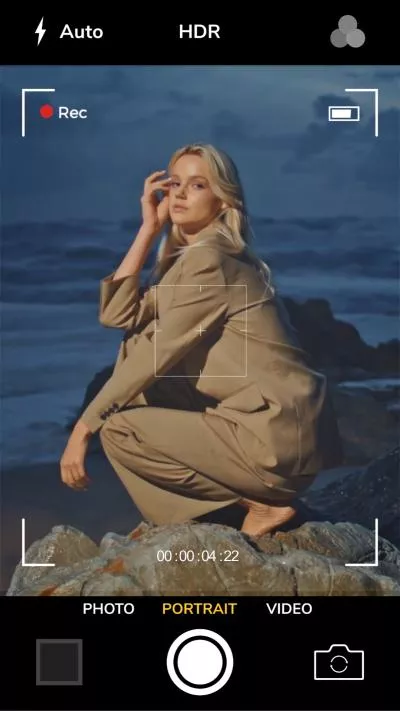
Creating a video with camera recording overlay is super easy with FlexClip. Whether you're making tutorials, vlogs or presentation videos, FlexClip enables you to seamlessly add a transparent camera overlay to your footage with just one click. Choose from a variety of REC styles, all featuring realistic elements like recording indicators, viewfinder grids, time stamps, battery icons, and a rolling timer that perfectly mimics a real recording interface. Once added, you can easily customize the overlay’s size, position, mode, and opacity to suit your needs.
Add Camera Recording Overlay to Video Using FlexClip
Besides REC overlay adding from scratch, you can also take advantage of ready-made video templates. FlexClip offers a wide range of designer-crafted templates that come preloaded with aesthetically designed REC effects. With a simple drag-and-drop interface, you can easily customize any template by replacing the placeholder content with your own video. Whether you start from scratch or use a template, no editing experience is required.


Can't wait to have a try? Follow our guide to effortlessly enhance your video by adding camera recording effect in clicks.
1. Add Transparent Camera Recording Overlay to Video


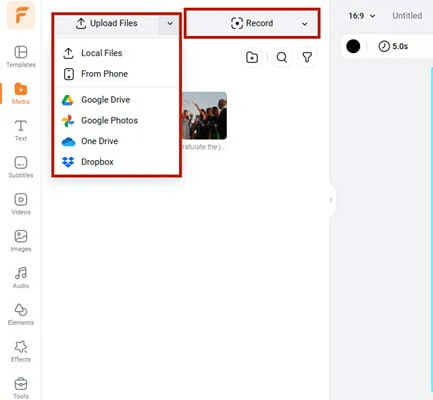
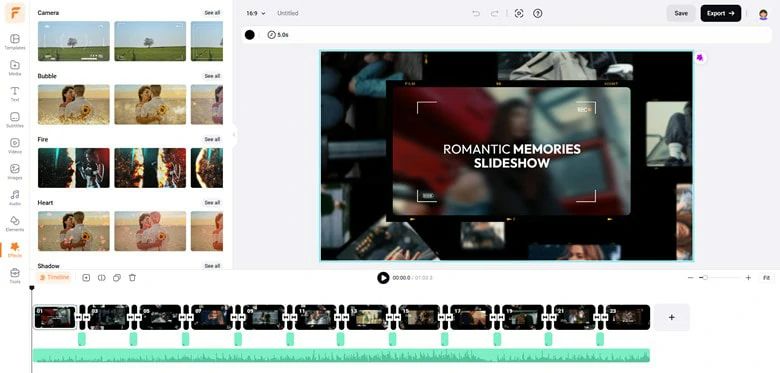
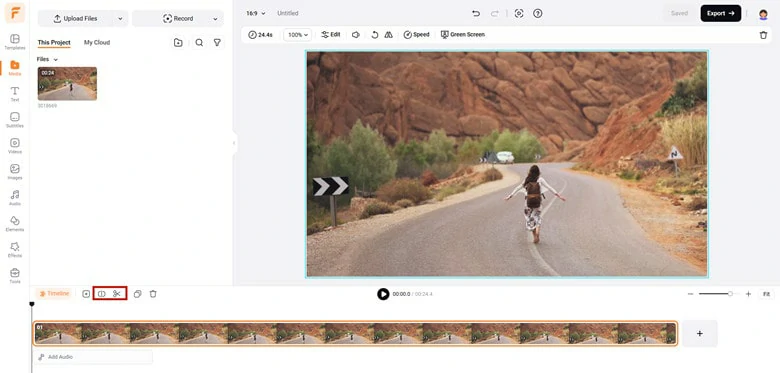
Upload the Video You'd Like to Apply a Camera Recording Effect to FlexClip
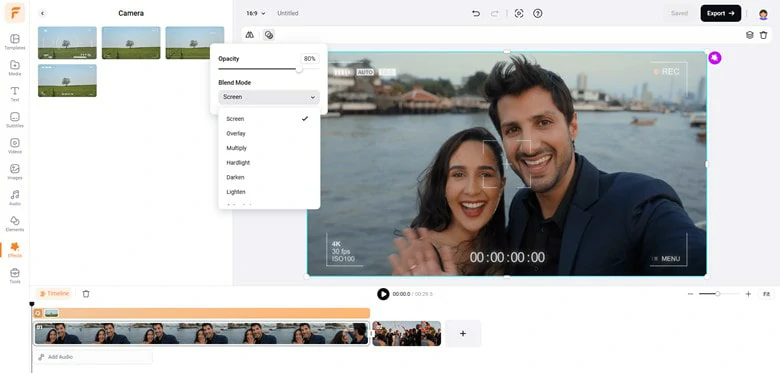
Add Video to the Timeline and Apply the Camera Effect to Your Liking
If you start with a template, simply use drag-and-drop operation to replace the preset with your footage to reach the camera recording effect.

Use Drag-and-drop Operation to Replace the Template with Your Footage
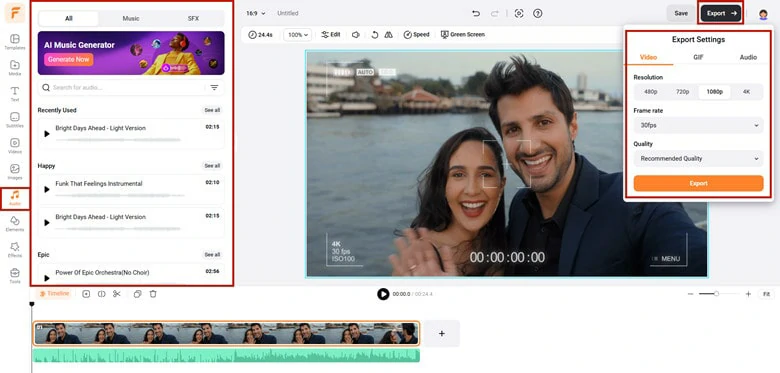
Preview and Download the Video with Camera Recording Effect to Computer
2.Create Camcorder Effect with Animated Element
Apart from overlaying effect presets, adding animated REC elements is also a shortcut to create a camcorder effect in your video. Here is how to make it using FlexClip's video editor.
Make Basic Edits to Polish Your Video
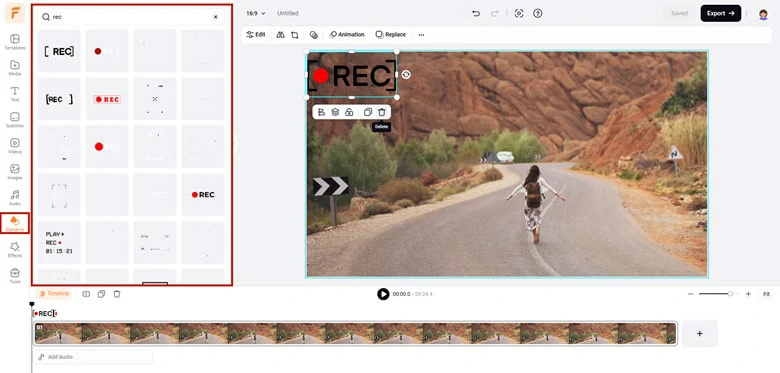
Find and Add the REC Items to Your Video

Make Further Edits and Export the Edited Camera Recording Video
In addition to camera recording overlay, FlexClip also offers a variety of one-click effects to enhance your videos, including fire, bokeh, bubbles, confetti, ink, and more. Plus, with its integration of multiple AI tools, FlexClip serves as a creative playground where both beginners and experienced creators can unleash their imagination and bring ideas to life through AI. You can transform images into videos using simple prompts, convert text into images, videos, sound effects, and background music; enhance photos by modifying styles, swapping faces, changing outfits, and more. Ultimately, FlexClip stands as an exceptional platform that delivers boundless creative possibilities!
Revolution Your Content Creation with FlexClip's AI Tools
Part 2. How to Create a Camera REC Effect Using Premiere Pro
The industry-leading Adobe company designs Premiere Pro to help professionals handle video editing problems. Though it requires curving learning to create stunning videos, there are loads of ready-made presets to flow your process. Below is a tutorial on creating a video with a camera recording element.
How to Create a Camera REC Effect Using Premiere Pro
Part 3. How to Add Camcorder Effect to Video Using CapCut
Providing a set of stunning features, CapCut is a bonus for mobile users to make creative short videos with ease. Be it basic editing or special effects, this handy video editor will give you the quickest solution with full control. If you'd like to add a camcorder effect to your video, follow the steps below.
How to Add Camcorder Effect to Video Using CapCut
The Bottom Line
Camera recording overlay adds much fun to your video. In this article, we take you through three ways to add camcorder overlay to your video on computer, mobile and online. By the way, if you prefer a simple operation yet powerful tool, FlexClip is an excellent option for you.


FlexClip AI Video Maker
Reach professional-quality videos faster with easy editing tools, templates, and smart AI.
Start Now for Free
Hot & Trending
-

Best Ways to Find Music in YouTube Videos
-

Instagram Story Video Quality Bad After Upload? Fix It!
-

How to Repost Video on TikTok & How to Remove TikTok Repost
-

Improve Video Quality Online: 3 AI Video Quality Enhancers You Can't Miss
-

4K Convert to HD 1080p without Watermark: Best 4k Video Converters
-

Top 13 Birthday Video Makers with Music and Effects Free
-

How to Search Filters on TikTok & Use a Filter You See - TikTok Filter Guide
-

Large Collection of Creative and Funny Birthday Video Ideas for Ones You Care