Even if you're not aware of the word "GIF", you've probably already seen one before. GIF dominated the internet before and is still popular at this modern time. However, what exactly is a GIF? How do you use them?
GIF stands for "Graphics Interchange Format". It is a format that is regularly utilized for storing several pictures. Dissimilar to the JPEG picture format, GIFs utilizes loss less compression that won't corrupt the quality of the picture. GIFs are also known as animated images. It has image data that uses indexed color. In layman's terms, a standard GIF image has a maximum of 256 colors.
Creating GIFs has been gaining popularity because, like memes, they can be a valuable tool for communicating. Whether it's jokes or showing emotions and ideas, GIFs show the emotion we want to share. If you're interested in creating one, then this one's for you.
Did you know that you can create your preferred GIFs through your iPhone with just some easy steps? If you want to learn how then follow these easy ways below:
How to Make a GIF on iPhone - 4 Ways
Also Read: How to Make a GIF from a Video >
Method 1. How to Make a GIF on iPhone with Photos App
Photos app can turn a normal video into a live photo, but that doesn't help you a real GIF. Live photos are just quite similar to a GIF when played through an iPhone or iPad. When shared to non-iOS devices, the animation will disappear.
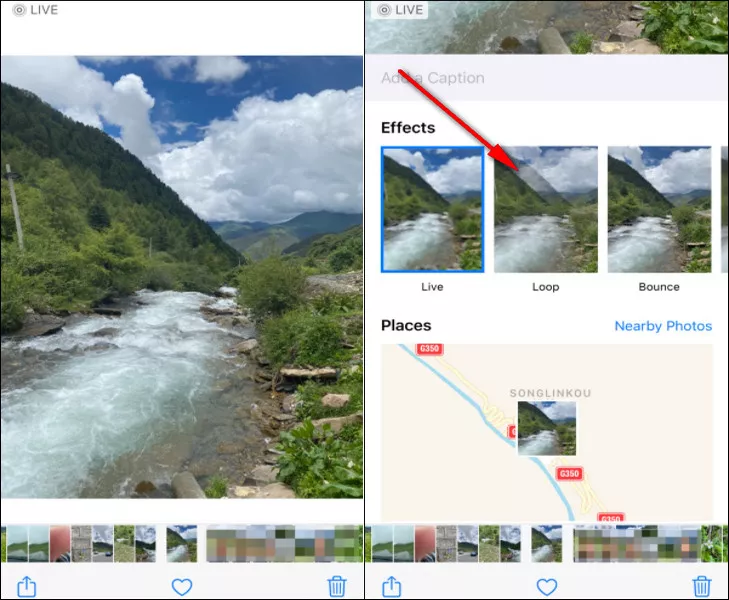
Make a GIF on iPhone with Photos App
Method 2. How to Make a GIF on iPhone Using GIPHY
GIPHY is a website of GIF-sharing platform and is the most popular GIF creator on the internet. Its application is available on desktop and both IOS and Android. GIPHY has many options that can turn your GIFs into more creativeness. It allows you to share your work and give others the chance to download the GIFs you created by other community members.
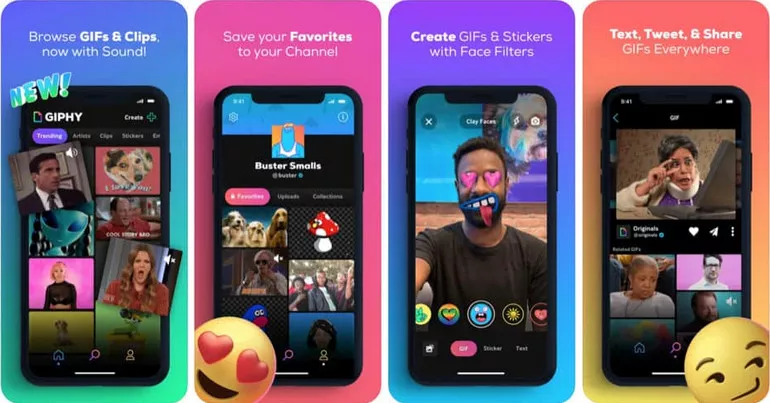
Make a GIF on iPhone with GIPHY
Here are simple steps you can follow that can help you create your first-ever animated GIFs with GIPHY.
There will be two options for making your GIF. One is Film a new GIF by tapping on the camera icon that is located in the bottom center, the other is Make a GIF from your available photos by tapping the photo icon on the bottom-right and you can freely choose the image/photo that you want to use for your creation.
Method 3. How to Create a GIF on iPhone via ImgPlay
ImgPlay allows you to create a free personalized GIF on your iPhone and iPad! You can gradually edit, convert, and split your still image and videos at the tip of your fingers. It is convenient to use and also perfect for beginners. Making funny and exotic memes could never be this easy without ImgPlay. However, there are few poor comments about the application but ImgPlay support address it right away – to improve the system and its editing function.
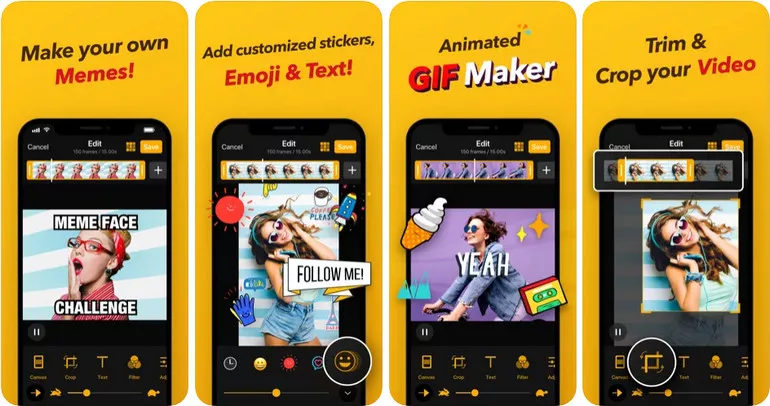
Make a GIF on iPhone with ImgPlay
What are you waiting for? Create a GIF on your iPhone now with these easy steps. Remember to choose high quality before saving it as a video. Don't forget to click the "Save to Photos" button too.
Method 4. How to Create a GIF on iPhone via GIPHY CAM
GIPHY CAM is an innovative application of GIPHY. This app enables the user to make GIFs while recording live clips. With this tool, you can add your preferred effects and filters to your GIF in the recording period. GIPHY CAM allows you to send your GIFs on social media right away. This app is an effortless GIF creator perfect for aspiring social media animators.
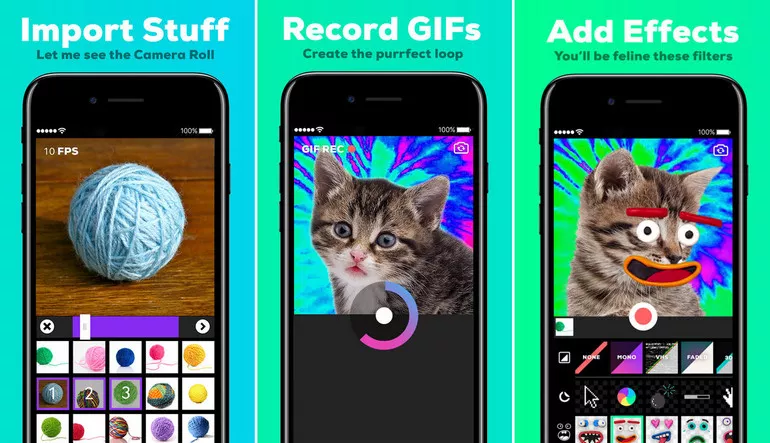
Make a GIF on iPhone with GIPHY CAM
GIF fanatics love using this app – they find it convenient to use. GIPHY CAM unfolds right after you open your camera. You only need to record, add your favorite filters and special effects, and you’re wholly prepared to share your GIF masterpiece with your fellow social media users. The developers of this app engaged almost 40 special effects for public use – some of these are artsy filters and overlays. It's extremely easy to understand how this works.
Create Exciting Memories with GIFs
GIFs are now one of the most used types of media on any platform. It gives more life to any post or conversation which is why it is better to learn how to create one to make everything more fun and epic. So, don't hesitate to explore all the platforms we mentioned to create exciting memories using GIFs.
Thank you for reading this post, make sure you like and share this information to spread the fun!


FlexClip AI Video Maker
Reach professional-quality videos faster with easy editing tools, templates, and smart AI.
Start Now for Free
Hot & Trending
-
Ultimate Tik Tok Guide – How to Tik Tok & How to Make a Tik Tok Video that Gets Likes
-

7 Best Ways to Find Music in YouTube Videos
-

Instagram Story Video Quality Bad After Upload? Fix It!
-

How to Repost Video on TikTok & How to Remove TikTok Repost
-

Improve Video Quality Online: 3 AI Video Quality Enhancers You Can't Miss
-

4K Convert to HD 1080p without Watermark: Best 4k Video Converters
-

Top 13 Birthday Video Makers with Music and Effects Free
-

How to Search Filters on TikTok & Use a Filter You See - TikTok Filter Guide