How to Animate a Logo in 2022 (Online/PR/AE)

Last Updated: 2022. 06. 22

For content creators, having a compelling logo animation in your video not only helps grab viewers' attention but also enhances brand awarenss and protects your video content from unauthorized uses.

So, in this tutorial, we will walk you through how to animate a logo with an easy-to-use online video editor or using Adobe Premiere Pro and After Effects to create a more complex logo animation.

Here is what you will learn:

Here is a quick takeaway for how to animate a logo:

  • Logo animations are often added in the intro/outro of a video for branding.
  • Preferably prepare a high resolution and PNG format logo with transparent background, which makes it easier for blending it into the video.
  • For intricate logo animations, quite often, you need to separate a logo into a logo icon, and individual logo texts and later use multiple keyframes, separate timelines, and professional graphic tools and animation effects in AE to animate different parts of a logo as a whole. Also read the top 8 animated logo makers online.
  • How to Animate a Logo by FlexClip Online

    Well, if you are new to video editing or couldn't afford the time to use Premiere Pro or After Effects to create complex logo animations from scratch, then using an easy and versatile online animated logo maker can be a great choice. In this respect, FlexClip allows you to create refined and minimal logo animations 10x faster.

    Animate a logo by FlexClip online

    Animate a logo by FlexClip online

    Create Now

    With FlexClip, you can::

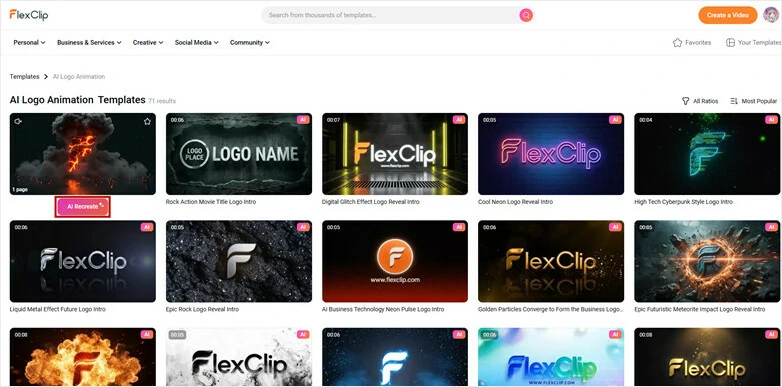
  • Select from tons of designer-made logo animation video templates that match your brand and social media and use different animation effects such as pop-up, bounce, 3D flip, rotate, zoom in, dash, drift, tumble, etc. to reveal both your logos and texts. Besides, all the fonts, colors, styles, animations, video backgrounds, and music are fully customizable.
  • Cd Gradient Revolving Circle Intro
    Preview
    Cd Gradient Revolving Circle Intro
    Use This Template
    Gradient Abstract Design Intro
    Preview
    Gradient Abstract Design Intro
    Use This Template
    Chinese Traditional Gorgeous Intro
    Preview
    Chinese Traditional Gorgeous Intro
    Use This Template
    Geometric Circles Intro
    Preview
    Geometric Circles Intro
    Use This Template
  • Use image background remover to instantly create a smooth and clear cut for your logo icon when added to your video. Besides, the crop mask is also available to help you easily crop your logo into a circle, square with rounded corners, or other shapes.
  • Use crop mask or image background remover to edit a logo icon

    Use crop mask or image background remover to edit a logo icon.

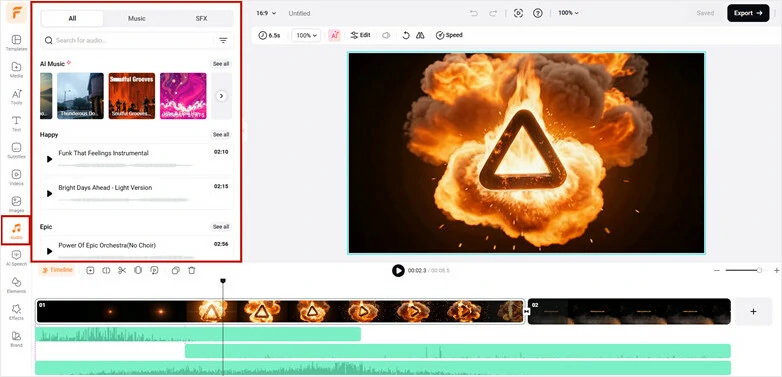
  • Add royalty-free music, and sound effects to your logo reveal to make logo animations come alive.
  • Step 1
    Select a logo animation template, preview it, and click the Customize button.
    Select a logo animation template

    Select a logo animation template.

    Step 2
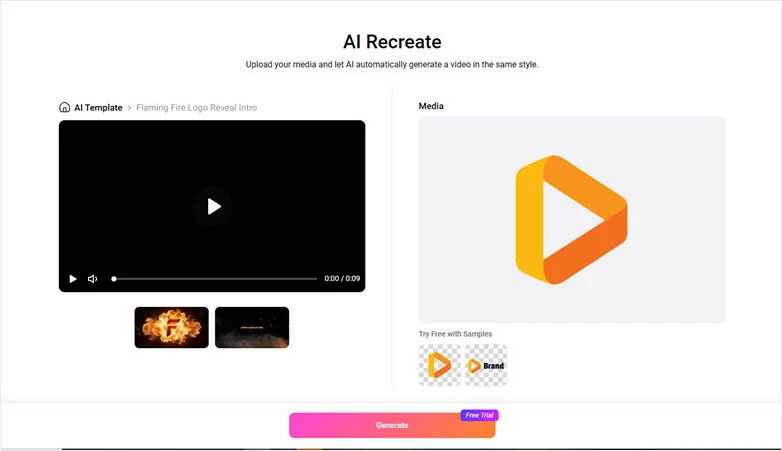
    Upload your logo image to FlexClip either from PC or your mobile phone.
    Upload your logo icon from your PC or phone

    Upload your logo icon from your PC or phone.

    Step 3
    Drag and drop your logo to replace the default logo image. If you need to crop your logo into a circle or any other shapes or remove the unwanted image background, just click the Crop or Remove Background tool above. You can adjust the opacity of the logo icon as well.
    Drag and drop to replace default logo icon with yours

    Drag and drop to replace default logo icon with yours.

    Step 4
    Animate the logo: Select the logo image > click Motion > select an animation for your logo reveal, such as rotate, bounce, zoom, drift, dash, etc. and sets the duration and direction of the animation.
    Animate the logo and set its duration, etc

    Animate the logo and set its duration, etc.

    Step 5
    Add animated texts and free music: Click the Text tab to add a text > customize its fonts, color, style, spacing, and animation. Then click Music to add free BGM or sound effects for the logo animation and text reveal. You may also drag the slider to set the duration of each video element.
    Add animated texts and free music for your logo animation

    Add animated texts and free music for your logo animation.

    Here is the resulting logo animation from the above example:

    Chic and minimal logo animation created by FlexClip

    Create Now
    Step 6
    Preview and share: you can directly download the logo animation video to your PC or share it to Google Drive, Dropbox, or share the clickable link to your friends for their view, etc.

    How to Animate a Logo in Premiere Pro

    Not satisfied with simple rotation or bouncing log animations? Then Adobe Premiere Pro promises to take your logo animation up a notch. Of course, it takes more time and you need to be skillful in adding keyframes and video effects to animate a logo as you wish. Follow the example below to animate a logo using Premiere Pro.

    How to animated a logo in Premiere Pro.

    Step 1
    Import your logo on the timeline of Premiere Pro and extend its duration to around 10 secs. If your logo is too big on the canvas, go to the Effects Control panel > use the Scale tool to scale down the size of the logo and reposition the logo to wherever you want.
    Step 2
    Add the title for the logo: Click the Type tool to add texts into the video > center align the texts to the logo > extend the duration of the texts to that of the logo.
    Step 3
    Animate the logo with bouncing effects: With all the layers selected, go to the Effects panel > type in transform > drag the transform effects to all the layers> now select the logo layer only > go to Effect Controls > click the stopwatch to add the first keyframe for the logo > hit the right arrow key to skip the playhead forward and add another keyframe meanwhile adjusting the position > repeat the same move > next move the playhead back and set another keyframe by moving the logo out of the frame.
    Step 4
    Use the same keyframe techniques above to animate the texts from both sides of the video frames.

    How to Animate a Logo in After Effects

    If you want to create Hollywood-like logo animations that you’ve seen on YouTube or TV ads of big brands, Adobe After Effects should be your ultimate choice. Besides, using AE to animate a logo also involves the steepest learning curve.

    Yet, its powerful tools such as graphic editor, separate animation timelines, keyframes, stunning visual effects for graphics, and intricate attributes of media assets controls can help you create logo animations like no other. So, it’s recommended only to seasoned video editors and graphic designers.

    Here is an example of how to animate an Adidas logo with dazzling stroke and radial wipe animation effects in After Effects, which is definitely not for beginners.

    How to animate a Adidas logo in AE.

    Step 1
    Create a new composition and import your logo into After Effects.
    Step 2
    Create a solid color layer for the video background: Right-click on the main panel > New > Solid > select red color > click OK. Then, put the background layer below the logo.
    Step 3
    Animate the logo icon: Right-click on the logo layer > Pre-compose > rename it logo > select Move All Attributes into the New Composition > click on OK. > select the logo layer > go to Effects and Presets panel > type in fill in the search bar> drag to apply the fill effect to the logo layer > set its color to white >select the logo layer > click Layer menu on the top > Auto-trace > set channel to Alpha > click OK.
    Step 4
    Add stroke animation effect to the logo: Go to Effects and Presets window > type in stroke in the search bar > drag and drop to apply the stroke effect to the logo layer > go to Effect Controls > set Brush Hardness to 100% > turn on All Masks > uncheck Storke Sequentially > set Paint Style to reveal the original image.
    Step 5
    Set details of stroke animation: Set Brush Size to around 16 > go to the logo layer and use hotkey U to bring out the stopwatch and move the brush size layer’s playhead forward to set the firest keyframe > set the Brush Size to zero > select these two keyframes and press F9 to make them ease.
    Step 6
    Go back to Effects Controls > set Start to 100% > click the stopwatch to set the first keyframe > move the playhead around 2 secs and set the 2nd keyframe > set the Start to zero > select logo layer and use hotkeys U to open the keyframe > select these two frames and press F9 to open graph editor > create a steep speed ramp.
    Step 7
    Select the logo layer > press Ctrl+ D twice > select these two layers > move them around 8 frames forward > repeat the same move for the first layer > change the colors of the last two layers for the stork animation in the Effect Controls panel.
    Step 8
    Select the first logo layer > press Ctrl+D > delete the stroke effect > change the color of this layer > select the logo layer > go to Effects and Presets window > type in Radial Wipe > apply Radial Wipe effect the logo layer > go to Effect Controls > set Wipe to counterclockwise > change the wipe center > increase the amount of transition completion > click the stopwatch next to it to set the first keyframe > move playhead forward to set the 2nd keyframe and transition completion to zero.
    Step 9
    Adjust the speed of radial wipe animation: Select the first logo layer > press U > select these two keyframes > press F9 and create a steep speed ramp in the graph editor.
    Step 10
    Change the color of the radial wipe logo layer and set the color to white > move the layer two frames forward.
    Step 11
    Animate the logo texts: Turn on the logo text layer > move the playhead forward a few secs > select text layer > press P > hold Shift + T > select two keyframes and move them forward > lower the position of the text > set opacity to zero > select these two keyframes and press 9 to make them ease > select the first two keyframes > open graph editor > create another speed ramp for the logo text.
    Step 12
    Add shadows to the logo and log text: With all the logo animation layers selected > right-click and choose Pre-compose > rename it to logo animation > select move all attributes > click OK > select logo animation layer > press Ctrl+D > select the duplicated layer > search Fill in the Effects and Presets Panel > apply the fill effect to the second logo layer > go to Effects Controls > set the color to black > go to Effects and Presets Panel > type in CC radial fast blur > apply the fast blur effect to the logo layer > adjust the center position, and lower the amount, opacity. Done.

    Now, It's Your Move

    In conclusion, creating a logo animation for your videos not only adds interest and styles to your video content but more importantly boosts brand image and helps protect your copyrights. For beginners, FlexClip can be an easy and viable option to animate a logo online while PR and AE are more for experienced users to create professional logo animations.

    Group 11
    Make a free video online
    Create Your First Video With FlexClip Now
    Get Started - Free