Everybody knows Photoshop; it has become a household name in the photo editing niche. Photoshop is deployed in many situations, and removing backgrounds from images is one of many of them. In essence, this is to say that Photoshop is the best photo editing tool for removing background from images, judging from the simplicity that surrounds the process. Using Photoshop in removing background from your photo has a way of presenting a smooth landing. In removing those background images while still leaving a clear original text, you need to have the right Photoshop skills.
Because of the complexity of the Photoshop photo editing tool, you barely have one way of doing things, and removing background from your image still falls into that category. There is more than one way to remove background from an image using Photoshop, and we will be detailing it one after the other later in this article. Below, we have listed six methods you need to remove background from image Photoshop; please follow the methods below.
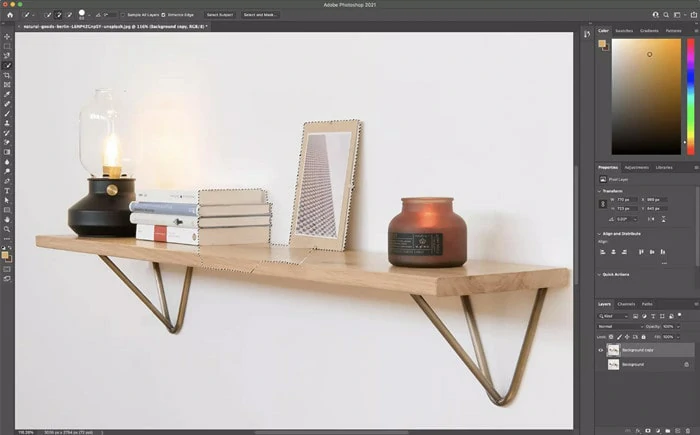
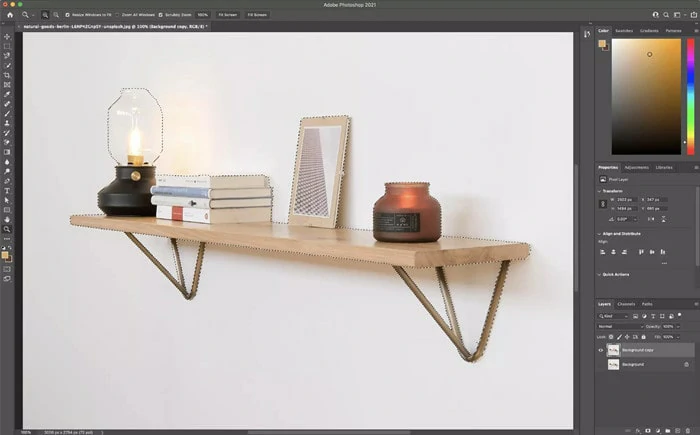
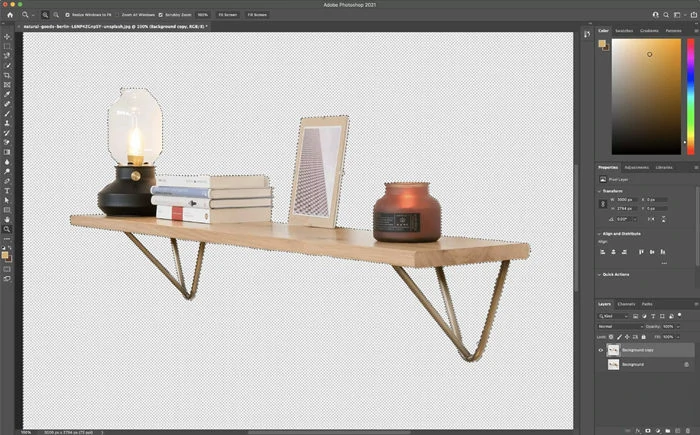
Method 1. Remove Background from image in Photoshop Using the Object Selection Tool
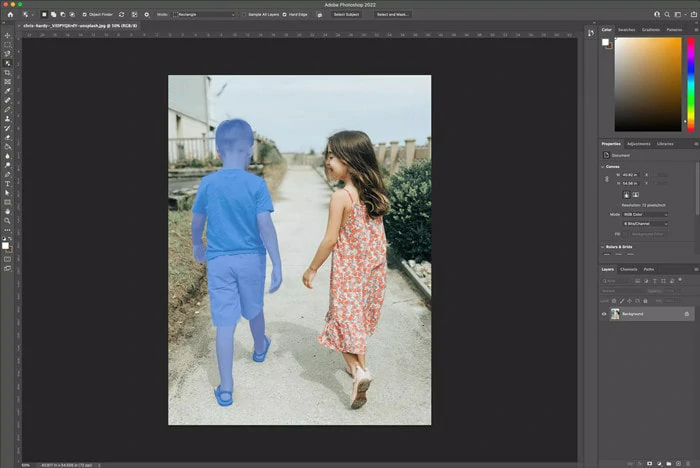
Credited by: https://www.sitepoint.com/
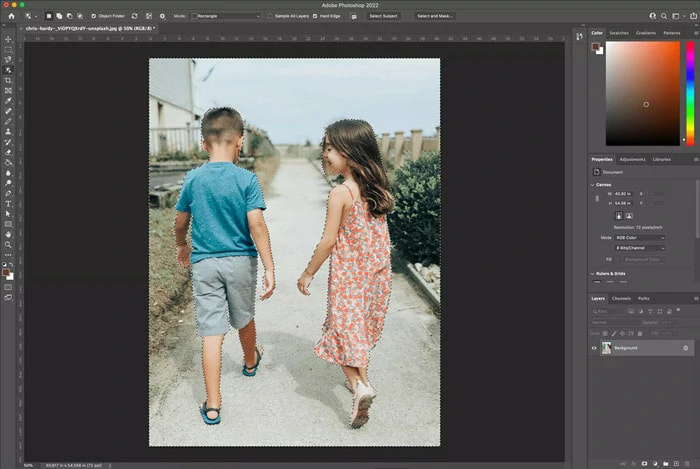
Credited by: https://www.sitepoint.com/
Credited by: https://www.sitepoint.com/
Method 2. Remove Background from image in Photoshop Using the Quick Action
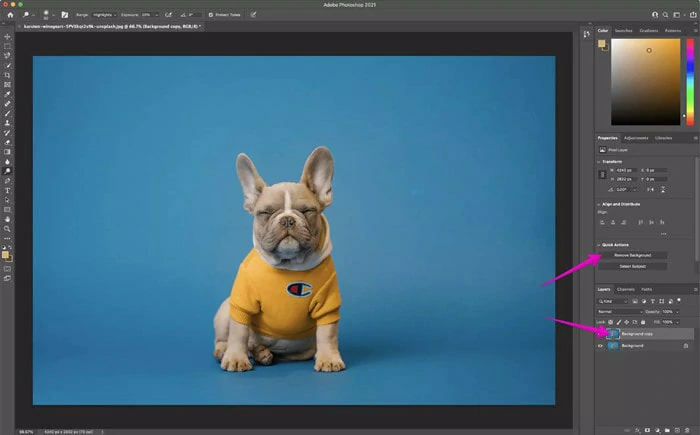
Credited by: https://www.sitepoint.com/

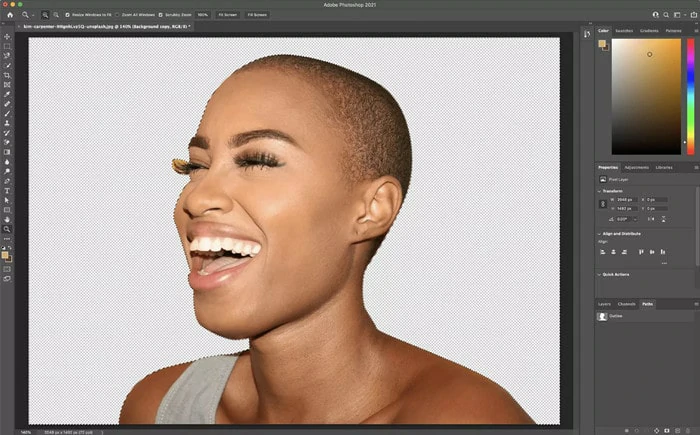
The Background is Removed with Quick Action
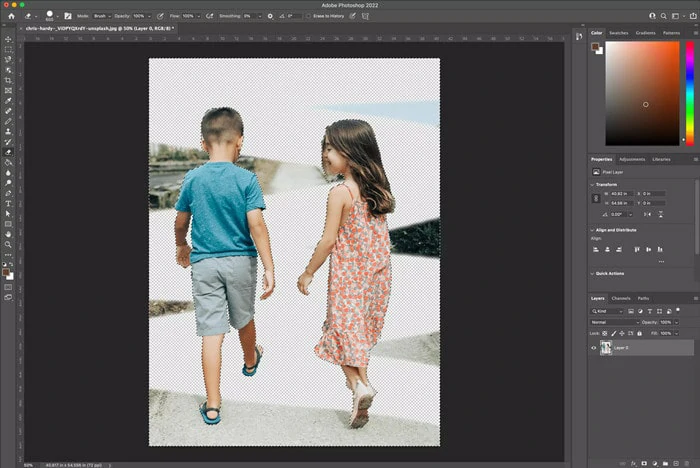
Method 3. Remove Background from image in Photoshop Using Eraser Tool
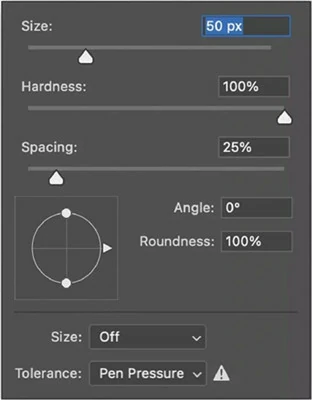
Change the Hardness of Brush
Remove the Background with the Erase Tool
Method 4. How to Remove Background from image in Photoshop Using the Pen Tool
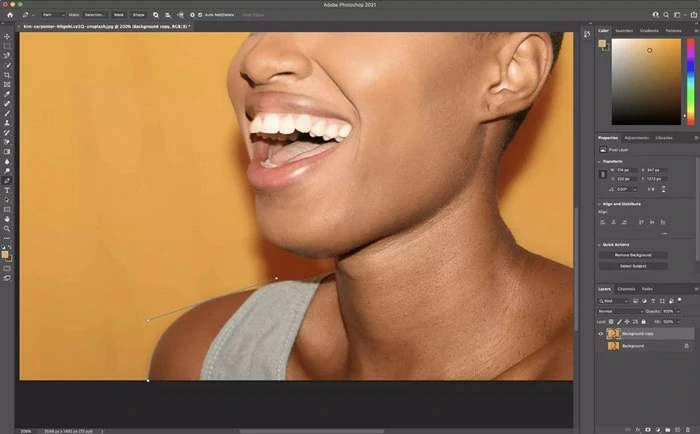
Use the Direct Selection Tool
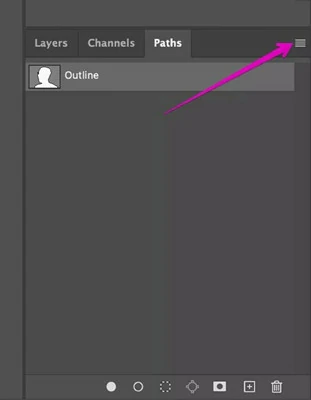
Check Your Path in the Paths Panel
Check Your Path in the Paths Panel
Delete the Image Background Using the Pen Tool
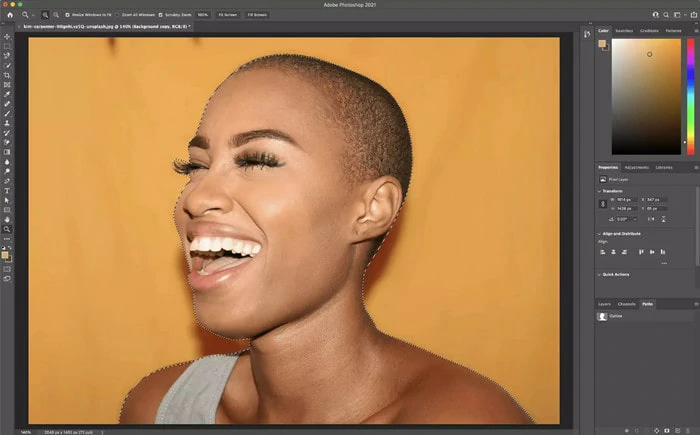
Method 5. Remove Background from image in Photoshop Using the Magnetic Lasso Tool
Use the Magic Lesso Tool to Draw an Outline
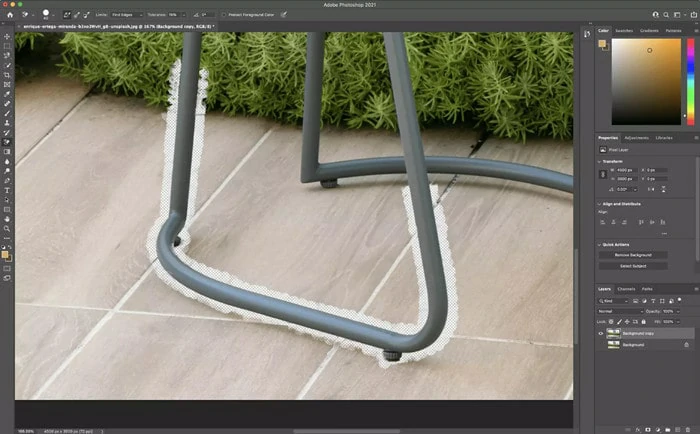
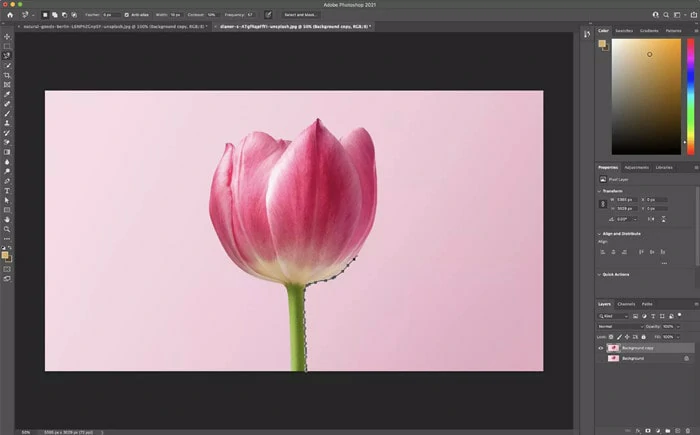
Method 6. Remove Background from image in Photoshop Using the Quick Selection Tool
Use the Quick Tool to Paint Your Object
Clean Up the Selection Path
Delete the Image Background with the Quick Section Tool
The Bottom Line
Photoshop is a complex image editing tool, there may be more ways to go about removing background from your image, but the ones we listed above are considered the commonest. Having said that, we’d appreciate it if you like and share this article to get to others that might have need to remove background from image in Photoshop.


FlexClip AI Video Maker
Reach professional-quality videos faster with easy editing tools, templates, and smart AI.
Start Now for Free
Hot & Trending
-

7 Best Ways to Find Music in YouTube Videos
-

Instagram Story Video Quality Bad After Upload? Fix It!
-

How to Repost Video on TikTok & How to Remove TikTok Repost
-

Improve Video Quality Online: 3 AI Video Quality Enhancers You Can't Miss
-

4K Convert to HD 1080p without Watermark: Best 4k Video Converters
-

Top 13 Birthday Video Makers with Music and Effects Free
-

How to Search Filters on TikTok & Use a Filter You See - TikTok Filter Guide
-

Large Collection of Creative and Funny Birthday Video Ideas for Ones You Care