Microsoft Powerpoint empowers you to create clean slide presentations and intricate pitch decks for spreading ideas. You can see presentations in various occasions from classrooms to boardrooms.
In most cases, Powerpoint slides are on their own. Yet, they don’t do the best job of communicating the concepts. Those ahead of the curve share record their presentations with narration or even with themselves. Powerpoint recordings with only narration will also do, but they are just not that effective.
So, how to record a Powerpoint presentation?
Two methods! Try Powerpoint recording feature to record your narration or try FlexClip to record a Powerpoint. Please refer to the part you need.
Also Read: 8 Best Video Background Music Resources >
Part 1. Record a Powerpoint Presentation with Narration Only
Powerpoint the app itself allows you to do recordings. After the recording, you can play for your audience or save it as a video file.
The following steps are based on Office 365 for Windows. If you are on different versions of Presentation or on different platforms, the steps may differ.
Step 1 Launch Presentation. Go to File > Options > Customize Ribbon, then select the Recording checkbox. Click OK.
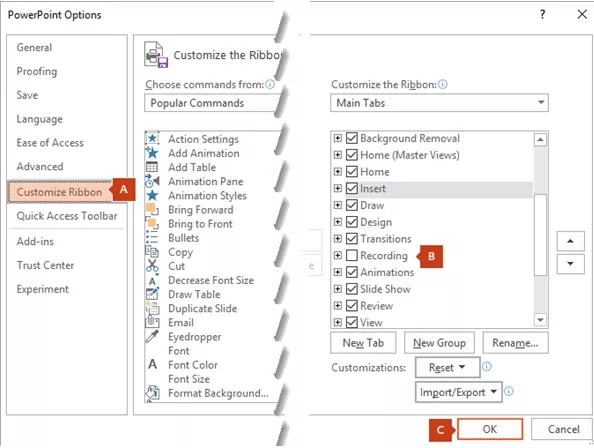
Image Board: Record Presentation with Microsoft
Step 2 Select Record Slideshow under the Recording or Slideshow ribbon.
Step 3 Your Powerpoint opens in a recording window. Click the big red dot button to start recording.
Step 4 Record audio or narration by toggling the microphone button.
Step 5 End recording by clicking the square button.
Part 2. Record a Powerpoint Presentation Easily and Effectively
As mentioned above, Powerpoint Presentation can help you record the Powerpoint Presentation with narration. And it gives you lots of restrictions. To record a Powerpoint presentation easily, you will need FlexClip.
FlexClip is an online screen recorder that helps capture your computer screen easily and effectively. No need to install any extensions. Most importantly, the captured video contains no watermark. Moreover, after the recording, FlexClip also provides you numerous tools for you to make video edits, like video trimmer, video speed changer, transitions, filters.
Get organized on what you are going to say and the presentation. Now, start to record.
Step 1 Go to FlexClip Online Screen Capture tool and click the Start Recording button.
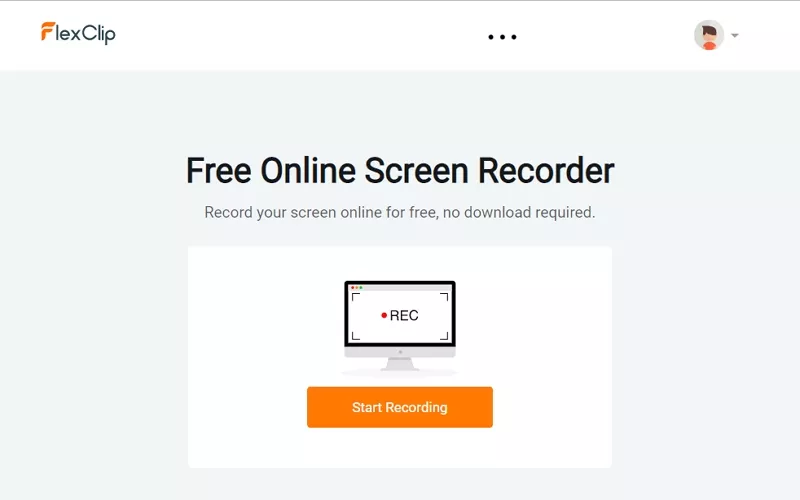
Image Board: Record Presentation with Images and Audio - Step 1
Step 2 Select Microphone Audio as audio recording method and tap the big red dot to start recording.
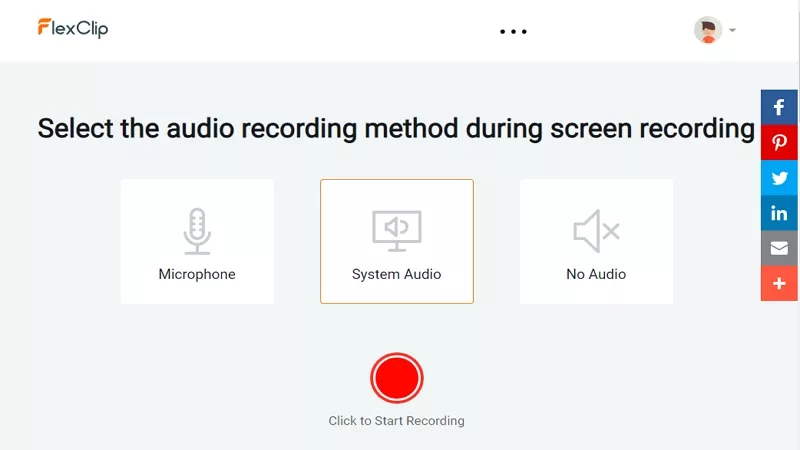
Image Board: Record Presentation with Images and Audio - Step 2
Step 3 Go to Application Window and select the Powerpoint Presentation interface. Click Share and record.
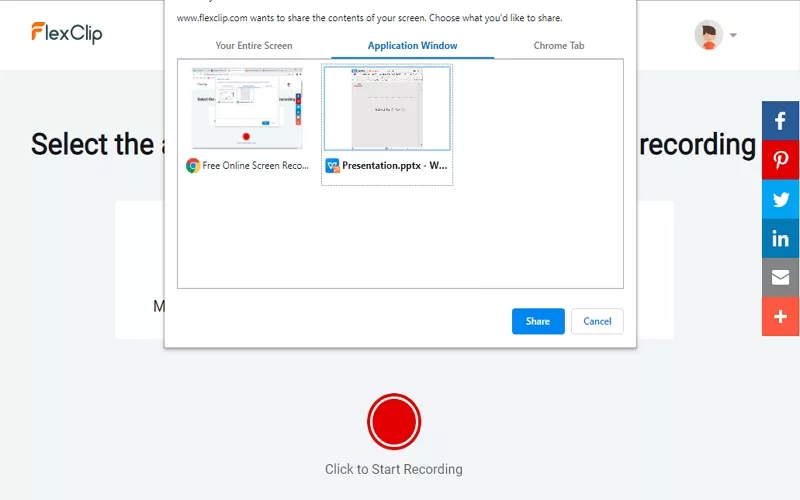
Image Board: Record Presentation with Images and Audio - Step 3
Step 4 Stop at wherever you like.
Step 5 (optional) Use FlexClip's default webcam to record yourself.
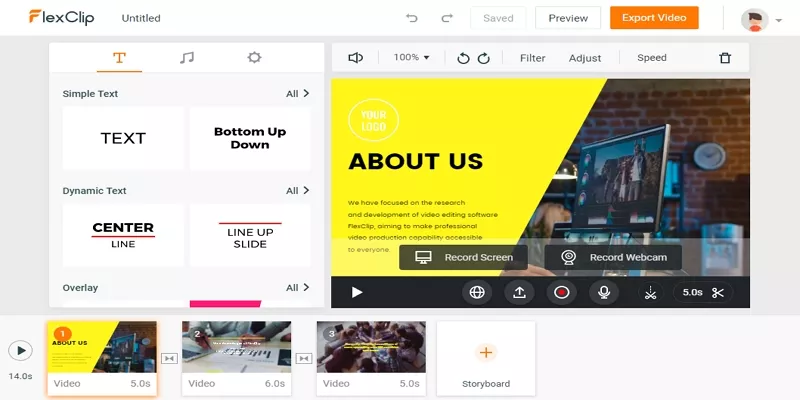
Image Board: Record Presentation with Images and Audio - Step 4
The Bottom Line
The above are two methods to record a Powerpoint presentation. As you can see, it is extremely easy and effective. If you find this post helpful, please do share this post with others. By the way, FlexClip also helps you make edits. Remember to use it to level up your video!


FlexClip AI Video Maker
Reach professional-quality videos faster with easy editing tools, templates, and smart AI.
Start Now for Free
Hot & Trending
-

7 Best Ways to Find Music in YouTube Videos
-

Instagram Story Video Quality Bad After Upload? Fix It!
-

How to Repost Video on TikTok & How to Remove TikTok Repost
-

Improve Video Quality Online: 3 AI Video Quality Enhancers You Can't Miss
-

4K Convert to HD 1080p without Watermark: Best 4k Video Converters
-

Top 13 Birthday Video Makers with Music and Effects Free
-

How to Search Filters on TikTok & Use a Filter You See - TikTok Filter Guide
-

Large Collection of Creative and Funny Birthday Video Ideas for Ones You Care