Summary: Adding text effects and animations in Premiere Pro in Premiere Pro is not hard at all. Follow the steps below and create great text effects with us.
A moving pattern can easily attract audiences’ attention. Ever since text animations and effects were put into video, producers love to use it to emphasize important textual information. All professional video editing software supports adding text animations. Here in this post, we will show you how to add text animation and effects in Premiere Pro. Let’s dive in.
Also Read: Best Animated Text Generators You Should Use >

Image Board: Premiere Pro Text Effects Example
Create Text Animations and Effects on Adobe Premiere Pro
Adobe Premiere Pro makes it easy to apply any animations and presets. All title panels are integrated into one. You can add line of text, colored rectangles and a mask.
Step 1 Add Text
First, go to Windows > Essential Graphics to the right. Click on the Text tool (shaped like T). Type the text you want to add.
Premiere Pro offers another way to add text to the video. Open a project on Adobe Premiere, click on File in the upper-right corner. Click New in the “File” drop-down menu. Click Legacy Title. Then input titles.
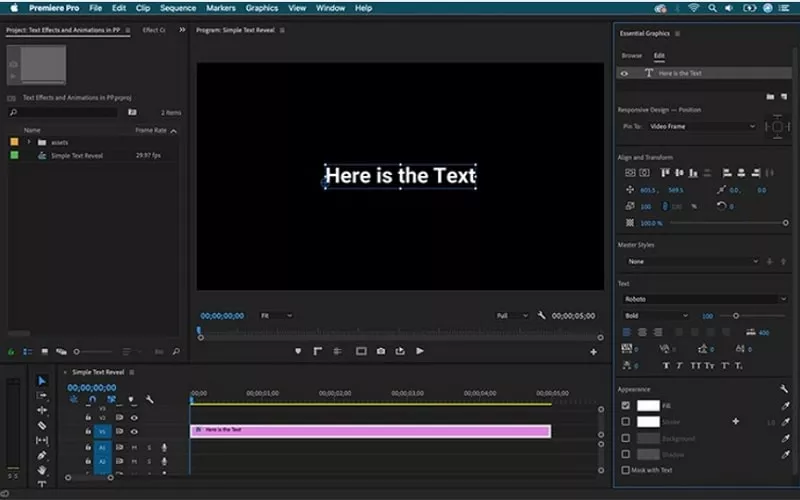
Image Board: Premiere Pro Text Effect and Animation - Step 1
Scroll down the panel, you will find Align and Transform, Appearance, and Text section where you can change color, add a responsive background, drop shadow, etc..
Step 2 Change a Background
Find the Rectangle shape tool on the submenu. Now, click to create a new rectangle, drag and drop the drop it to place the rectangle under the text.
If you need the text effect with two layers, click on the New Layer button on the top of the panel. Drag and drop the new layer to the existing texts. Please remember to make the two layers in different colors with Fill in the Appearance section.
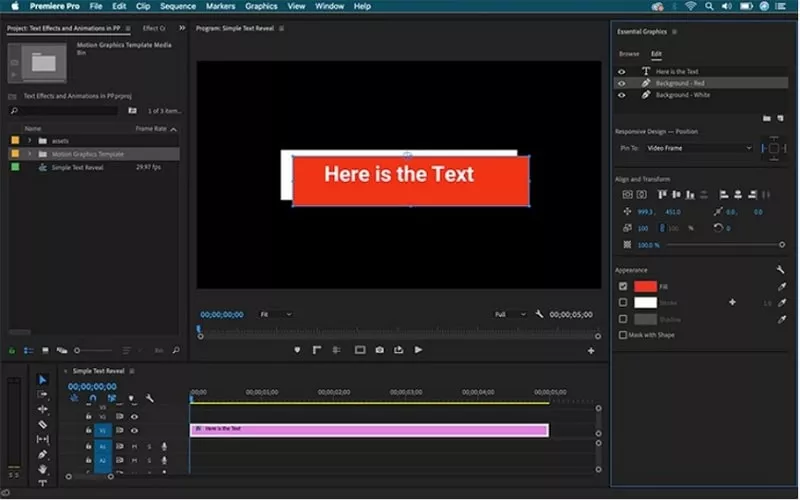
Image Board: Premiere Pro Text Effect and Animation - Step 2
Step 3 Mask the Graphic
After texts and layers are all in place, go to the Appearance section, click the Mask with Shape. The mask will apply to all layers beneath it.
Step 4 Animate the Text and Backgrounds
Place the Playhead to where you want the animation to end. Select the text layer, press the Position symbol in the Align and Transform section. If animation is successfully toggled, the symbol will turn blue.
Drag the Playhead to the where you want the text animation to start. When the attribution is changed, a keyframe will automatically be added.
Use the same steps to animate the backgrounds.
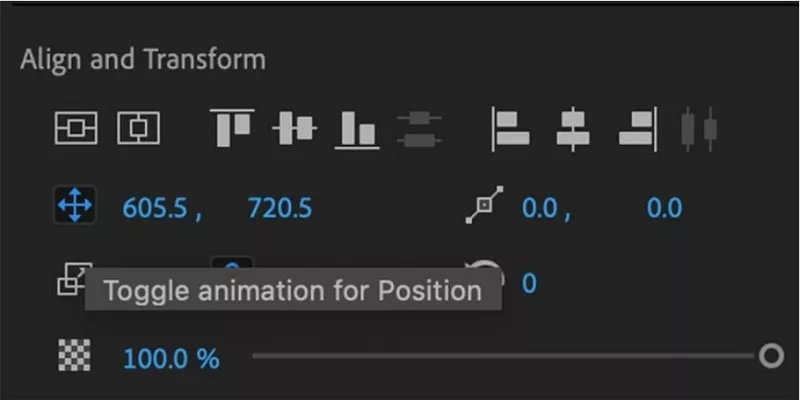
Image Board: Premiere Pro Text Effect and Animation - Step 4
Step 5 Polish the Text Effects
Go to the Effect Controls panel where you can see all effects you adjusted. Add an Ease Out to all of the first keyframes and Ease In on all of the last keyframes. Right-click on the keyframe.
Bonus Tip: An Easier Way to Create Text Animations and Effects
With the above five steps, you can create amazing text animations and effects in Premiere Pro. In case some of you might find that it is too complicated to find a certain feature, we provide you a more direct way to create text animations and effects - FlexClip.
FlexClip provides the best online video editing services. It contains 30+ types of text animations. Click on any effects, then insert, you now have added text animations to the video. Besides that, it also offers other features, like video trimming, duet and adding watermarks that can level up your video. Moreover, FlexClip has a free media library, offering free photos, music and video resources.
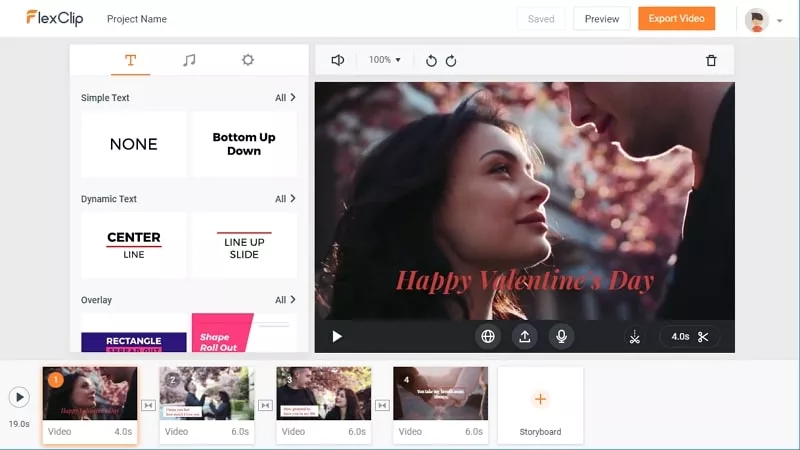
Image Board: FlexClip Overview
Go to www.flexclip.com to give this amazing tool a try! No download, no complicated process involved.


FlexClip AI Video Maker
Reach professional-quality videos faster with easy editing tools, templates, and smart AI.
Start Now for Free
Hot & Trending
-

Best Ways to Find Music in YouTube Videos
-

Instagram Story Video Quality Bad After Upload? Fix It!
-

How to Repost Video on TikTok & How to Remove TikTok Repost
-

Improve Video Quality Online: 3 AI Video Quality Enhancers You Can't Miss
-

4K Convert to HD 1080p without Watermark: Best 4k Video Converters
-

Top 13 Birthday Video Makers with Music and Effects Free
-

How to Search Filters on TikTok & Use a Filter You See - TikTok Filter Guide
-

Large Collection of Creative and Funny Birthday Video Ideas for Ones You Care