When we look back at our old printed photos, they can always bring us joy and tears. If you open your drawer, chances are that you will find loads of photo albums, scrapbooks that signify the unforgettable moments with your family and friends.
But, the only fly in the ointment is that they are easy to damage and take up a lot of space. So, this post offers three best ways to digitize your photos in high quality. Check out and choose the method that is best for your needs.
TABLE OF CONTENTS


Method 1. Using Your Smartphone or Digital Camera
One of the most convenient ways to scan your old pictures is to use your phone camera. Nowadays, almost everyone has a smartphone at hand. With the phone, you can easily convert physical photos into digital anytime and anywhere without paying a penny. Or you can also take pictures with your digital camera.
All you need to do is organize your photos, take pictures of them, and transfer the scanned copies to your computer. Or you can also save them in the cloud.
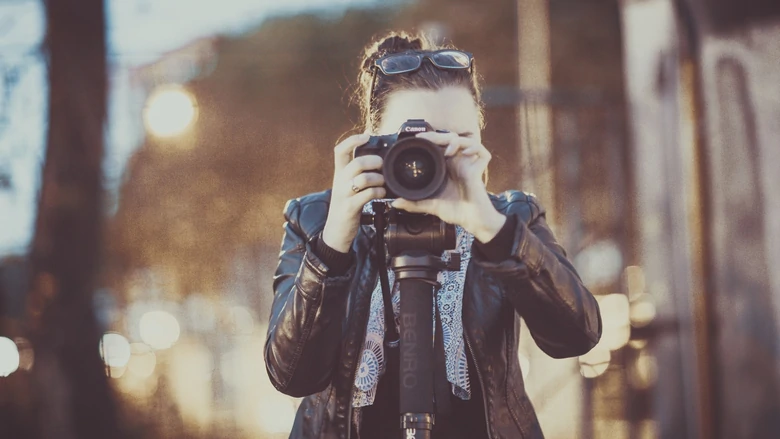
Take Pictures of Your Old Photos
Method 2. Downloading a Photo-digitizing App
Aside from a phone camera, numerous photo-scanning apps can be a nice choice as well, such as PhotoScan, Microsoft Lens, Genius Scan, and more. Among them, we recommend the PhotoScan due to its powerful editing features.
This app is free and available for both Android and iOS. Before you scan pictures, it will automatically crop and straighten photos to keep them in the right orientation. Besides, PhotoScan has multiple features to level up the scan output, for instance, glare removal, smart rotation. Most importantly, you can do batch scans and save all photos to Google Drive in one go.
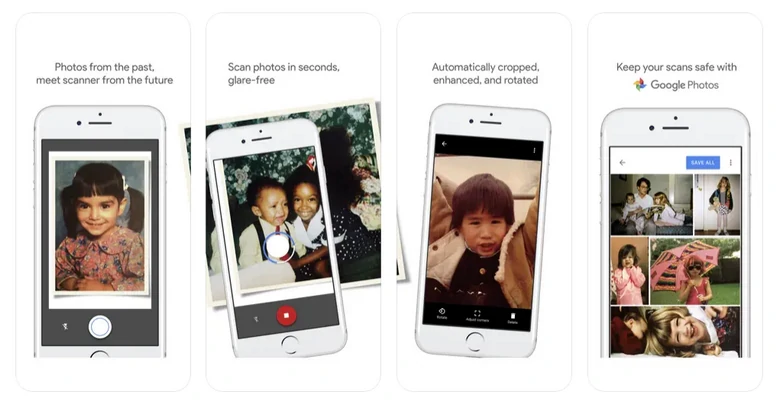
Old Photo Scan App - PhotoScan
How to Use PhotoScan to Digitize Old Pictures
Video Tutorial of Digitizing Photos
Method 3. Using Picture Scanner
Photo scanners are great tools to digitize photos as they can help you convert physical photos into high-quality copies. With a photo scanner, there is no need to worry about the problem of distortion, glare, and shadows.
Photo scanners have a wide range of prices and capabilities. If you go to online shopping platforms, you can even find that some photo scanners less than $100 can also do a good job of this. The most recommended ones are:
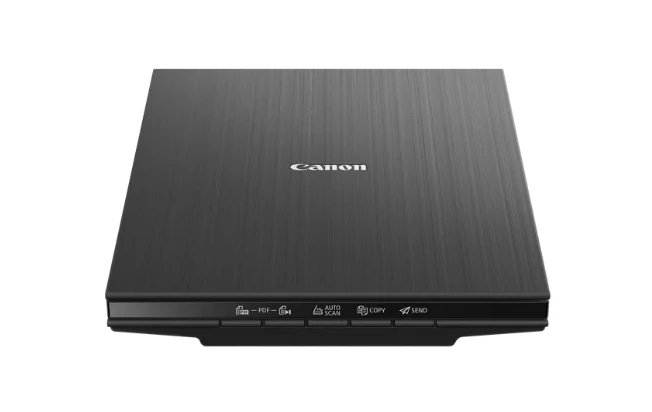
Canon LiDE 400 Image Example
Tips to Get Digital Photos in Higher Quality
No matter which method to go, while digitizing old pictures, you are very likely to get less satisfying results. Follow the methods below to get digitized photos in higher quality.
Do some clean-ups
Gently remove dust from the photo or the fingerprint on the lens to avoid any blurness issues.
It is not suggested to use tissues or paper to clean photos because they might leave fibers behind. A piece of soft cloth or a blower brush would be nice. If your old photos are considerably fragile or contain bends, consult a professional conservator.
Optimize scanning settings
If you are using the scanner, there are lots of setups to do, including resolution, color, as well as file format.
Most scanners work with 300 DPI, which is sufficient for most purposes like printing and sharing online. If you plan to enlarge the photos later, go to 600 DPI or higher.
To capture the full range of tones with perfect color, use 24-bit color for colored photos, and 8-bit grayscale for black-and-white photos.
Remember to save the photo scans in TIFF or PNG formats to preserve quality without compression artifacts.
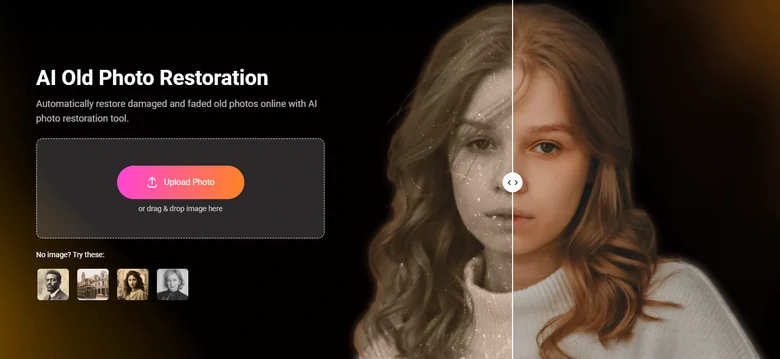
Relive your old photos
Tedious artifates and color lose issue still exist? FlexClip, as an excelled image enhancement, can help restore old photos with great ease.
Utilizing the latest AI, FlexClip can quickly remove blurness, artifacts, and add contrast so that the old photos are significantly shaper. Meanwhile, FlexClip is able to recolor black and white old photos. Relive old photos and make memories colorful.

Apart from restoring old photos, here are more things you can do to level up old photos with FlexClip.
The Bottom Line
We hope the three best photo digitization methods do help you address your problem. Each approach has its pros and cons. So, if you wonder which one is the best? In fact, the way how you digitize photos depends on your requirements and budgets. By the way, if you want to relive your old photos, don't forget to try FlexClip for free!


FlexClip AI Video Maker
Reach professional-quality videos faster with easy editing tools, templates, and smart AI.
Start Now for Free
Hot & Trending
-

Best Ways to Find Music in YouTube Videos
-

Instagram Story Video Quality Bad After Upload? Fix It!
-

How to Repost Video on TikTok & How to Remove TikTok Repost
-

Improve Video Quality Online: 3 AI Video Quality Enhancers You Can't Miss
-

4K Convert to HD 1080p without Watermark: Best 4k Video Converters
-

Top 13 Birthday Video Makers with Music and Effects Free
-

How to Search Filters on TikTok & Use a Filter You See - TikTok Filter Guide
-

Large Collection of Creative and Funny Birthday Video Ideas for Ones You Care