WAV files are one of the best audio formats that store uncompressed and high-quality sounds.
If you are a music artist or a podcaster who uses WAV format to record soundtracks or podcasts, chances are that you may wanna convert WAV to MP4 with images for slideshows, lyric videos, or video presentations to be posted on YouTube, Instagram or TikTok, Facebook, etc. to get more views and likes.
So, in this tutorial, we will walk you through 5 great WAV to MP4 converters to easily convert WAV to MP4 with images and texts online, on MAC and Windows. So, you can engage target listeners and viewers with great audio and video content.


Here’s What You Will Learn:
Also, read 6 great ways to convert JPG to MP4.
How to Convert WAV to MP4 Online
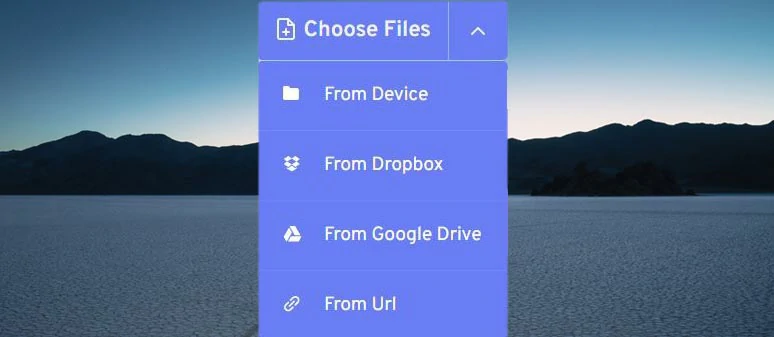
Well, if you don’t wanna go the extra mile to download video converter software, using a versatile online WAV to MP4 converter can be a great time-saver to convert WAV to MP4 with ease.
Here, we’ve rounded up a list of 3 flexible online WAV to MP4 converters for you. So, let’s find out which one works best for you.
1. FlexClip
Unlike most online WAV to MP4 converters that invariably convert WAV to MP4 with a mundane black screen, with FlexClip, you can set the desired aspect ratio (16:9, 9:16, 4:5, 1:1, 21:9) of the converted MP4 video for different social media and convert WAV to MP4 with images, stickers, and videos in clicks way.
Convert WAV to MP4 with styles by FlexClip online.

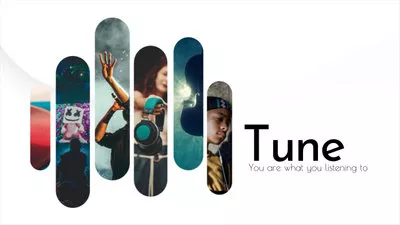
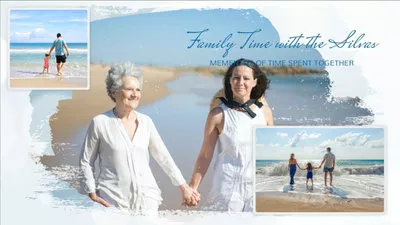
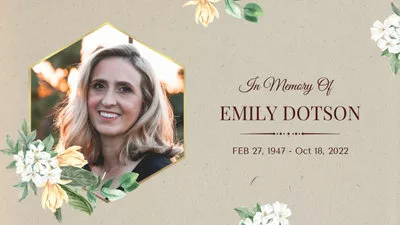
Another bonus you can enjoy is that FlexClip offers you loads of designer-made and fully-customizable video templates, covering lyric videos, slideshows, business, podcasts, and promo, etc. So, all you need to do is add your WAV file and drag and drop to customize the photos, videos, and texts and export them as a compelling MP4 video. Easy peasy lemon squeezy!

Besides, the helpful video, image, and audio tools, such as free text-to-speech generator, auto subtitle generator, and video to audio converter, image background remover, and image/video crop mask, and 1,000+ text animations, and 200+ trending video transitions, speed controls, etc, will unlock your creativity for video editing and take your videos to the next level.
Free text-to-speech generator is also available when needed in FlexClip.
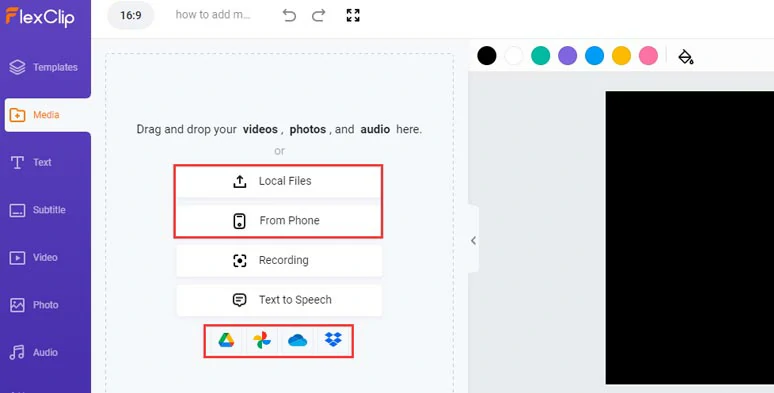
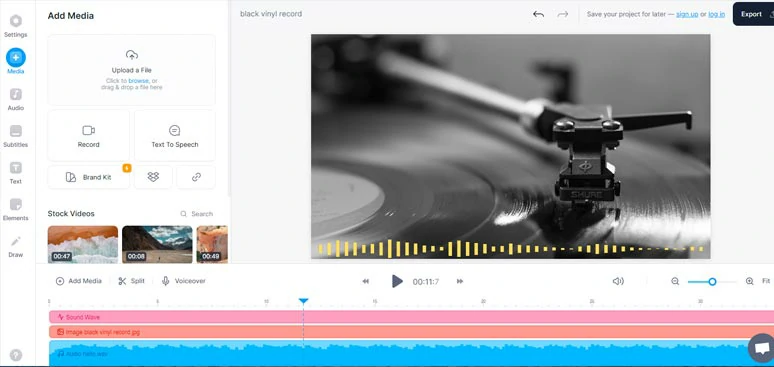
Upload your WAV file and other video assets to FlexClip.
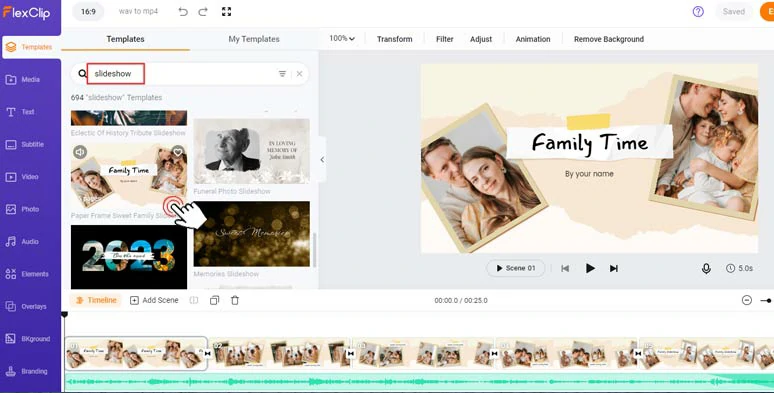
Select a free slideshow template for use.
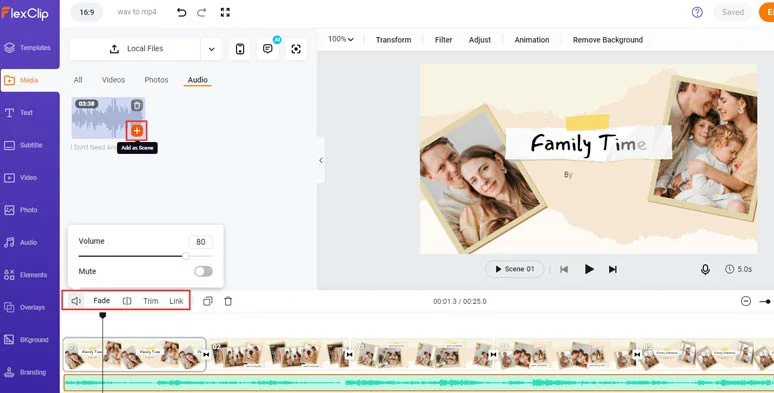
Delete the premade music track and add your WAV file to the audio track.
Alternatively, click the Audio tab where you can use 74,000+ royalty-free music tracks and sound effects to create depth for your video.

Use more royalty-free music and sound effects for your video.
If your WAV file has dialogue or lyrics, you can use FlexClip’s audio subtitle generator to auto-generate subtitles for your video with the click of a button. It can automatically transcribe 140+ languages with different accents to text and has up to 95% accuracy.
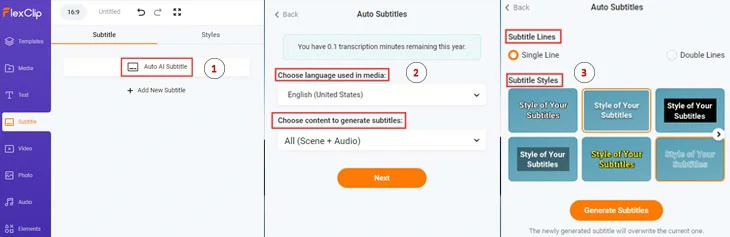
Automatically generate lyrics or subtitles for your WAV files.
Later, you can proofread the auto-generated subtitles and tweak text font, text size, and color, background fill, opacity, alignment, etc.
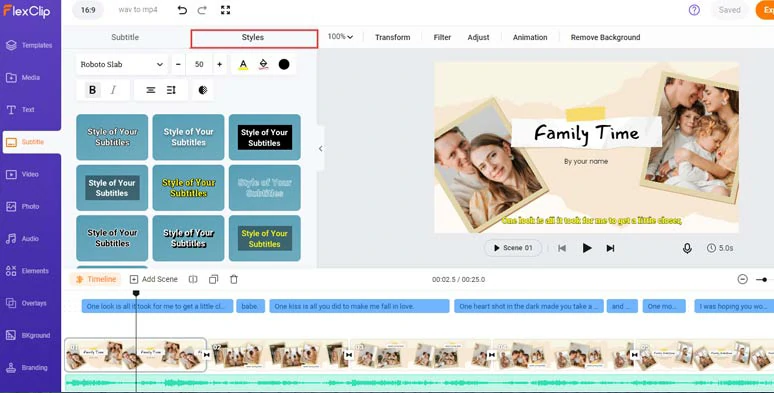
Proofread auto-generated subtitles and customize the style of subtitles.
You may also press “Enter” to split a long subtitle into two parts or merge two short subtitles with ease.
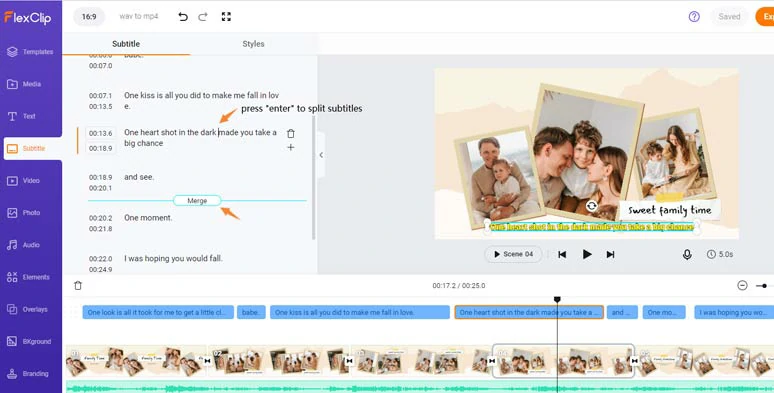
Easily split or merge two subtitles.
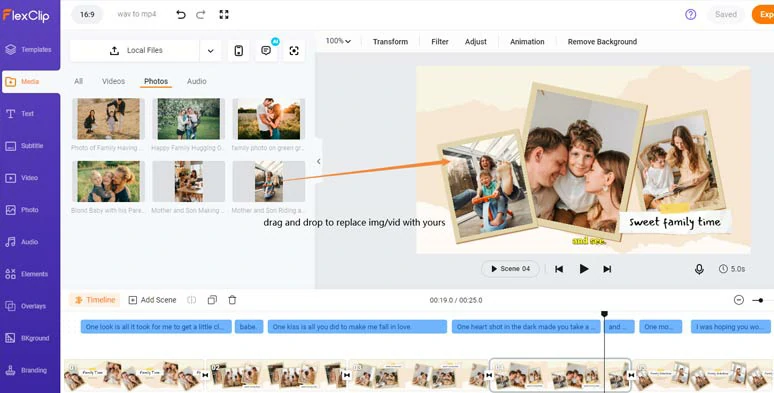
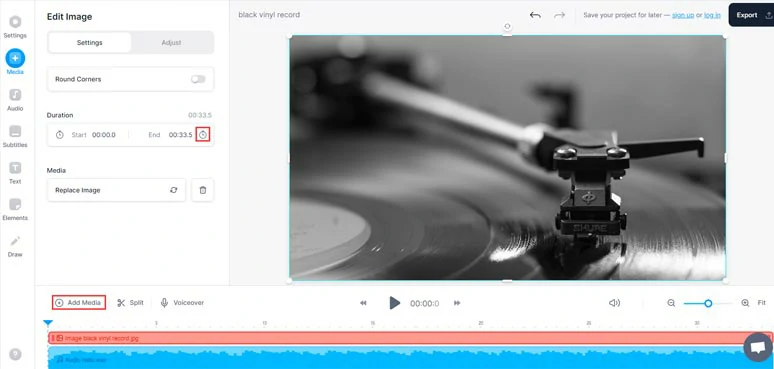
Replace the premade images or videos with yours.
You can click the Motion tool to animate the image or footage with styles or trim their duration on the intuitive timeline.
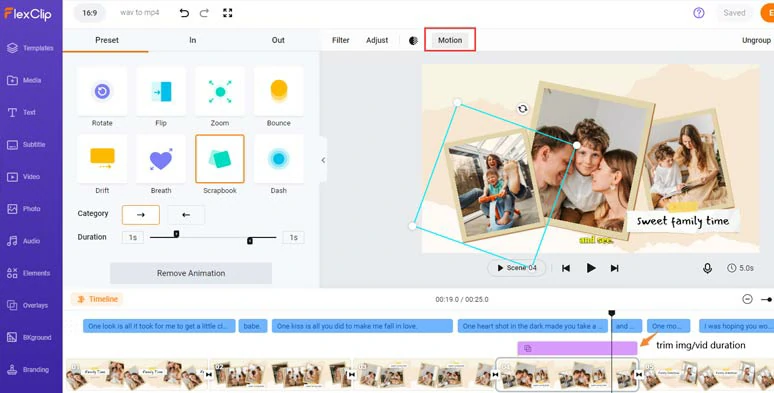
Animate images or footage with one click.
Double-click the premade text > type in your text > customize the text styles, text font, text color, size, duration, and text animations such as typewriter, glitter, bounce, blur, etc.
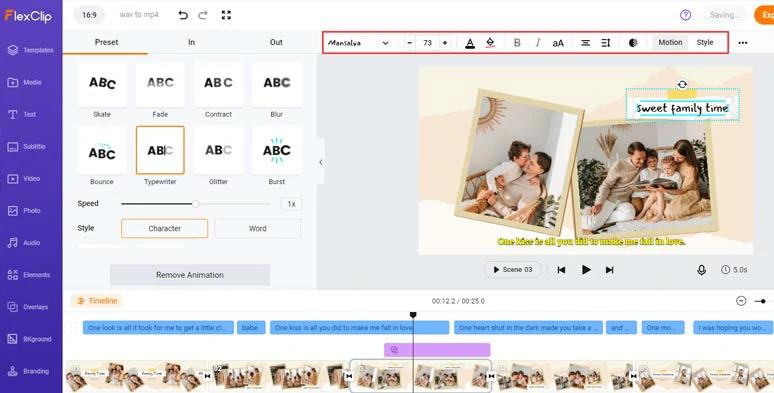
Customize the styles and animations of the text.
If you don’t like the premade text animations, click the Text tab where you can find tons of readymade and fully-customizable text animations, such as lower thirds, profile titles, minimal titles, news titles, speech bubbles, wedding and birthday titles, etc.
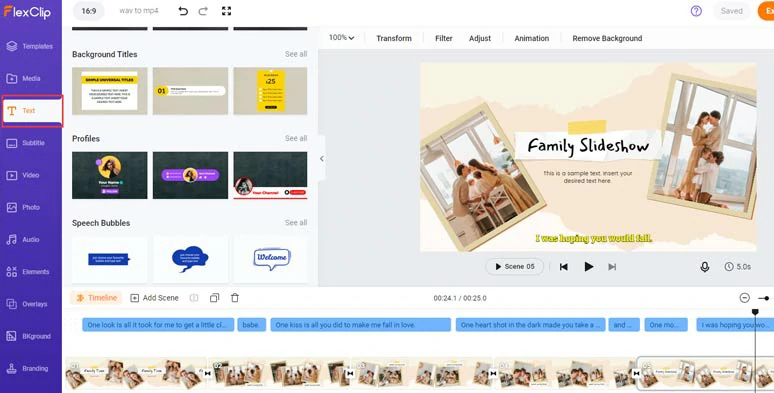
Use more readymade and customizable text animations for your video.
Click the transition tools between two scenes, and you can select from 200+ trending video transitions, such as liquid, circle, glitch, zoom in/out, etc. to add a smooth transition with controls to transition speed and color and direction.

Add trending transitions to the video.
Done with the editing. You can directly download the MP4 video to your local PC, or share it to YouTube, Google Drive, One Drive, Dropbox, or even TikTok; a clickable link is also available for your blogs, newsletters, or other repurposings.
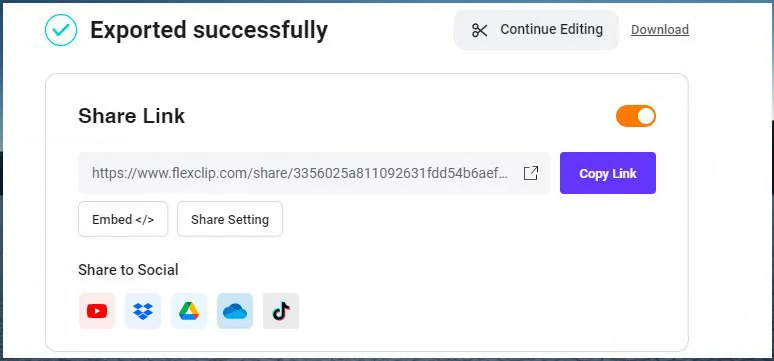
Easily share and repurpose your MP4 video.
2. Veed
With a versatile WAV to MP4 converter, Veed is another great online option to convert WAV to MP4 within your browser. Another feature of Veed worth noting is that you can use its audio waveform generator to create an animated waveform that matches the exact rhythm of your WAV audio file.
Convert WAV to MP4 by Veed.
Upload your WAV files to Veed.
Add a photo or a clip as a video background and extend its duration to match the WAV file.
Click the Elements tab > select a sound wave style to your liking > add it to your video. You may customize its color as well.
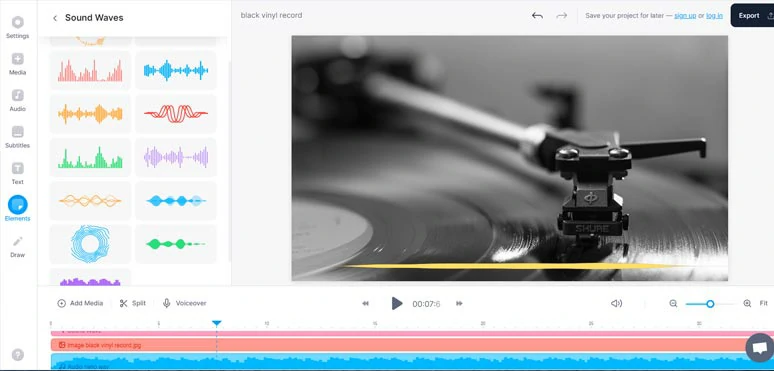
Add sound waves to WAV audio files.
3. FreeConvert
Well, if you don’t need to add images, audio waveform, or other decorative elements to your WAV file before converting it to MP4, another flexible online WAV to MP4 converter you can use is FreeConvert. It can help you convert WAV files to MP4 videos in batch in a split second for free.
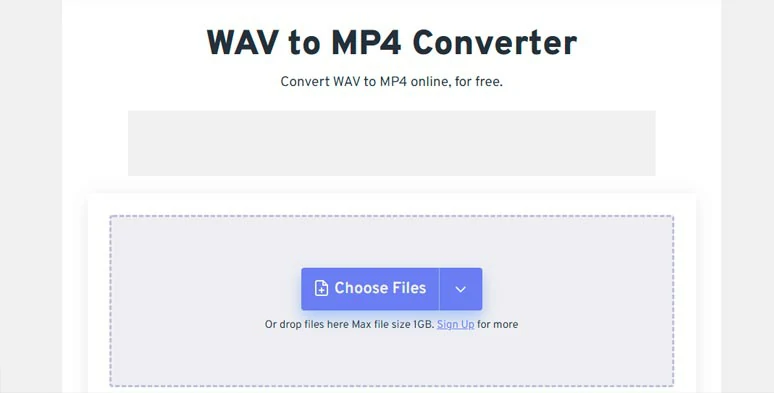
Use FreeConvert to convert WAV to MP4 online.
Upload your WAV files to freeconvert.
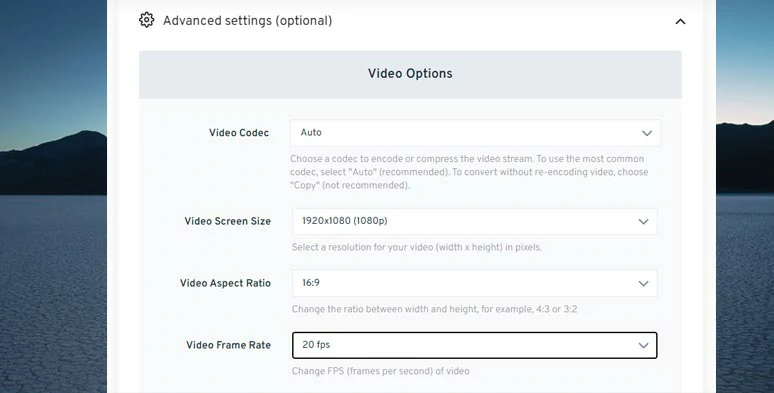
Set details for the converted MP4 video.
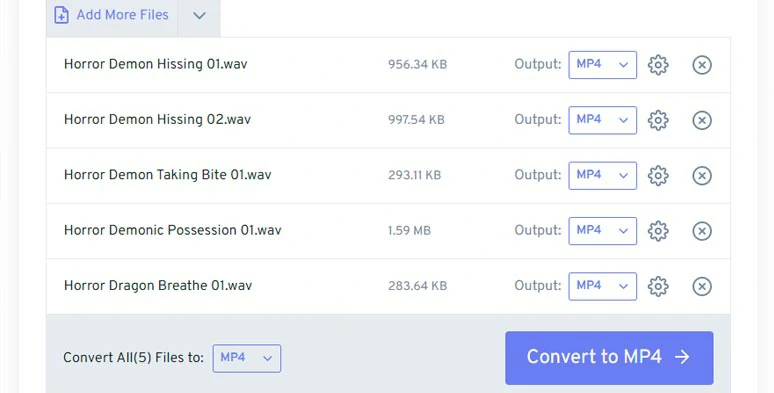
Convert WAV files to MP4 in batch by FreeConvert online.
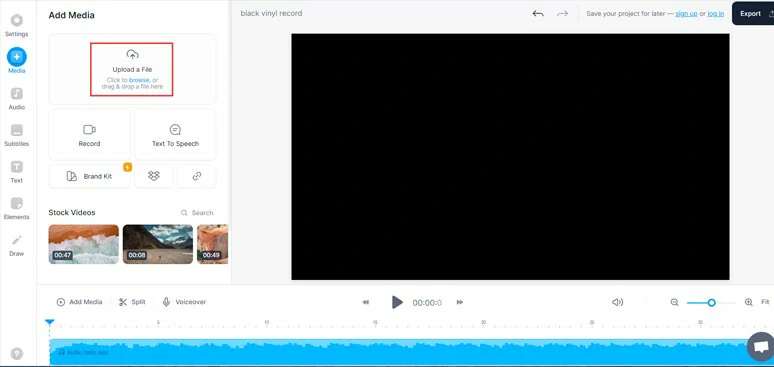
As we mentioned above, the only downside of this kind of online WAV to MP4 converters is that the converted MP4 video has a black screen, which might not that engaging for the video viewers if you post it on YouTube or Facebook, etc.
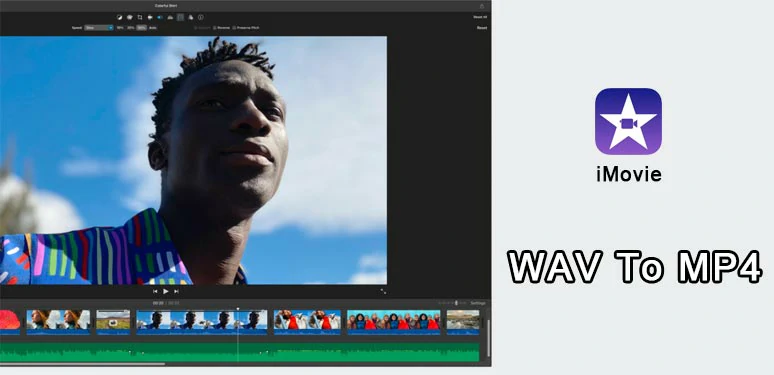
How to Convert WAV to MP4 on Mac Using iMovie
Well, if you are a Mac user and currently don’t have internet access to online WAV to MP4 converters, a great workaround is using the pre-installed iMovie to convert WAV to MP4 with images and texts in minutes. Besides, iMovie is also available on your iPhone as well.
Convert WAV to MP4 by iMovie.
Here, we will show you how to convert WAV to MP4 using iMovie on your desktop.
Well, the only downside is that iMovie won’t work for converting WAV to a 9:16 MP4 video for Instagram or TikTok since iMovie will automatically crop your videos. Also, read why does iMovie crop my videos.
How to Convert WAV to MP4 on Using Windows Video Editor
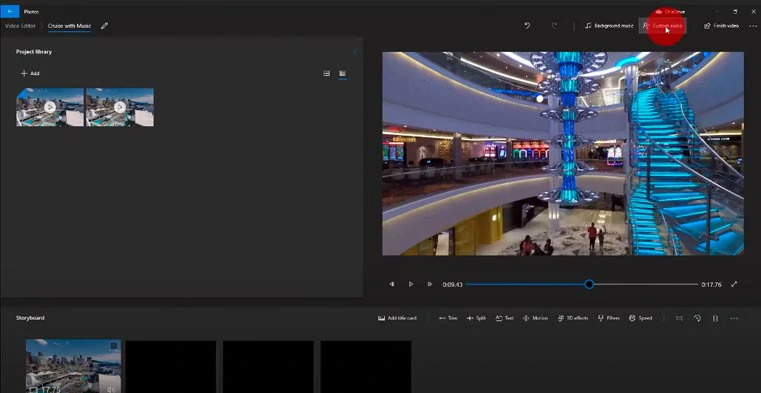
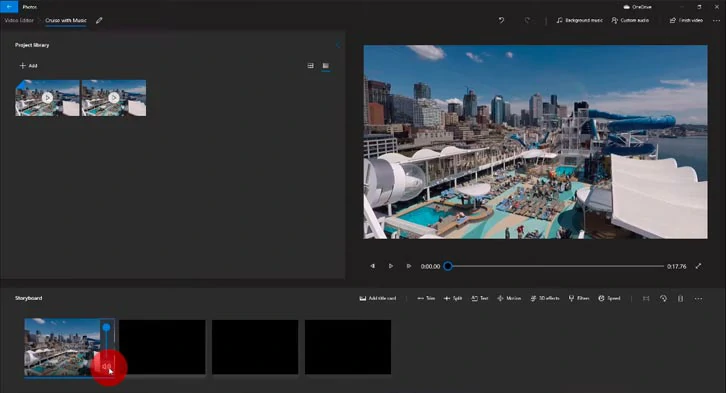
If you are on Windows 10/11, a hidden gem you can use to convert WAV to MP4 is the built-in video editor on Windows. Likewise, you can add images or videos to your WAV files before saving them as an MP4 video.
Convert WAV to MP4 by Windows 10/11 Video Editor.
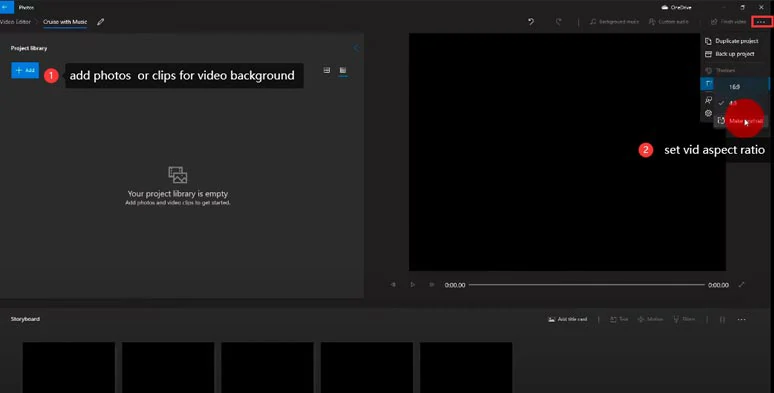
Add photos or clips as a video background and set the video aspect ratio needed.
Adjust the volume of clips or mute the clip.
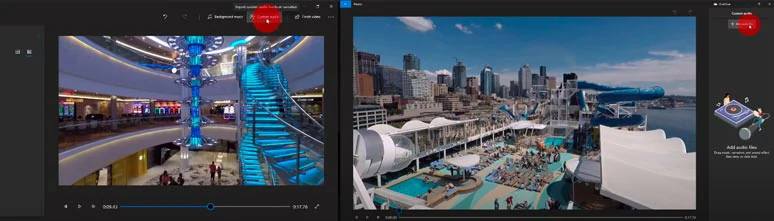
Add your WAV files to Windows Video Editor and make some edits.
Now, It's Your Move
So, that’s how you can convert WAV to MP4 online, on Mac and Windows. Now, the next question is which WAV to MP4 convert works best for you. Share this post on your Facebook or Twitter and leave your comments to us. Hopefully, you can easily convert your WAV files to compelling MP4 videos and get more likes and followers on YouTube, Instagram, TikTok, etc.


FlexClip AI Video Maker
Reach professional-quality videos faster with easy editing tools, templates, and smart AI.
Start Now for Free
Hot & Trending
-

Best Ways to Find Music in YouTube Videos
-

Instagram Story Video Quality Bad After Upload? Fix It!
-

How to Repost Video on TikTok & How to Remove TikTok Repost
-

Improve Video Quality Online: 3 AI Video Quality Enhancers You Can't Miss
-

4K Convert to HD 1080p without Watermark: Best 4k Video Converters
-

Top 13 Birthday Video Makers with Music and Effects Free
-

How to Search Filters on TikTok & Use a Filter You See - TikTok Filter Guide
-

Large Collection of Creative and Funny Birthday Video Ideas for Ones You Care