iMovie not uploading to YouTube. What can I do to fix that?
Trying to upload my first video but it's not working - HELP PLEASE!
Why won't my iMovie videos upload to YouTube? What do I need to do to upload them properly?
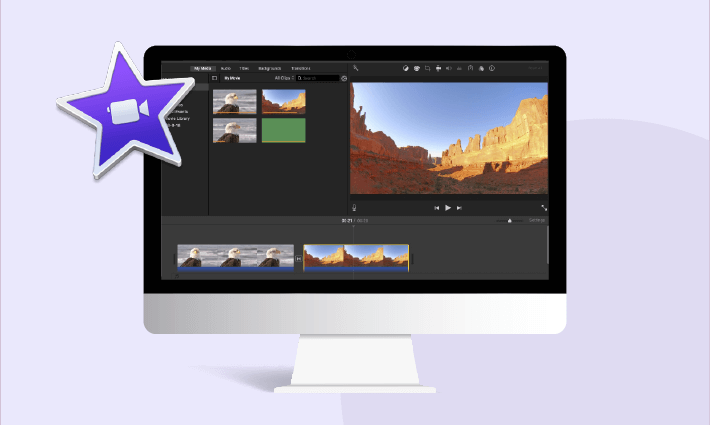
Offering enormous free video editing features, iMovie falls on the top list when video creators try to pick a video editor. What's more, many YouTubers have found comfort in this tool due to the YouTube uploading function.
However, there is a distance between ideality and reality. Many users reported that they can't upload iMovie videos to YouTube when finishing edits, which drives them crazy. To help you get rid of this tricky issue, we've gathered all the causes and solutions accordingly. Let's take a look at this tutorial now.
Reasons for Failing to Upload iMovie to YouTube
Depending on the size of your video file, the quality of your internet connection, and the application or device you are trying to send it to, there could be many reasons why iMovie won't upload to YouTube. Here we've divided them into three groups with solutions.
Reason One: The Video Exceeds the Maximum Parameter
By default, you can upload videos that are up to 15 minutes from iMovie to YouTube. For uploading a video up to 15 minutes, you should trim the video into several parts with iMovie or verify your Google Account to eliminate the limit. With a verified Google Account, you can upload a video longer than 15 minutes and the max upload size is 128GB (or 12 hours long).
To verify your Google Account, open a web browser, sign in to your YouTube and then you can upload videos to YouTube.
Reason Two: Wrong iMovie Video Format for YouTube
There are overlapped and different video formats supported by YouTube and iMovie.
iMovie supports: .MOV, .M4V, .AVI, .MP4;
YouTube support: .MOV, .MP4, .AVI, .WMV, .FLV .3GPP.
To eliminate the incompatibility, you need to convert .M4V to the one YouTube supports, like MP4. You can use an online video converter like FlexClip's video converter to transform your video format without quality loss.
Reason Three: Insufficient Storage Space
You might encounter the problem that iMovie file is unreadable on YouTube when it's uploaded to YouTube. It might be caused by insufficient storage space on your drive or some corruption in your iMovie videos to make them unreadable for YouTube.
To solve this problem, try restart iMovie on your computer and free up memory for a smooth process.
Other Potential Causes for Inability to Upload iMovie Video to YouTube
1.Poor internet connection
Your internet speed determines whether it's possible to upload your iMovie videos to YouTube or not as low internet speed cause the service to time out or experience difficulty sending the file. Use a tool to test your internet speed and increase upload speed if the result is unsatisfying.
2.Large video file
If your file is too large, it could be causing the sharing process to time out or take too long to respond, resulting in a failed share. To ensure a fluent sharing process, set the video resolution to a lower one or take an online compress to reduce the video size.
3.Heavy upload traffic
You might be uploading during a busy time. At some peak hours, your internet service provider registers spikes of upload traffic and might take longer to upload your video to YouTube.
How to Upload iMovie Video to YouTube
Now it's time to upload your iMovie video to YouTube. You can follow the tutorials below to perform YouTube upload easily:
Bonus Tips: An iMovie Alternative to Edit and Upload YouTube Videos
Still unable to upload iMovie to YouTube? Or unsatisfied with performance of iMovie to create YouTube videos? The best iMovie alternative online called FlexClip is ready for help.
FlexClip is an iMovie-like video editor with an easy-to-use interface and handy editing tools. Offering a variety of awesome features, it makes your creation process a breeze, regardless of any video editing experience. Moreover, it supports one-click upload to YouTube after exporting without glitches or waiting.
Stunning highlights of FlexClip to Create YouTube Videos
How to Create and Upload YouTube Videos with FlexClip
Step 1: Import Your Footage to FlexClip
Click on Create a Video to enter FlexClip's editor page and upload all the footage under the Media panel. If you need some inspiration for YouTube videos, directly tap the View Template icon to select an eye-catching preset.
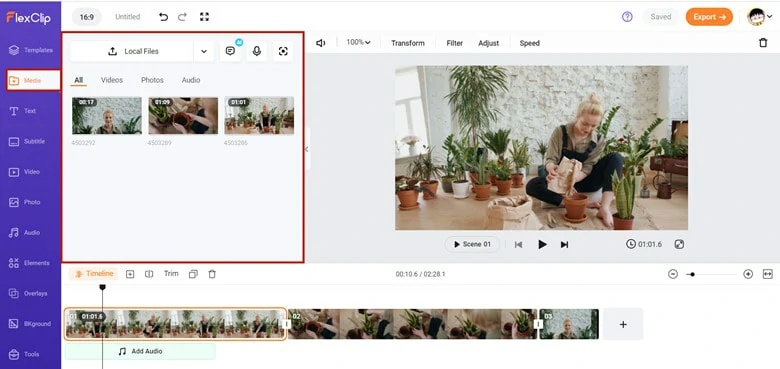
Upload Your Media Resources to FlexClip


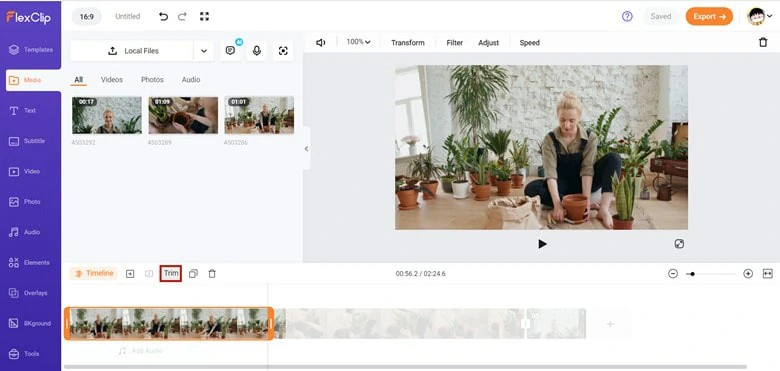
Step 2: Edit the Raw Video
Make raw edits with trimmer and splitter to cut out unwanted parts.
Make Raw Edits to Your Video
Step 3: Add Subtitles to Video
You can use the AI subtitle tool to automatically generate captions or manually type in words with multiple text designs.
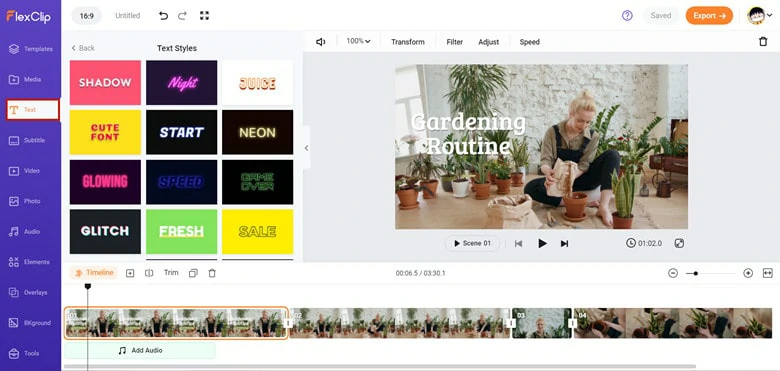
Add Text to Your Video
Step 4: Add Music to Video
Music perfects your YouTube videos. Pick from FlexClip's extensive music library or directly import a sound clip from local.
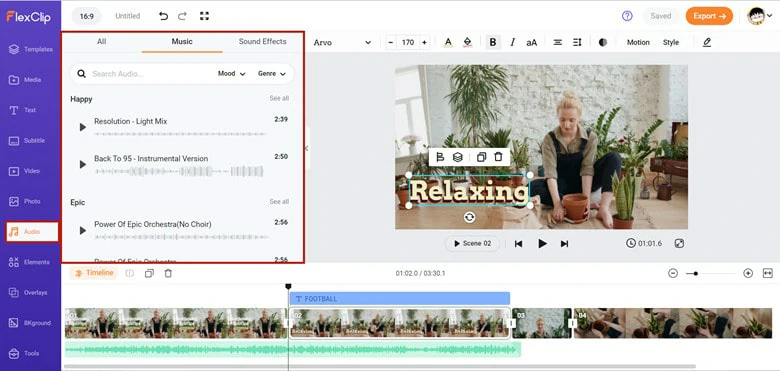
Add Music to Video
Step 5: Add Transition to Video
Transitions can avoid abruptly switching between different parts and make your video more engaging. Place the mouse between two parts and select your transition effects.
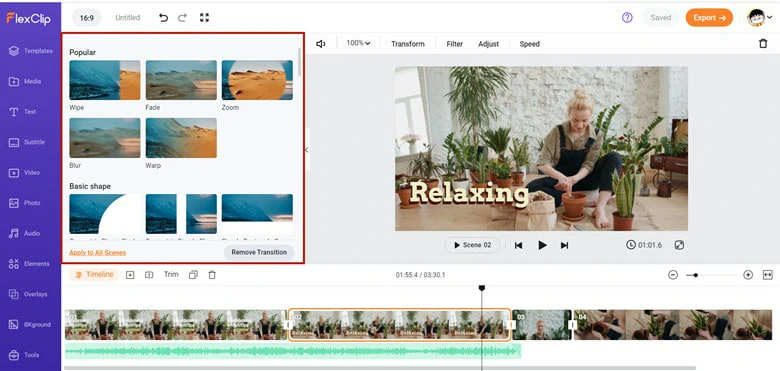
Add Transition to Video
Step 6: Add Shape to Video
Animated shapes will bring your content to live. Be it a funny meme, an animated GIF or a call-out icon, there are various options for you to choose from.
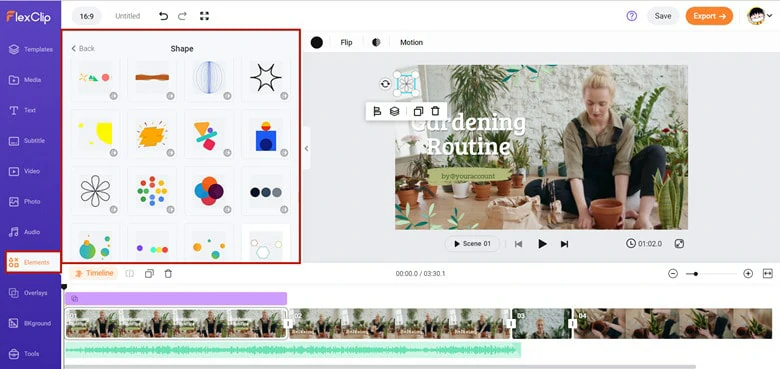
Add Shapes to Your YouTube Video
Step 7: Export and Upload Video to YouTube
Preview the video to check if everything goes well. Once you finish edits, tap on the Export icon to render this video. After that, hit the YouTube icon to connect your Google Account and a new window will pop up that prompts you to edit the name, description and privacy of your YouTube video. Click on the Upload video and it will appear at your pages in seconds.
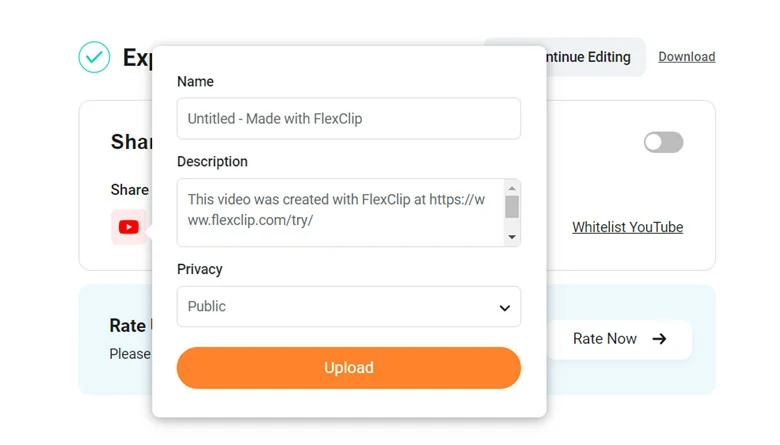
Export Video and Upload Video to YouTube
The Bottom Line
Have you uploaded your videos from iMovie to YouTube successfully? When uploading iMovie to YouTube, don't forget to check the video format, size and all the aspects mentioned above. While if you prefer a simple and easy way to create and upload videos to YouTube, FlexClip is a nice option for you. Give it a try now!


FlexClip AI Video Maker
Reach professional-quality videos faster with easy editing tools, templates, and smart AI.
Start Now for Free
Hot & Trending
-

Best Ways to Find Music in YouTube Videos
-

Instagram Story Video Quality Bad After Upload? Fix It!
-

How to Repost Video on TikTok & How to Remove TikTok Repost
-

Improve Video Quality Online: 3 AI Video Quality Enhancers You Can't Miss
-

4K Convert to HD 1080p without Watermark: Best 4k Video Converters
-

Top 13 Birthday Video Makers with Music and Effects Free
-

How to Search Filters on TikTok & Use a Filter You See - TikTok Filter Guide
-

Large Collection of Creative and Funny Birthday Video Ideas for Ones You Care