
What’s Flicker Video Effect
Flicker in video means sudden and abrupt changes in brightness between each scene in a video. It is first found in televisions when the signals are unstable or the screen works improperly. In general, flicker effect uses black and white color as a contrast. You can also use other colors.
Flicker effect is widely used on TikTok, Instagram videos. The flashing videos can always go well with music to highlight important parts, or draw audiences’ attention.
Add Flicker Effect to Video with FlexClip
FlexClip is an easy-to-use, online video editor that you can use to add the flicker effect to a video. Even though it doesn’t have a built-in flicker effect ready to use, you can add 0.1s video clips anywhere you like and create the flicker effect manually.
Click on the Create a Video button below and follow the steps to add the flicker effect to your video. FlexClip also provides professionally-made free video templates. Click on the View Templates button to customize them freely!


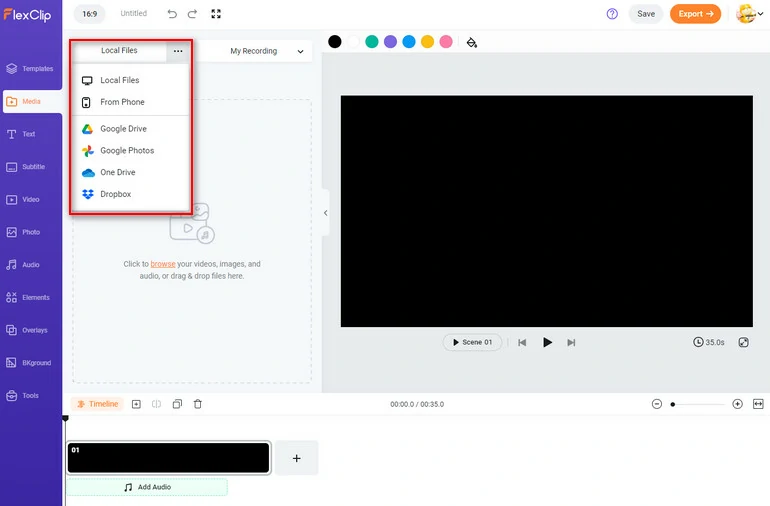
Upload Media Resources to FlexClip
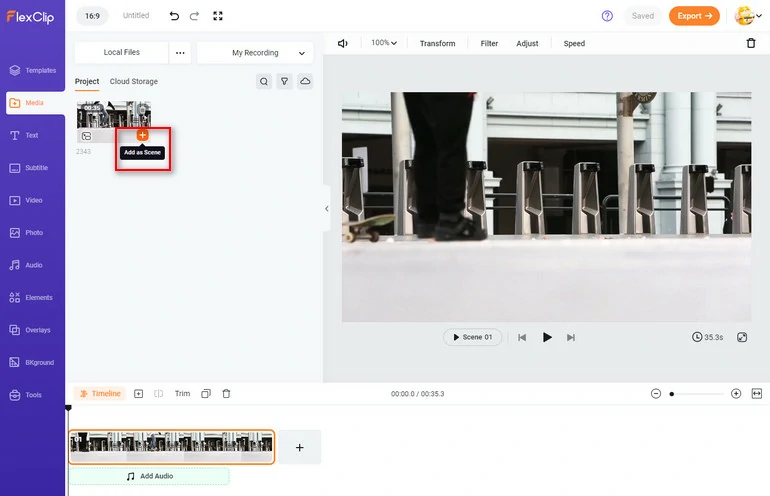
Apply to the Timeline
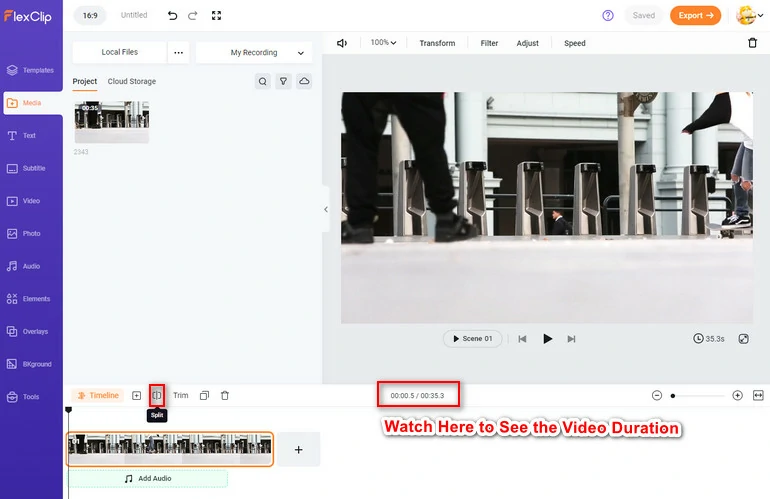
Split the Video
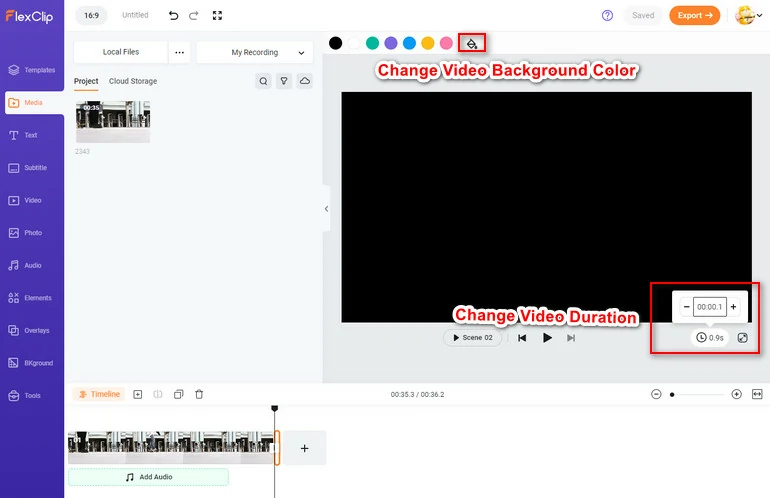
Split the Video
Add Flicker Effect to Video with CapCut
CapCut is an app launched to encourage users to create more videos for TikTok. Due to its powerful features, it is getting more popular and everyone can even use it desktop. It is a piece of cake to add the flicker effect to a video with CapCut. Following are the detailed steps.
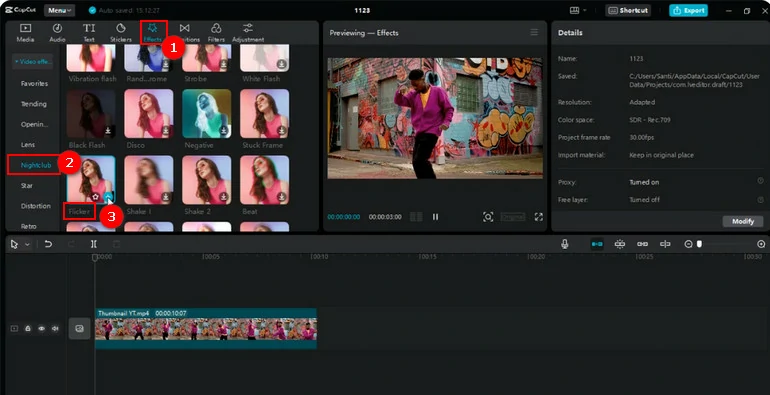
Add Flicker Effect to Video with CapCut
Add Flicker Effect to Video with Premiere Pro
Premiere Pro is a professional video editing software developed by Adobe. It can be used to realize all effects you can think of, including the flicker effect. If you don’t mind about its price, follow the steps below to add the flicker effect to a video with Premiere Pro.
Add Flicker Effect to Video with Premiere Pro
Conclusion
The above are 3 ways to add a flicker effect to videos. If you find this post helpful, please do share with others.
By the way, FlexClip has now successfully integrated with AI to fasten the video editing process. It can write excellent video scripts, do natural voiceover, generate a video from texts, add subtitles automatically. Explore endless possibilities with FlexClip!


FlexClip AI Video Maker
Reach professional-quality videos faster with easy editing tools, templates, and smart AI.
Start Now for Free
Hot & Trending
-

Best Ways to Find Music in YouTube Videos
-

Instagram Story Video Quality Bad After Upload? Fix It!
-

How to Repost Video on TikTok & How to Remove TikTok Repost
-

Improve Video Quality Online: 3 AI Video Quality Enhancers You Can't Miss
-

4K Convert to HD 1080p without Watermark: Best 4k Video Converters
-

Top 13 Birthday Video Makers with Music and Effects Free
-

How to Search Filters on TikTok & Use a Filter You See - TikTok Filter Guide
-

Large Collection of Creative and Funny Birthday Video Ideas for Ones You Care