Fade to black is one of the most classic transition effects widely used in films and videos. It adds a cinematic touch to your footage and smooths out the transition from one scene to another.
In this tutorial, we walk you through what a fade to black is and how to use it in different scenarios and offer you a step-by-step guide on how to fade to black in Premiere Pro, plus an online alternative to doing fade to black in your video.
Here is what you will learn:
Here is a quick takeaway to do fade to black in Premiere Pro:
What Is Fade to Black
Fade to black is a video transition that makes a clip/scene gradually end with a black background. It originates from the theater performance in the old days when the staff drew the stage curtains and turned off the light. So, the stage became pitch dark while the crew behind hurried to change clothes and stage props for the next scene.

Origin of fade to black transition on stage in the theater.
Nowadays, there are 3 types of fade to black commonly used in video editing for changing the scene and advancing the story.
Fade in from black
Fade out to black for the credit rolls in films
Fade in from black and fade out to black
So, as you can tell that different fade to black transitions play different roles in storytelling. We will offer more detailed examples in the latter of the article.
How to Fade to Black in Premiere Pro
Whether you create your YouTube Vlog or make a movie intro, you can easily add fade to black in Premiere Pro to make the cinematic and seamless transition.
How to add fade to black transition in Premiere Pro.
Premiere Alternative: How to Easily Add Fade to Black to Videos Online
If Premiere Pro is currently unavailable to you, a great alternative to easily doing fade to black transition to your footage is FlexClip. It’s an easy-to-use and versatile in-browser video editor. You can upload your clips to FlexClip, do the rough cuts like trimming and splitting and add fade to black transitions to your clips in a breeze.
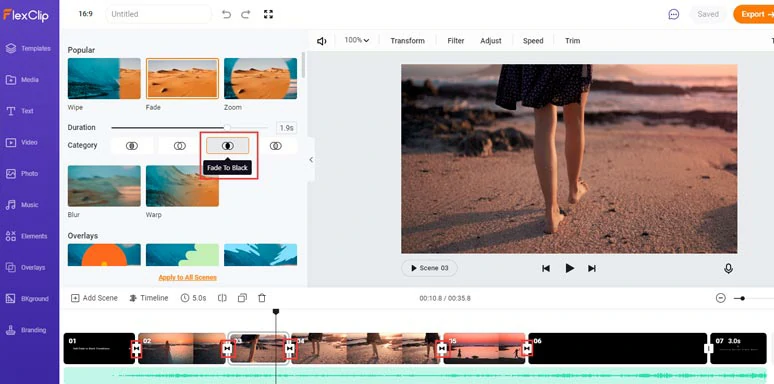
Easily add fade to black transition to a video by FlexClip online

Besides, you can find dozens of stylish overlay transitions and tons of fully-customizable video templates for YouTube, TikTok, Instagram, Facebook, etc, and royalty-free music, sound effects, and video tools to create scroll-stopping video content.
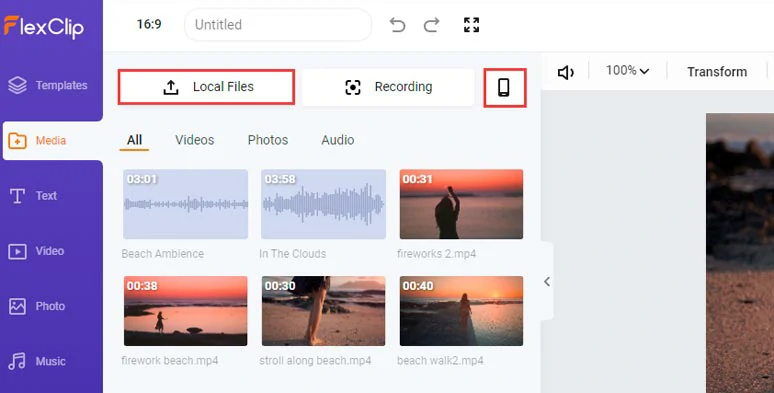
Upload clips, images, and audio files to FlexClip.
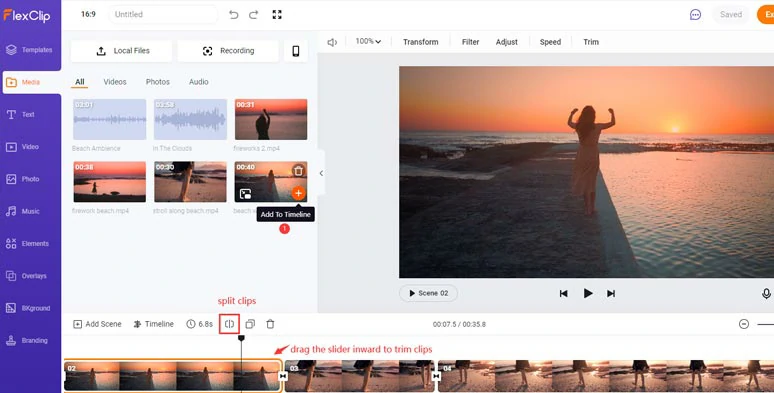
Add clips to the timeline and trim and split clips for the rough cuts.
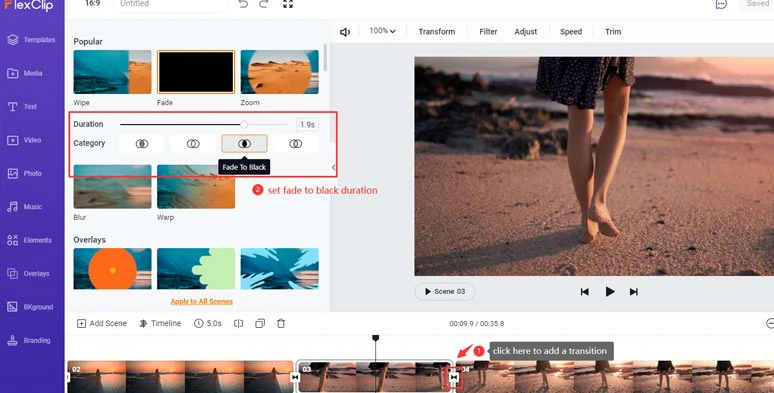
Add a fade to black transition and set its duration.
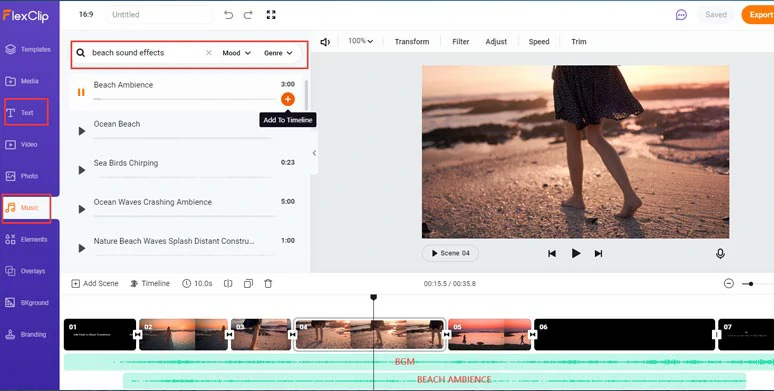
Add texts and free BGM and sound effects to the video.
Here is the resulting video with fade to black transitions, texts, and audio from the above example:
Fade to black transitions made by FlexClip
How to Use Fade to Black for Storytelling
Now, you know how to do fade to black in your videos. Here, we will briefly walk you through what you can do to use a fade to black for better storytelling in videos.
Apart from using fade to black for the opener and credit rolls, you can apply fade to black in the 3 following ways in your video project:
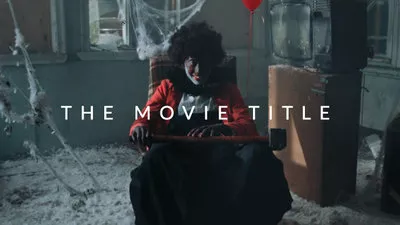
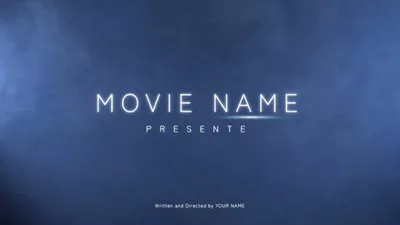
1. Combine Fade to Black with Title and Sound Effects in Movie Trailer.
Since fade-to-black transitions create a break to connect two scenes, you can add transition sound effects like Hit, Swoosh, Braam, and title to draw viewers’ attention to a movie trailer.
2. Create Suspense for the Story.
In horror or suspense films, fade to black is frequently used to highlight the intense and unease feelings of the protagonists, such as in murder scenes, etc.
3. Portray the Failing Consciousness of the Main Characters.
If the protagonist is either drunk or is losing his consciousness due to injury or trauma, you may also use fade-to-black transitions as a film montage to represent his mental state or passing of time.
Now, It's Your Move
Fade to black is one of the timeless transitions for storytelling in videos and films. Hopefully, you can create better fade-to-black transitions that wow viewers using Premiere Pro and its online alternative—FlexClip. If you find this tutorial helpful, don’t forget to share it with friends on Facebook, and Twitter and leave your comments and tag us.


FlexClip AI Video Maker
Reach professional-quality videos faster with easy editing tools, templates, and smart AI.
Start Now for Free
Hot & Trending
-

Best Ways to Find Music in YouTube Videos
-

Instagram Story Video Quality Bad After Upload? Fix It!
-

How to Repost Video on TikTok & How to Remove TikTok Repost
-

Improve Video Quality Online: 3 AI Video Quality Enhancers You Can't Miss
-

4K Convert to HD 1080p without Watermark: Best 4k Video Converters
-

Top 13 Birthday Video Makers with Music and Effects Free
-

How to Search Filters on TikTok & Use a Filter You See - TikTok Filter Guide
-

Large Collection of Creative and Funny Birthday Video Ideas for Ones You Care