Like any other Microsoft program, Microsoft PowerPoint is also a widely used program that is specifically designed for developing visuals and animations for presentation purposes. With its endless list of unique features and user-friendly interface, PowerPoint is truly one of the best software programs for creating professional-looking digital slideshows.
However, with increasing competition and newer web-based slideshow developing programs, PowerPoint has become somewhat underrated and has experienced a loss in audience since not many people are aware of some of the very unique features of PowerPoint that contribute to slideshow creation, primarily because these features are not too commonly used.
PowerPoint unlike many other programs is not a web-based application and can also be used offline which gives it a certain edge over the up-and-coming software-based online. If you want to create a slideshow on PowerPoint but do not know how to, follow the tutorials below to gather some insight so that you may create a good electronically developed slideshow without the hassle of dealing with a bad internet connection.
How to Create a Slideshow in PowerPoint
The steps below will guide you on how to make a slideshow on PowerPoint.
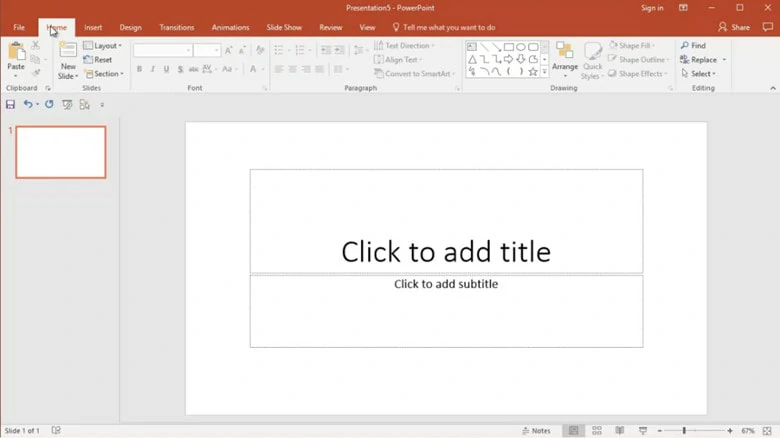
Open PowerPoint on Your Computer
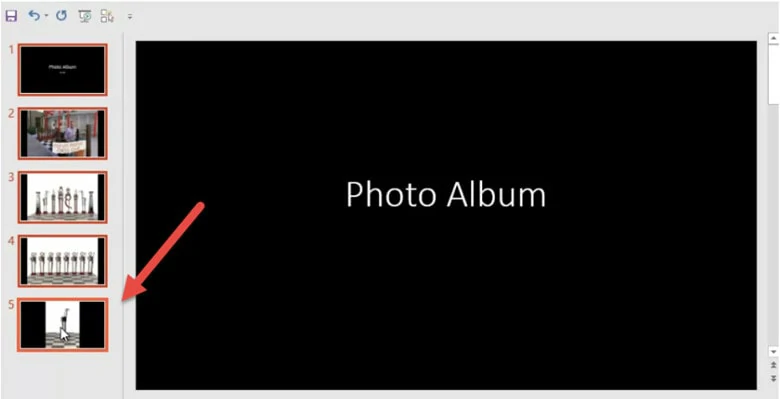
Design the Slide with Text and Picture

Add Transitions to Your PowerPoint
How to Add Music to PowerPoint Slideshow?
Here’s what you need to do to add music to your slideshow.

Add Music from Your PC
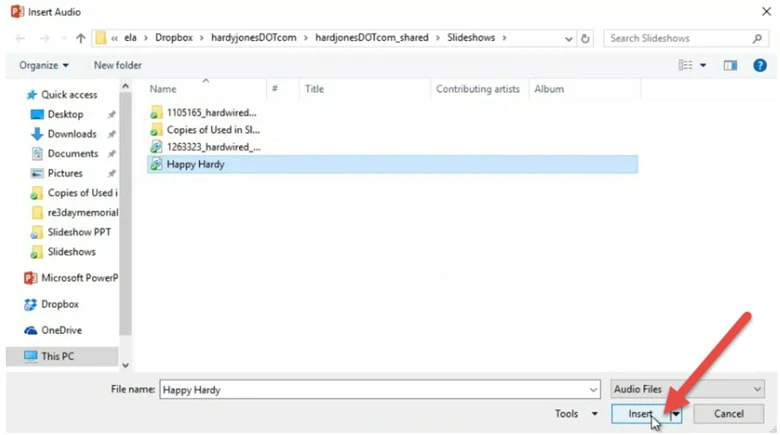
Insert the Aduio
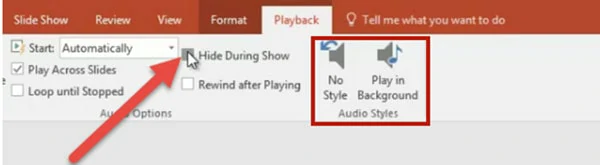
Make the Audio Play in the Background
How to Make PowerPoint Slideshow Loop?
Follow the steps below to create a looping slideshow.
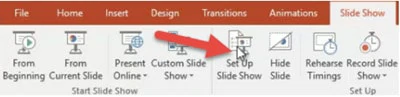
Select the Option “Set Up Slide Show
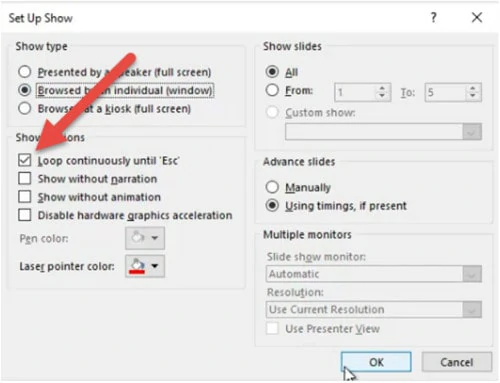
Make the Slideshow Loop
What Are Some Easier Ways to Create a Slideshow?
While PowerPoint itself may be a great outlet for the creation of slideshows, there may be platforms that allow you to get the same thing done in easier ways. One of these platforms is FlexClip which uses a professional PowerPoint video template and its rich resources to allow you to create an incredible electronic slideshow without any edit and export hassle. Give it a try!
The Bottom Line
With growing competition, many platforms are emerging for presentation development. However, Microsoft PowerPoint, despite some of its features remaining unexplored, has maintained its name as one of the leading platforms for slideshow creation. If you have friends struggling with presentation making, kindly share this post with them so that they may learn about how slideshows can be created with PowerPoint and also become aware of the FlexClip platform which has an endless list of features for its consumers. Don’t forget to give it a try!


FlexClip AI Video Maker
Reach professional-quality videos faster with easy editing tools, templates, and smart AI.
Start Now for Free
Hot & Trending
-

Best Ways to Find Music in YouTube Videos
-

Instagram Story Video Quality Bad After Upload? Fix It!
-

How to Repost Video on TikTok & How to Remove TikTok Repost
-

Improve Video Quality Online: 3 AI Video Quality Enhancers You Can't Miss
-

4K Convert to HD 1080p without Watermark: Best 4k Video Converters
-

Top 13 Birthday Video Makers with Music and Effects Free
-

How to Search Filters on TikTok & Use a Filter You See - TikTok Filter Guide
-

Large Collection of Creative and Funny Birthday Video Ideas for Ones You Care