VLC is more than a free media player, it is also capable of capturing all the onscreen activities. But like most programs, it also has glitches and the most common one is VLC record not working. That's why we are here to help you with a few simple & easy troubleshooting methods. Let's explore it.
Part 1. 6 Feasible Ways to Solve VLC Not Recording Problem
So basically there are two problems. The first one is about VLC not recording video. Whenever you do this, the export will turn black. The second problem is that VLC fails to record audio.
Case 1. Audio Problems of VLC Recording
Solution 1. Restart the Sound Card on Your Computer
If the recording of VLC contains no audio, you need to check whether the sound card is frozen or any other program on your computer is using it. Under such circumstances, restarting the sound card is a quick way to fix VLC recording video only.
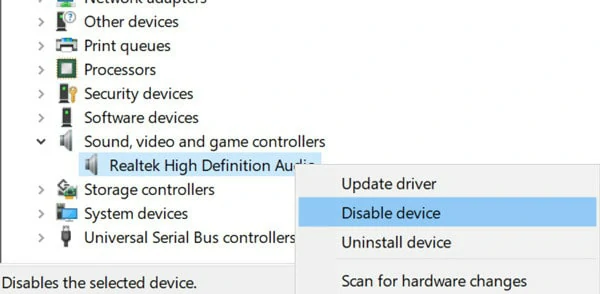
Restart the Sound Card on Your Computer
Solution 2: Change the Audio Output Format
If restarting sound card doesn't fix the audio problem and the VLC recording sounds crackling when you playing, you can change the audio format to fix small glitches.
Open VLC Media Player on your computer and click on Tools. Then choose Preference and navigate to Audio panel in the drop-down menu. Here Output Modules and change it to ALSA so that VLC will capture audio files.
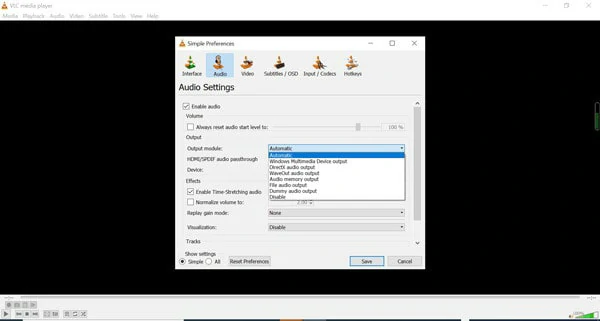
Change the Audio Output Format
Case 2. VLC Is Not Recording Video
Solution 1. Restart or Update VLC to the Latest Version
The easiest way to fix VLC not recording video is restarting VLC and rebooting your computer. If the problem still exists, try to upgrade the VLC software as an outdated version leads to various small glitches.
Launch VLC media player and click on the Help tab. From the drop-down menu, select the Check for Updates option. If any update is available, the notification interface will pop up.
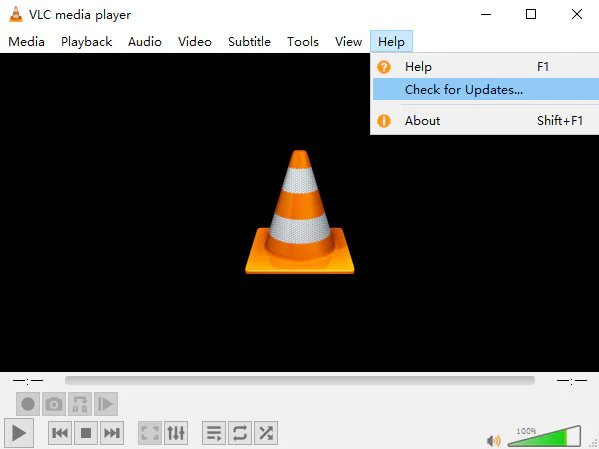
Update VLC to the Latest Version
Solution 2: Uncheck Video Acceleration
The hardware acceleration is another reason for VLC not recording video. It usually makes your recorded file turn out to be an MP3 file. Therefore, it's necessary to disable the acceleration feature to fix VLC not working issue.
Open VLC media player and go to Tools. Next, choose Preferences and Video. After that, tap the Input/Codecs icon and choose the Disable option in the Hardware-accelerated decoding part.
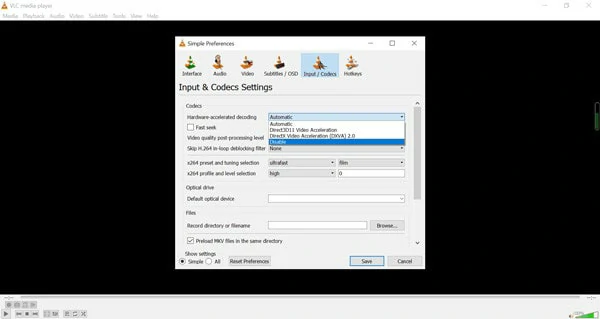
Uncheck Video Acceleration
Solution 3: Modify the Codecs
Sometimes, the recorded videos look lagging which is annoying. No worries, you can get rid of this trouble by modifying the codecs as below: Go to VLC Media Player > Tools > Preferences option and navigate to Input / Codecs. Under Show Settings, you need to change the default option to Show All. Now set the the File caching (ms) value as you need.
Case 3. VLC Record Button is Not Working
What should you can if the record button of VLC doesn't work at all? This is because the Windows Defender settings conflict with VLC recording settings. You can disable it to test if screen recording works.
Part 2. Record Video with A VLC Alternative
Since VLC is designed as a media player, it doesn't come with powerful screen recording features. To get rid of the function limits, it's wise to use a VLC alternative instead. Here FlexClip falls on the top list.
It allows you to capture screen, webcam and audio without lagging or quality loss. Besides, it comes with templates and advanced editing tools to adjust your raw file to smooth work, ranging from cropping, trimming, splitting to adding music, text, transitions, GIFs and more.
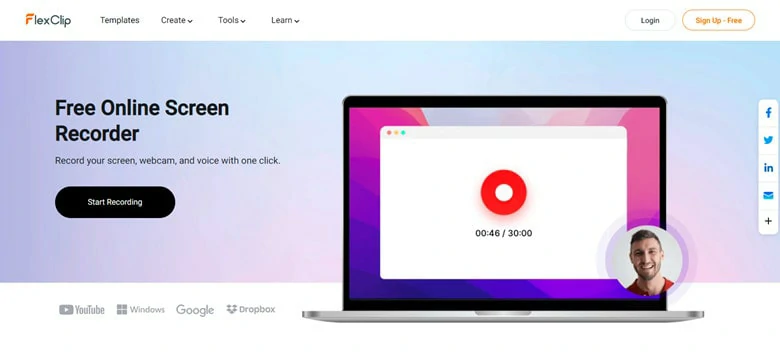
Go to FlexClip's Screen Recorder


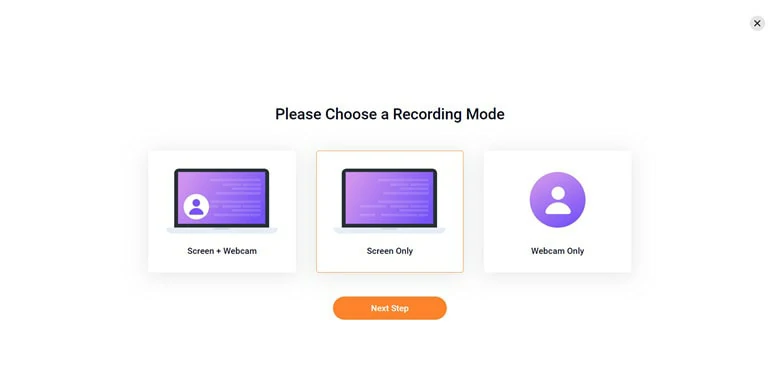
Choose a Recording Mode
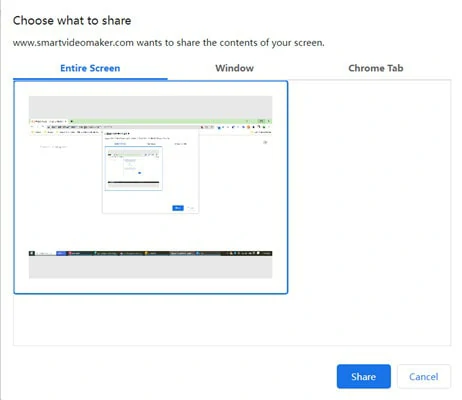
Select the Window for Recording
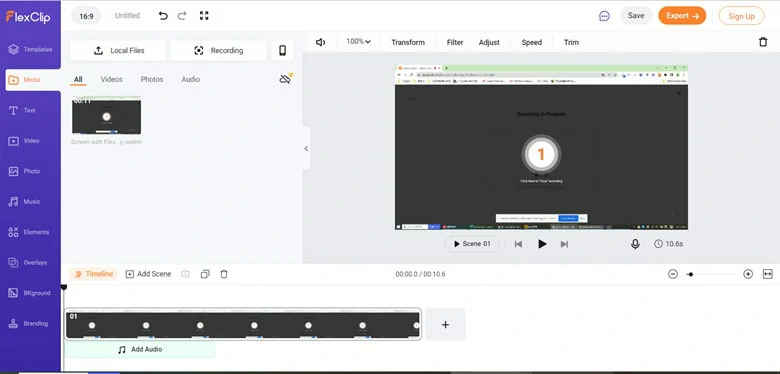
Make Edits to the Recorded Video
Part 3. FAQ of VLC Recording
1. Why Subtitles are not showing when recording a short clip from DVD?
When you recording s DVD file, you may find the subtitles are missing. This is because your subtitle file is saved to a separate file. So to record a DVD video with subtitles, you should burn subtitles into the film before recording with VLC.
2. What format does VLC support?
VCL saves your files as AVI format by default. But as it supports wide range of video formats, you can manually change the default output format to MP4, AVI, MKV, WAV, OGG and other formats.
3. Where can I find my recorded files?
On Windows, it will be saved to your "Videos" folder.
For a Mac computer, you will find the recorded files in your "Movies" folder.
If you can’t find your recordings in those folders, you can check Tools > Preferences >Input/ Codec> Files/ Record directory or filename.
4. How to Record with VLC?
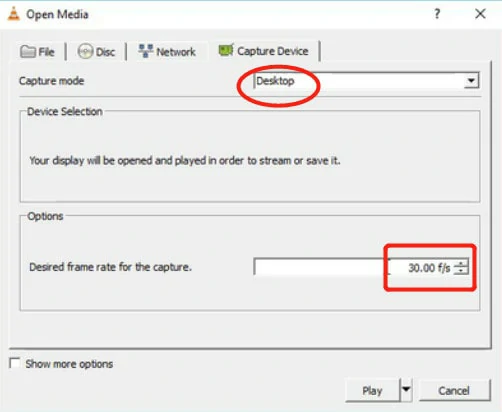
Step 1: Open VLC, find the Media icon and choose the Open Capture Device option.
Step 2: Choose the capture mode and frame rate as you want.
Step 3: After setting up everything, click on the arrow icon of the Play button to check Stream.
Step 4: Then you can tap the Stream button to start recording.
Use VLC to Record Screen
Conclusion
Hope the above tips for VLC record not working can be helpful to you. If you want to have a better recording experience, give the VLC alternative - FlexClip a try.


FlexClip AI Video Maker
Reach professional-quality videos faster with easy editing tools, templates, and smart AI.
Start Now for Free
Hot & Trending
-

Best Ways to Find Music in YouTube Videos
-

Instagram Story Video Quality Bad After Upload? Fix It!
-

How to Repost Video on TikTok & How to Remove TikTok Repost
-

Improve Video Quality Online: 3 AI Video Quality Enhancers You Can't Miss
-

4K Convert to HD 1080p without Watermark: Best 4k Video Converters
-

Top 13 Birthday Video Makers with Music and Effects Free
-

How to Search Filters on TikTok & Use a Filter You See - TikTok Filter Guide
-

Large Collection of Creative and Funny Birthday Video Ideas for Ones You Care