While editing your video, the background is as important as the subject, but if you think your background holds back the main content of the video, a good option is changing it entirely by removing the original background. There is various editing software that enables you to remove your background neatly, like Davinci Resolve.
Even though Davinci Resolve is equipped with numerous video editing features like color correction, visual effects, motion graphics, you don't have to know every detail about it. In removing background, Davinci Resolve offers two methods: Luma Key and Chroma Key. Luma Key removes black and white backgrounds, while Chroma Key is used to remove colored backgrounds.
Contents:
Part 1: How to Remove Black/White Background Davinci Resolve
In this method, we will show you how to remove the black and white background on your clip using "Luma Key." Here are the detailed steps.
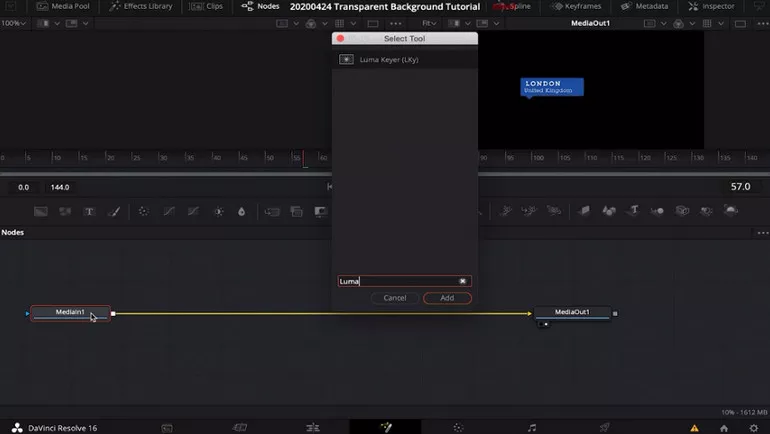
Image Board: Remove Black/White Background Davinci Resolve
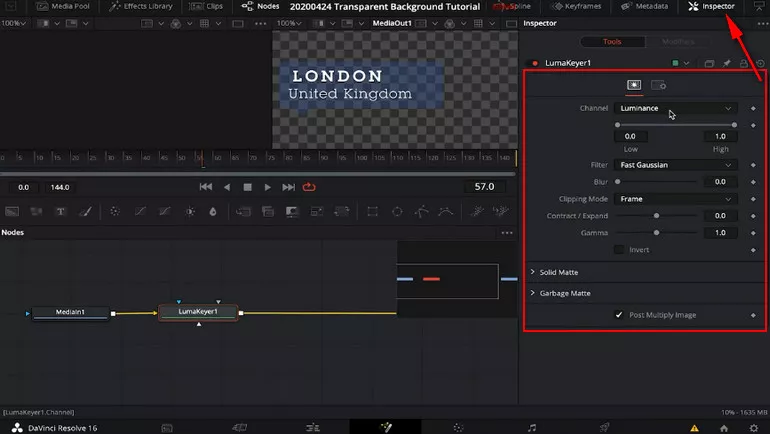
Image Board: Remove Black/White Background Davinci Resolve
Part 2: How to Remove Pure Color Background Using Davinci Resolve
In this method, we will show how to remove colored backgrounds of your videos using Chroma Key. Commonly, videos in blue or green background are preferred. To use Davinci Resolve to remove colored backgrounds, following these steps.
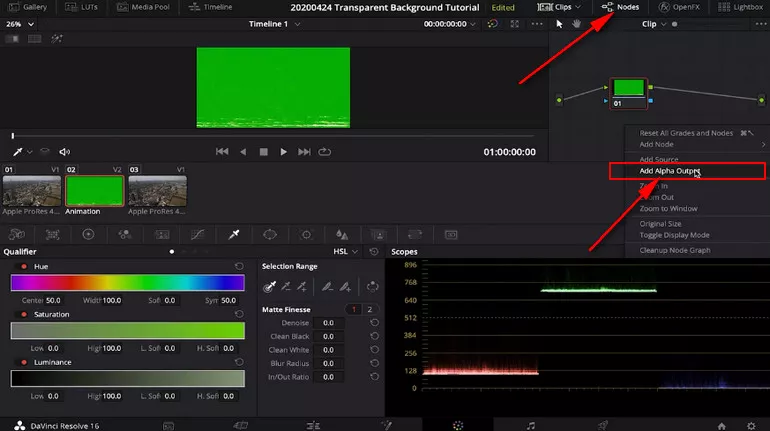
Image Board: Remove Pure Color Background Using Davinci Resolve
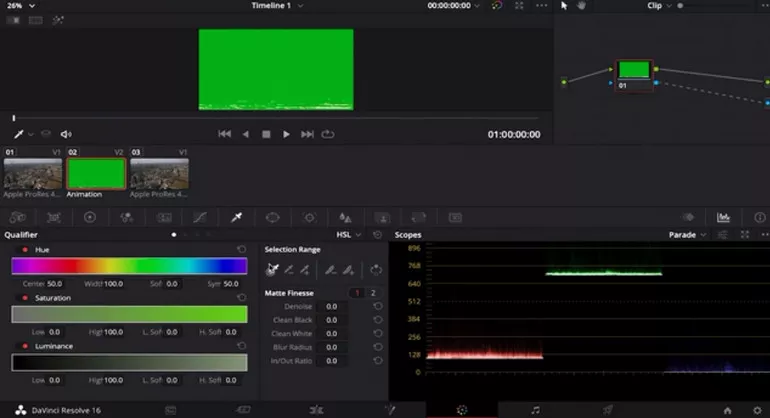
Image Board: Remove Pure Color Background Using Davinci Resolve
Bonus Tip: How to Remove Video Background for Overlay Edit
Most of the time, Composite Mode will not give you a desirable output. In fact, you can only use this method when you are overlaying a special effect like falling snow. If this method seems unfit for your project, you can use "Luma Keyer" instead.
Final Words
Indeed, Davinci Resolve is a great tool to edit your video clips, like removing the background. It is crucial to know the best method to remove your clip's background to get the best result. We hope this article helped you. If so, please give it a like and share it with your friends.


FlexClip AI Video Maker
Reach professional-quality videos faster with easy editing tools, templates, and smart AI.
Start Now for Free
Hot & Trending
-

Best Ways to Find Music in YouTube Videos
-

Instagram Story Video Quality Bad After Upload? Fix It!
-

How to Repost Video on TikTok & How to Remove TikTok Repost
-

Improve Video Quality Online: 3 AI Video Quality Enhancers You Can't Miss
-

4K Convert to HD 1080p without Watermark: Best 4k Video Converters
-

Top 13 Birthday Video Makers with Music and Effects Free
-

How to Search Filters on TikTok & Use a Filter You See - TikTok Filter Guide
-

Large Collection of Creative and Funny Birthday Video Ideas for Ones You Care