Frequency separation is a powerful photo editing technique, especially for skin retouching, that splits an image into two layers: a low-frequency layer for color and tone and a high-frequency layer for fine details. This separation allows editors to smooth skin blotchiness and blend colors on the low-frequency layer while fixing blemishes and preserving natural texture on the high-frequency layer, preventing the unnatural "plastic look" of heavy edits. If you’ve got pimples, a blemish, or a tattoo that’s distracting from what you’re trying to convey with your subject, you can try the frequency separation.
Therefore, many photographers will try Photoshop to use frequency separation to retouch skin in the photo, and we will also introduce a photo editing tool for you that is comparable to Photoshop but easier to use - FlexClip. Please read on!
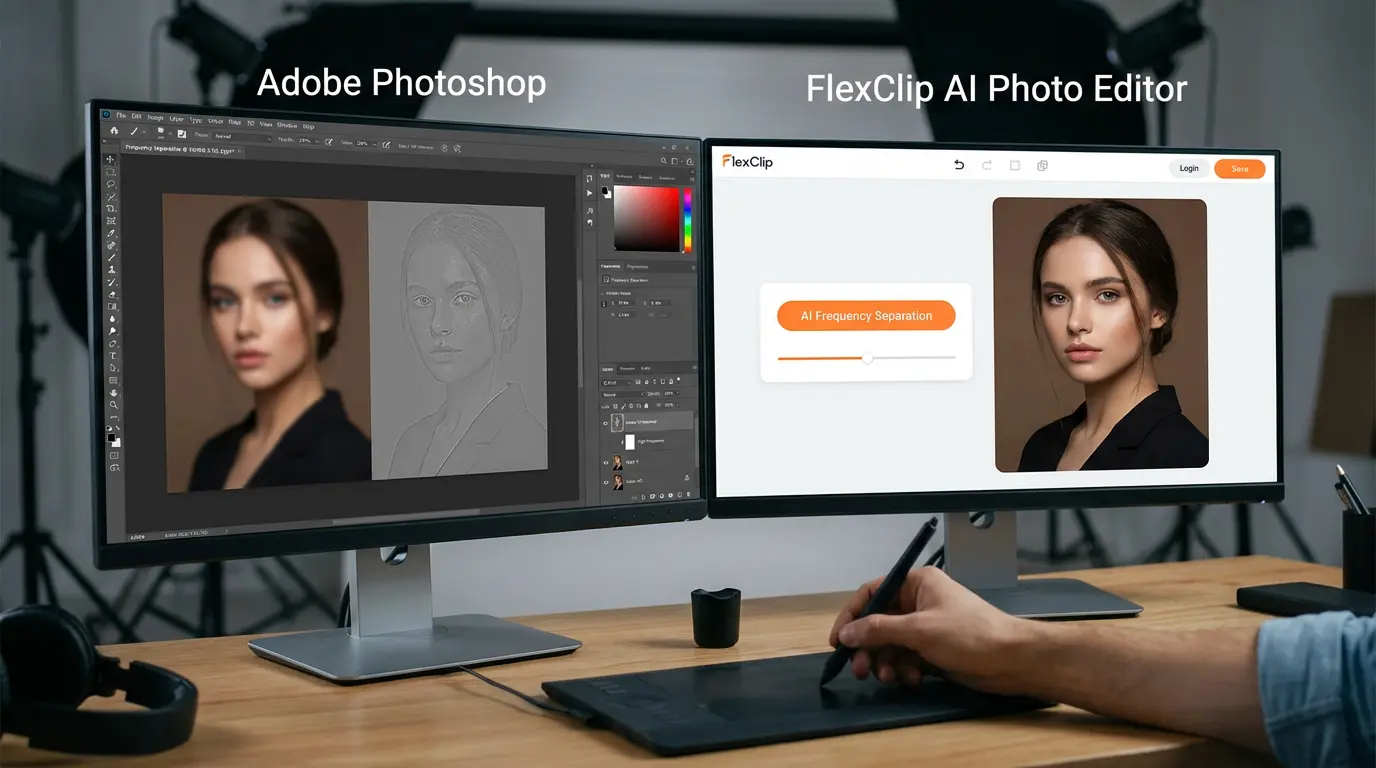
Photoshop Vs FlexClip
Free and Customizable Slideshow Templates


1# How to Use Frequency Separation in Photoshop
With Photoshop’s frequency separation, you can retouch either the high or the low frequency without affecting other areas — but it doesn't apply any actual edits to your work. Instead, it allows you to break an image apart so you can work on different sections, like modifying skin texture independent of color or shadow. Photoshop’s frequency separation can create a canvas for you to work within precisely, so you’re able to make fine adjustments with other tools.
Once you’ve used frequency separation to parcel out areas of your image, you can then use layers, blur effects, shadow and color features, and blending to help you change the shape and tone of any image.
Frequency separation can take a lot of steps, but it’s an opportunity to learn Photoshop actions — a feature that allows you to record a particular set of operations so you can do complex edits and techniques in a single click. They’re handy when you need to make a series of edits that are the same every time.
2# How to Use Frequency Separation in FlexClip
Although Photoshop is great, it’s not always available when you need it fast. Sometimes, you may want to get photo retouch results in a few clicks. Therefore, you can try our recommended online photo editing tool - FlexClip. It’s designed to be user-friendly and efficient, so you can achieve great results in a short amount of time.
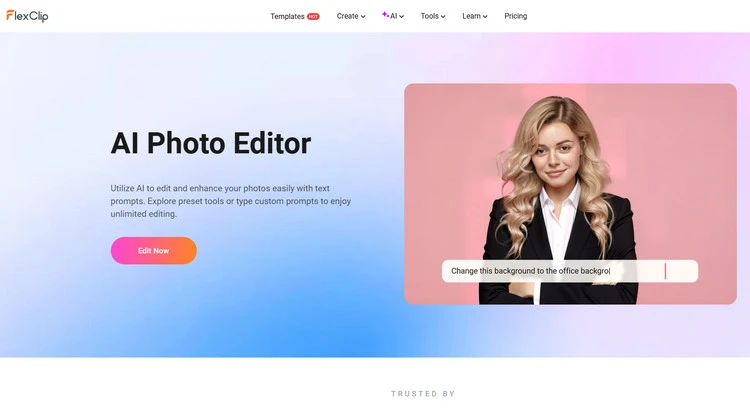
Frequency Separation Feature - FlexClip
Frequency separation editing isn’t a tedious process for users anymore. Backed up by advanced AI technology, FlexClip’s frequency separation tool allows you to remove any facial imperfections from a photo as you like with ease. You can say goodbye to the unsatisfactory facial imperfections, such as pimples, blemishes, and so on. Try to precisely retouch the skin in the photo to achieve the desired look.
Even if you are new to AI, FlexClip’s simple interface can let you use the frequency separation feature with lightning speed. You just need to upload your portrait and enter a text prompt about the blemish you want to remove, then its strong AI will begin the creation automatically. With its help, you can choose to remove facial spots as you need. The possibilities in FlexClip are endless.
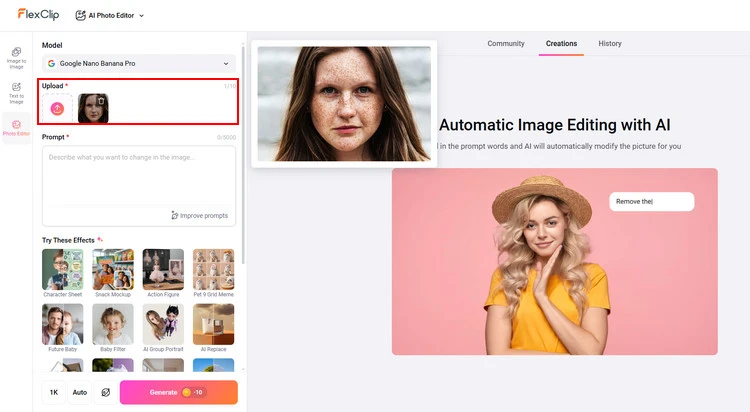
Upload Your Portrait - FlexClip
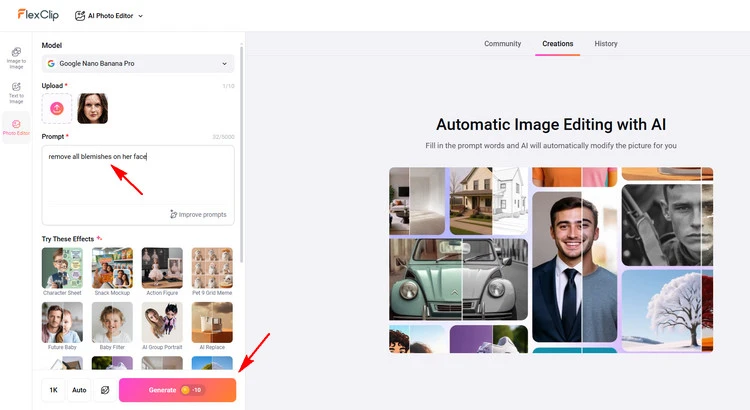
Type Prompt - FlexClip

Download Your Photo - FlexClip
The Final Words
That’s all for how to use frequency separation in Photoshop and FlexClip. And FlexClip offers more image/video editing features for you to explore, like removing objects from a photo, adding video effects. Have a try!


FlexClip AI Video Maker
Reach professional-quality videos faster with easy editing tools, templates, and smart AI.
Start Now for Free
Hot & Trending
-

Best Ways to Find Music in YouTube Videos
-

Instagram Story Video Quality Bad After Upload? Fix It!
-

How to Repost Video on TikTok & How to Remove TikTok Repost
-

Improve Video Quality Online: 3 AI Video Quality Enhancers You Can't Miss
-

4K Convert to HD 1080p without Watermark: Best 4k Video Converters
-

Top 13 Birthday Video Makers with Music and Effects Free
-

How to Search Filters on TikTok & Use a Filter You See - TikTok Filter Guide
-

Large Collection of Creative and Funny Birthday Video Ideas for Ones You Care