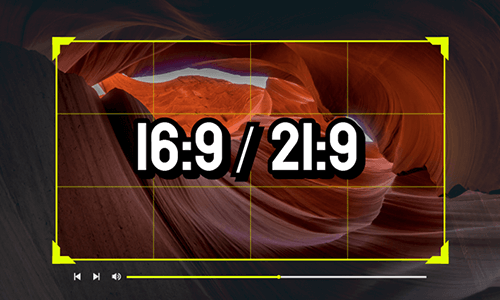
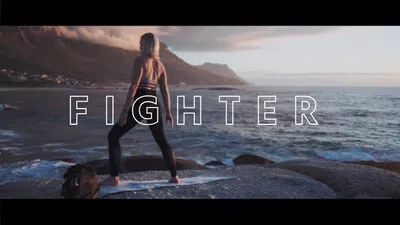
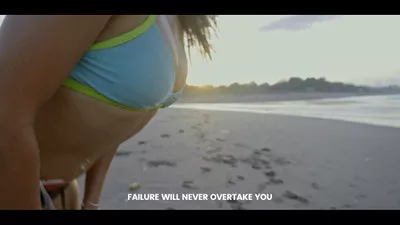
Adding cinematic black bars to videos gives viewers the impression as if they are watching the classic 21:9 ultra widescreen movie in a theatre.
That’s why you can see so many YouTube content creators add black bars to the top and bottom of their videos to add a cinematic touch to their standard 16:9 widescreen videos.
So, if you are looking for great ways to add black bars or letterboxing to your videos, we’ve got you covered! In this tutorial, we will walk you through multiple ways to add black bars to videos using FlexClip online video maker and Adobe Premiere Pro.

Here’s What You Will Learn:
Also, read how to add a border to the Instagram profile picture.
How to Add Cinematic Black Bars to Videos by FlexClip Online
Well, if you are new to video editing or don’t have any video editor installed on your PC, then a perfect one-stop solution to add cinematic black bars to your videos is using the user-friendly and versatile FlexClip online video maker.
Add black bars to videos with the feature-packed FlexClip online.

With FlexClip’s easy-to-use in-browser video editor, you can add cinematic bars to the top and bottom of your video or add animated black bars in the video to create a cinematic YouTube opener without using keyframes. Or you may set the video aspect ratio to the iconic 21:9 ultra widescreen and export the video to YouTube with the click of a button.
Besides, the designer-made and fully-customizable video templates are also available along with text animations, motion graphics, royalty-free music and sound effects, etc. Get ready to get your creative juices flowing.
So, let’s see how you can add cinematic bars to your videos using FlexClip:
Option 1: Add animated black bars to videos for YouTube openers or B-rolls.

Upload your video assets to FlexClip.
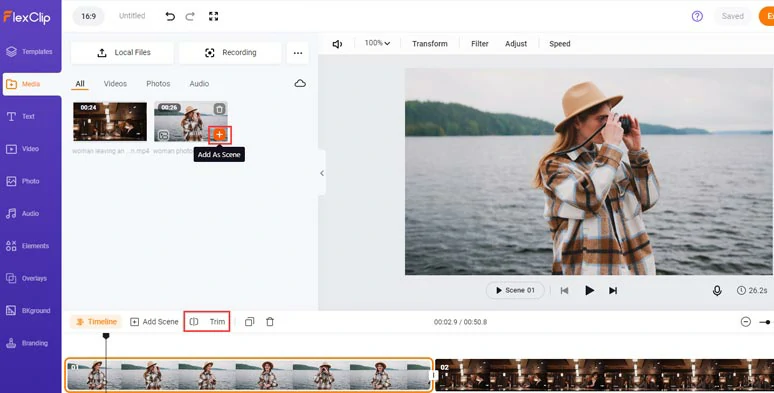
Add clips to the timeline and trim or split them when needed.
Hit the Elements tab > add the first blue square shape into the video > stretch its four corners to make it a rectangle bar and move it to the top of the screen> customize its color to black > right-click to copy and paste another black bar and put it to the bottom of the screen.
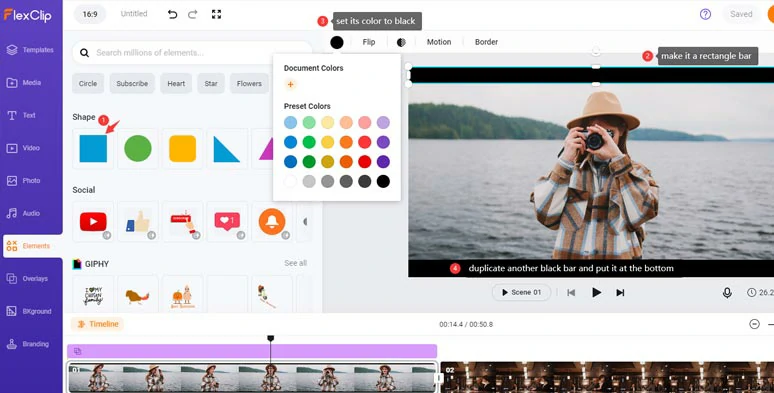
Add two black bars to the top and bottom of the video.
Now, the cinematic bars are created in the video. But, we can take it to a whole new level by animating these two black bars for YouTube openers in the next step.
With the top black bar selected, click Motion > In > Drift > select the downward direction and set the duration to your liking. Then repeat the same step to animate the bottom black bar in an upward direction.
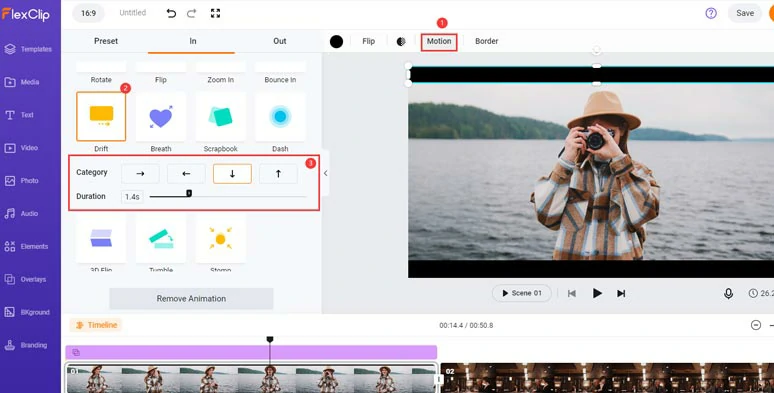
Animate the two black bars for the YouTube opener.
Then, click and drag to select two black bars and group them. You can trim two black bars’ duration to decide when the opener reveals in the video.
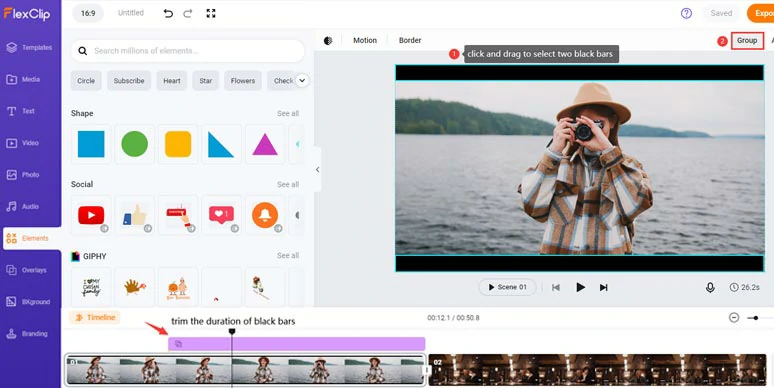
Group two black bars and trim their duration in the video.
So, let’s check the final result with cinematic black bars, music, and text animations.
Add cinematic black bars to YouTube videos by FlexClip online.
Option 2: Set the aspect ratio to 21:9 and use picture-in-picture to add black blacks to a video.
By setting the video aspect ratio to 21:9, your YouTube video will acquire cinematic vibes and most importantly you can view the video on YouTube horizontally on your iPhone without annoying black borders attached to the left and right sides of the video.
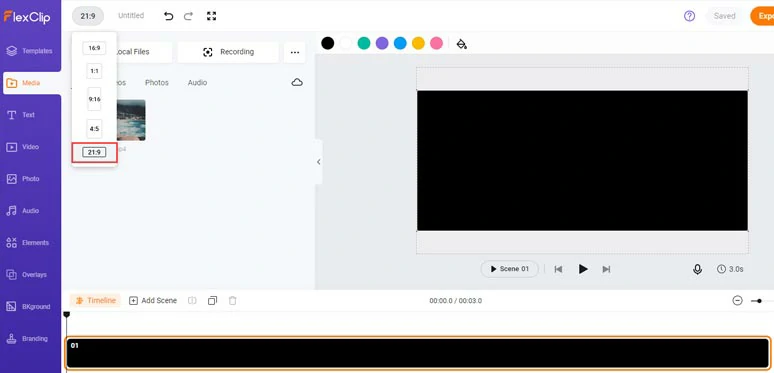
Set the video aspect ratio to 21:9 ultra widescreen.
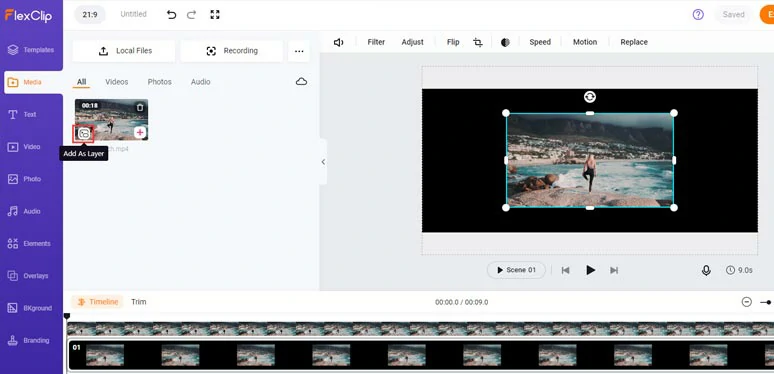
Layer the video over the black background.
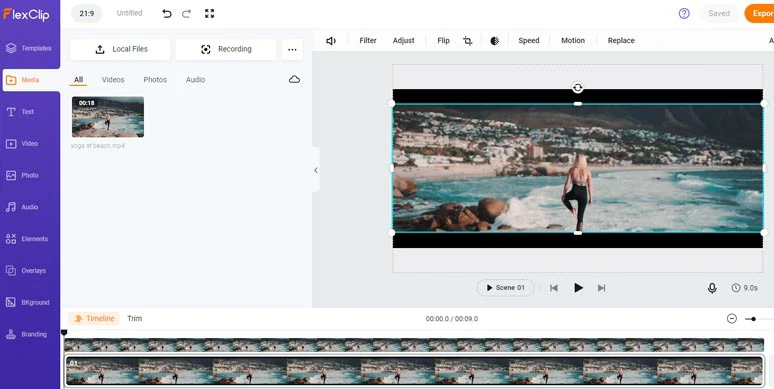
Drag corners of the video until two black bars are created.
Done with the editing. You can directly download the video to your hard drive or share it to your YouTube channel, Google Drive, or Dropbox; a clickable link and an embed code are also available for repurposing.
How to Add Cinematic Black Bars to Videos with Premiere Pro
To add cinematic black bars to videos in Premiere Pro, the best solution is to create an adjustment layer first over multiple clips and then use the crop effect to create the cinematic black bars in the video.
How to add black bars to videos in Premiere Pro.
Bonus: Things to Consider When Adding Black Bars to Videos
Well, now you know how to add cinematic black bars to a video both online and in Premiere Pro. To help you avoid the common mistakes when adding black bars to videos, here we’d like to offer you some bonus tips to make the most of cinematic bars in videos.
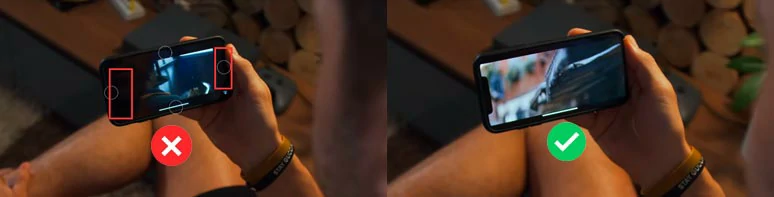
As you add black bars to a video, part of the top and bottom of the original video will be inevitably cropped. So, it’s better to bear that in mind as you film the video. Or add black bars to footage in which the focus of the video content stays in the center of the frame.
Well, though you can google and download a free black bar PNG file and add it to your footage, the quality of the final video will be badly compromised after the rendering of the video. So, you are likely to end up with pixelized edges around the black bar PNG in the video.
If you add black bars to a 16:9 video and post it to YouTube, it can add cinematic vibes to the video when viewed vertically on your phone. However, if you view the video horizontally on your phone, it will add two black borders to both sides of the video.
Set the video aspect to 21:9 and add black bars for the best viewing experience.
So, if you set the video aspect to 21:9 and import your video and add black bars to it. Then it will promise the best viewing experience when viewed both horizontally and vertically on your phone and widescreen monitor.
Now, It's Your Move
So, hopefully, you can add cinematic bars to your videos with ease after reading this post and add the film look for your video project. If you find this tutorial helpful, don’t hesitate to share it with friends on your Facebook and Twitter and leave your comments to us. Cheers!


FlexClip AI Video Maker
Reach professional-quality videos faster with easy editing tools, templates, and smart AI.
Start Now for Free
Hot & Trending
-

7 Best Ways to Find Music in YouTube Videos
-

Instagram Story Video Quality Bad After Upload? Fix It!
-

How to Repost Video on TikTok & How to Remove TikTok Repost
-

Improve Video Quality Online: 3 AI Video Quality Enhancers You Can't Miss
-

4K Convert to HD 1080p without Watermark: Best 4k Video Converters
-

Top 13 Birthday Video Makers with Music and Effects Free
-

How to Search Filters on TikTok & Use a Filter You See - TikTok Filter Guide
-

Large Collection of Creative and Funny Birthday Video Ideas for Ones You Care