Overexposure is a common occurrence for most digital clips. Even experienced videographers face this problem. Oversaturated highlights on your videos often result from the shooting environment or a hardware glitch. Perhaps you're covering an evening event where the lighting can be highly dynamic. Too much light can easily penetrate your camera sensor and amplify the tonal range of your footage.
Even under ideal lighting conditions, your film camera is likely to make excessively bright clips. This is because light shifts between the different emulsion layers and can cause a loss of detail in the light areas.
The good news is that overexposure is hardly a setback nowadays. So if you've accidentally overexposed a shot, you don't have to worry about retrieving the washed-out shadows. Several excellent videos you've seen probably had this defect, but it only took a couple of simple adjustments to make them usable.
All you need to achieve the ideal color effect and exposure for your videos is a good post-production tool and technique. An efficient video editing program like Adobe Premiere Pro will enable you to breathe new life into lost shots. This tool is a time-based video editing software that allows content creators to correct overexposure issues in a flash.
How to Fix Overexposed Video in Premiere Pro
The steps outlined on this page will teach you how to fix overexposed video in Premiere Pro. So without further ado, let's dive in.
How to Fix OVEREXPOSED Video in Premiere Pro!
An Easier Way to Fix Overexposed Video
Although Adobe Premiere Pro offers several organizational tools and an incredible responsive speed, its expansive interface can be intimidating for beginners. People with little editing experience often find it challenging to apply the correct exposure adjustments. They should consider learning how to fix overexposed video in iMovie or FlexClip. Unlike Premiere Pro, the FlexClip video editing process is quick and straightforward.
Here are a few reasons why people love using FlexClip.
Easy And Precise Editing
FlexClip maintains a user-friendly interface. It's not difficult to find the tools and controls you'd like to use. The overall navigation is slick and intuitive. Therefore it is suitable for users with little production experience.
So how do we fix overexposure to this software? You can change Brightness and Contrast Effects to do the trick.
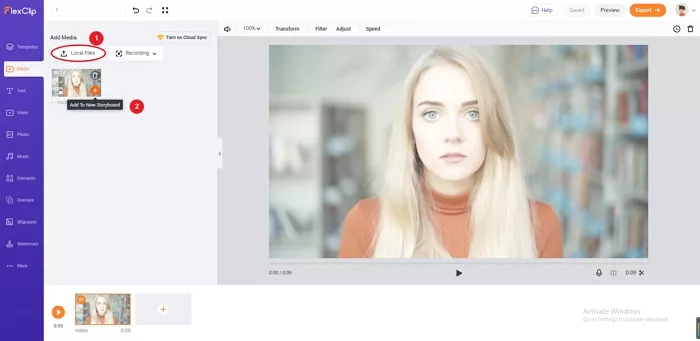
How to Fix Overexposed Video - Step 1

How to Fix Overexposed Video - Step 2
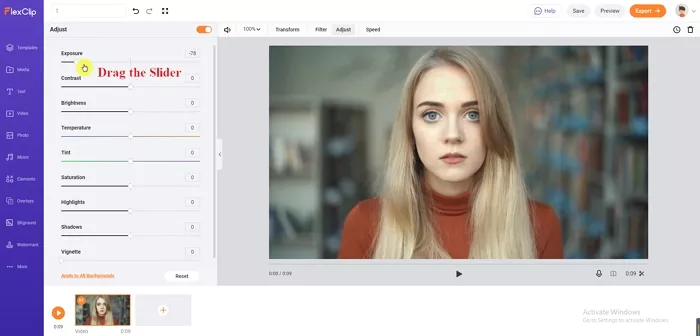
How to Fix Overexposed Video - Step 3
Bottom line
The steps on this page must have taught you how to fix overexposed video with Adobe Premiere Pro and FlexClip. Still, the best way to solve overexposure issues is to avoid it in the first place. Not every video qualifies for overexposure adjustments. If your footage is grossly overexposed, these tools will hardly make them look better. However, you can always use them for other content creation purposes, for example, generating slideshows, creating lower-thirds, adding stickers to video. Since it’s free and online, why not give it a try!


FlexClip AI Video Maker
Reach professional-quality videos faster with easy editing tools, templates, and smart AI.
Start Now for Free
Hot & Trending
-

Best Ways to Find Music in YouTube Videos
-

Instagram Story Video Quality Bad After Upload? Fix It!
-

How to Repost Video on TikTok & How to Remove TikTok Repost
-

Improve Video Quality Online: 3 AI Video Quality Enhancers You Can't Miss
-

4K Convert to HD 1080p without Watermark: Best 4k Video Converters
-

Top 13 Birthday Video Makers with Music and Effects Free
-

How to Search Filters on TikTok & Use a Filter You See - TikTok Filter Guide
-

Large Collection of Creative and Funny Birthday Video Ideas for Ones You Care