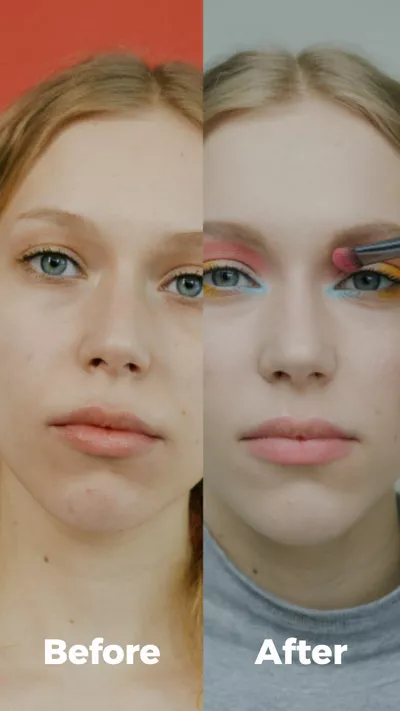
Before and after video, also called then and now video, refers to videos that showcase the transformation in something or someone over a period of time. It is commonly used in various contexts, for example, fitness and weight loss, home renovation, makeup and beauty, and product reviews.
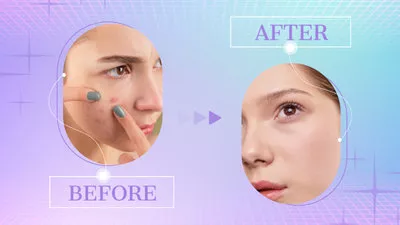
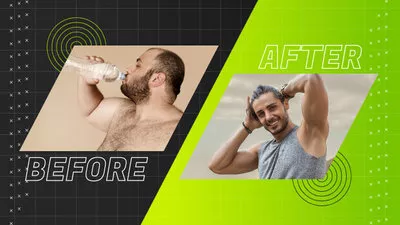
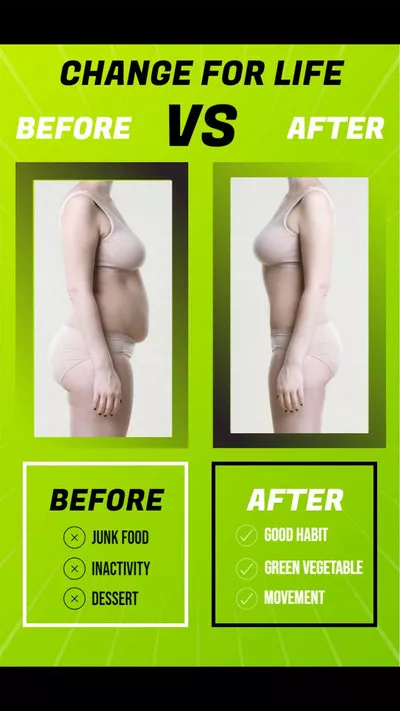
Take Those Before & After Video Templates Away
Using photo crop and the photo animation tool, designers showcase before and after changes in a creative way. Replace those resources with your own photos and videos, and then make those before and after video templates yours.

The logic of before and after video is the picture in picture feature, which allows you to display two videos in the same screen. It will be easy and simple to create a before and after video. Follow the steps below to create a before and after video.
Also Read: How to Make a Video Collage >
How to Create a Before and After Video
Creating before and after videos without the right tool is like painting without a pen. Go to FlexClip, a free tool allowing you to create a before and after video in different aspect ratios. After placing multiple videos into one scene, you can then use FlexClip to level up your before and after video in clicks, like adding filter, changing video speed, adding text and more.
Now, click the Create a Video button and follow the steps below and start creating a before and after video.


Step 1. Upload Your Video to FlexClip
Go to Media section. Click on the Local Files to upload a video from any local folder. Alternatively, you can click on the three horizontal dots to upload video clips and photos from cloud services or phones. By the way, drag the slider to make the background video longer.
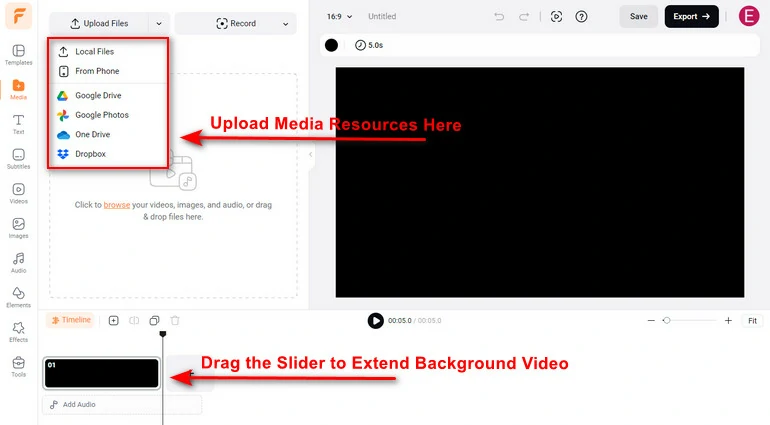
Upload Media Resources to FlexClip
Step 2. Create a Draft Before and After Video
Like mentioned earlier, the philosophy hehind the before and after video is PIP. All you have to do is clicking the Add as Layer button and add your photos and videos above the background video. Drag your photos and videos so they are in the right size and position. There are no limits on how many photos and videos you can use for one video project at FlexClip.

Use PIP Feature to Display Two Photos/Clips in the Same Scene
Step 3. Level Up Your Before and After Video
There are tons of ways to level up your before and after video. Following are the methods that are frequently used.
Add More Elements to Enrich Your Video
Text, music, and other dynamic elements are essential to deliver your information. Go to Text, Music or Elements section to find the right resources for your before and after video.
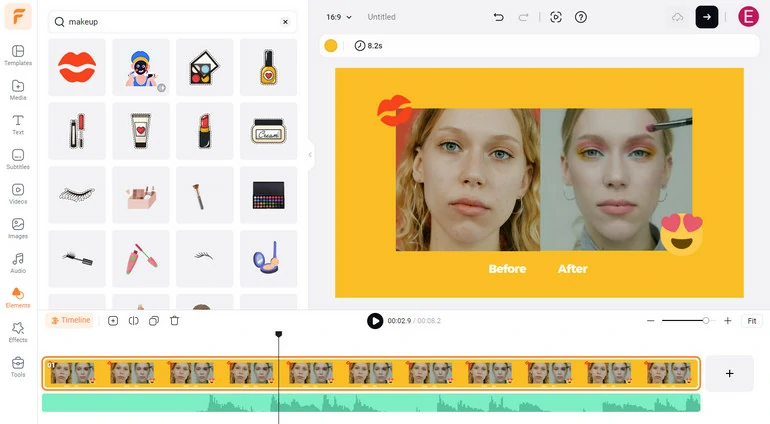
Add More Elements to Your Video
Crop Your Photos or Videos to Other Shapes
Click on the video in the preview window, and go to the crop option. There you can crop your video into different shapes like circle, oven, triangle. You can also go to Elements > Mask, drag a shape you like to the preview window and place your video inside.

Crop Your Video
Animate Your Photos and Video
You can make your videos and photos more dynamic. Go to Motion, and you can animate your before and after video in one-click. No complicated keyframing process required.
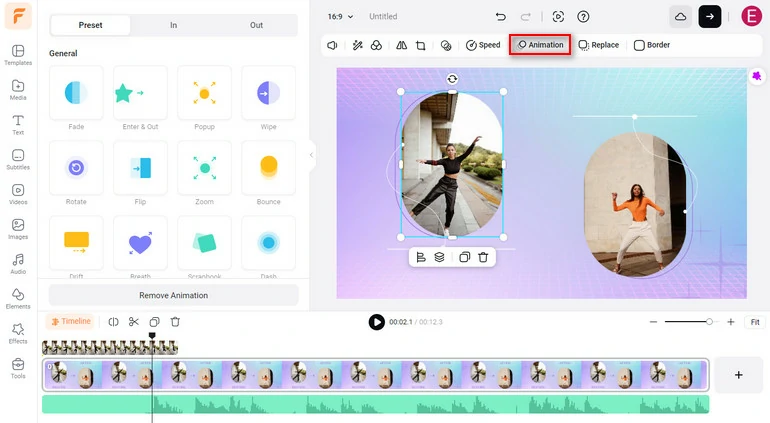
Animate Your Photos and Videos
Add Transitions Between Before and After Clips
This method only works if you want to display before and after video clips one by one instead of placing them in one scene. Click on Add as Scene button and add two videos or photos to the timeline, click on the transition icon and pick a transition that makes your before and after clips go smoothly.
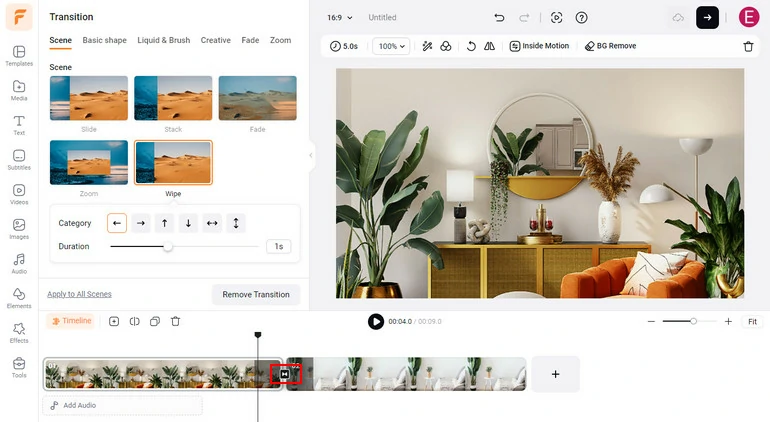
Add Transitions to Your Video
Step 4. Share Your Before & After Video
You can share your before and after video in a variety of ways in FlexClip. You can download your it to your computer, share your video to social media platform, cloud services in clicks, or generate a short link for your video.
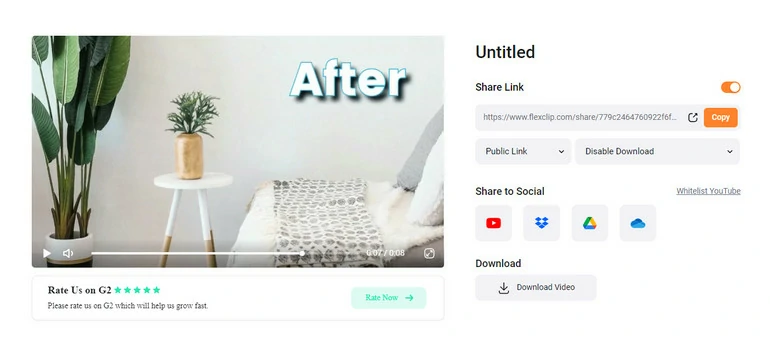
Share Before & After Video
The Bottom Line
Whether you want to make a before and after video for your personal use or for professional purposes, a great video editor would be a must.
While there are a lot of apps that may help you attain what you want, FlexClip might be the best one out of all of them. Not only does it offer extensive editing options, but it is also free to use.
So, don’t waste time on the apps that aren’t worth your time, use FlexClip and make the best videos for your Instagram and YouTube.


FlexClip AI Video Maker
Reach professional-quality videos faster with easy editing tools, templates, and smart AI.
Start Now for Free
Hot & Trending
-

Best Ways to Find Music in YouTube Videos
-

Instagram Story Video Quality Bad After Upload? Fix It!
-

How to Repost Video on TikTok & How to Remove TikTok Repost
-

Improve Video Quality Online: 3 AI Video Quality Enhancers You Can't Miss
-

4K Convert to HD 1080p without Watermark: Best 4k Video Converters
-

Top 13 Birthday Video Makers with Music and Effects Free
-

How to Search Filters on TikTok & Use a Filter You See - TikTok Filter Guide
-

Large Collection of Creative and Funny Birthday Video Ideas for Ones You Care