FlexClip Getting Started Tutorial
Guideline
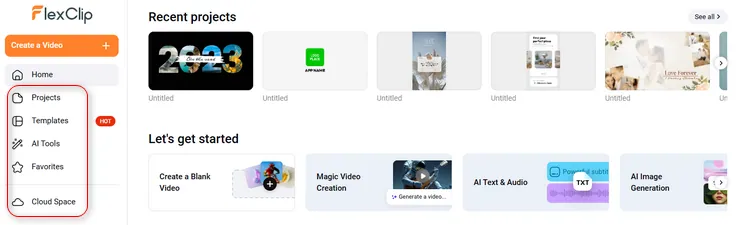
1. Getting Started
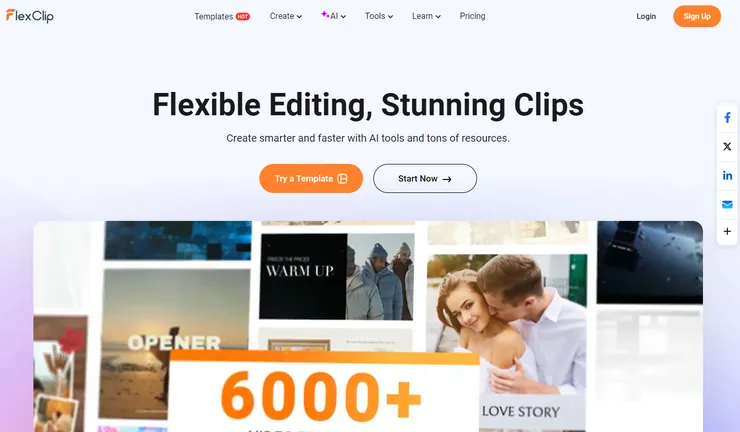
Open https://www.flexclip.com in your browser.
On the front page, Start from Scratch or choose a template by clicking the Create by Templates button.
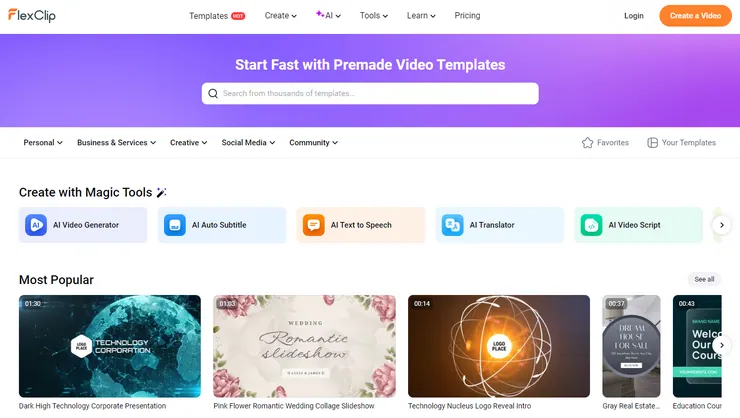
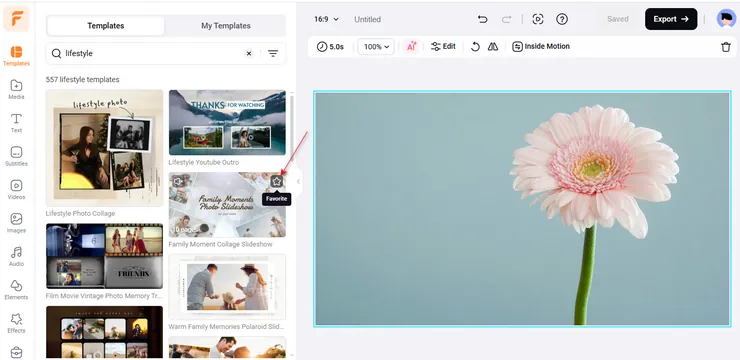
2. Choose Templates
To make a video easier, you can select a template on the template page first. The template can be changed on the editing page freely. Entering keywords in the search box can help you find your desired template.
3. Add Media Files
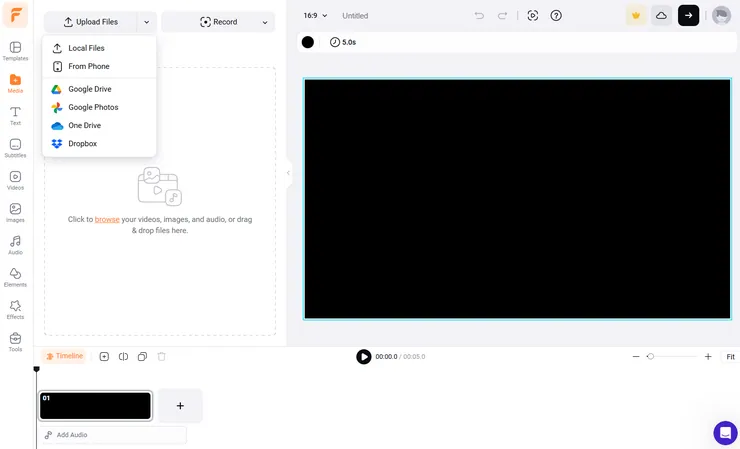
3.1 Local Files
To use your own files, click Media on the sidebar and click the Upload Files button to choose video clips, images, and music files from your computer.
Click the arrow icon beside the Upload Files button, and you can choose to upload files from your computer, phone, Google Drive, Google Photos, One Drive, and Dropbox.
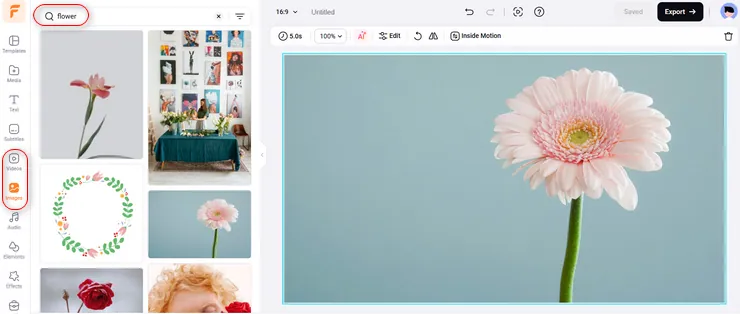
3.2 Stock Media
Click Videos and Images on the sidebar, enter keywords in the search box, and you can find abundant stock videos and images to create your project.
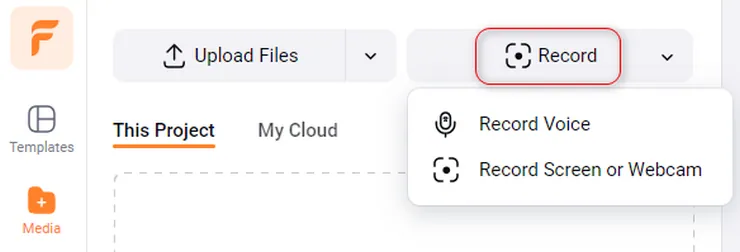
3.3 Record
It’s really easy to record your voice or record screen/webcam.
Find the tool you need in the drop-down list of Record, click one of the options, follow the steps, and you’ll get what you need.
4. Timeline Introduction
A complete video is combined with multiple scenes.
On the timeline, you can click the [+] icon to add a new blank scene.
Above the timeline, you can find editing options, such as Timeline, Add Scene, Split, Trim, Duplicate, Delete, etc.

Click the Split button to cut a scene into two parts, while the Trim tool allows you to pick up a part from a video clip.
Dragging the playhead (the vertical line) can locate the position to start the preview. Dragging the edge of a scene can lengthen or shorten its time.
The Timeline button will bring you into a new window, which offers you a timeline mode in detail and allows you to edit multiple layers freely.

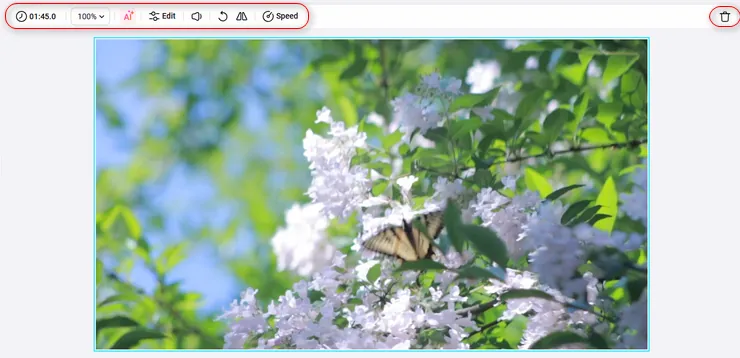
5. Edit Video
Click a video scene in the timeline, and then you can go to the canvas and edit it in detail. The toolbar contains many editing features, including Duration, Zoom, Volume, Filter, Adjust, Rotate, Flip, Speed, and Delete.
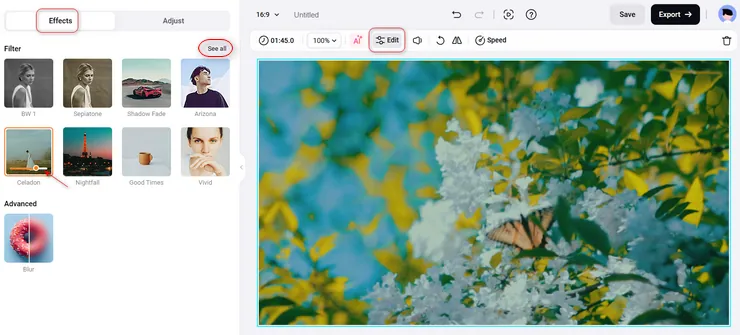
5.1 Filter
It doesn’t matter if your original video is not cool enough. Various filter effects are ready to help you.
Click the Filter option and find various effects on the left side, then, select a suitable style to decorate your video. You can adjust the effect value freely.
5.2 Adjust
If your video has any light problems, the Adjust feature (color grading) can help you. Click the Adjust button on the toolbar, then customize the values on the left side to get a better appearance of your video.

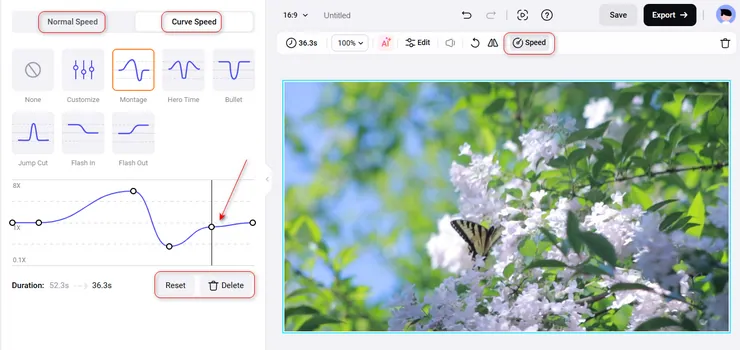
5.3 Speed
The speed function is divided into normal speed (0.2x to 8x) and curve speed (0.1x to 8x). Work with the curve speed feature and you can adjust the video’s speed more flexibly.
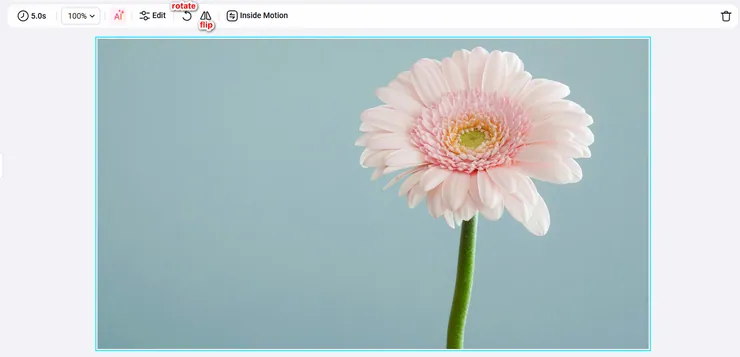
6. Edit Image
With the photo scene, you can go to the canvas and select tools like Duration, Zoom, Filter, Adjust, Rotate, Flip, Inside Motion, BG Remove, and Delete to edit your image properly.
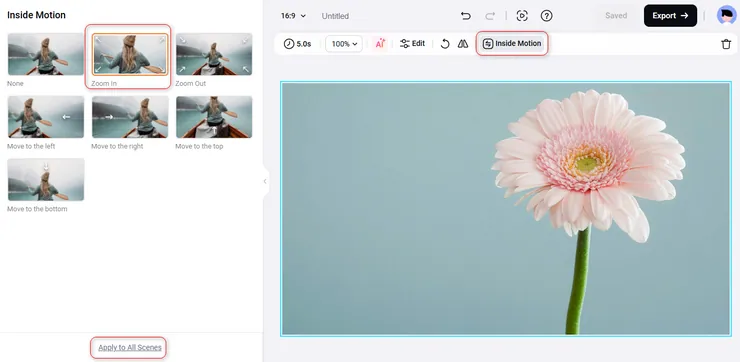
6.1 Inside Motion
Click the Inside Motion button and you can choose and apply a proper motion effect to make your picture more vivid.
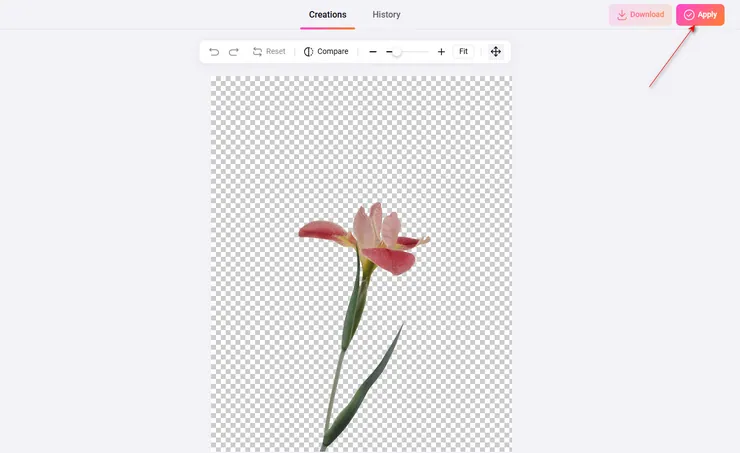
6.2 BG Remove
If you are not satisfied with the background of this image or just want to change to a better one, do not hesitate to use the BG Remove option. You can get a pure graphic without any annoying background within one click. This feature works for images only.
Once the process is finished, please remember to click the Download button to get the transparent image. Otherwise, you’ll lose it.
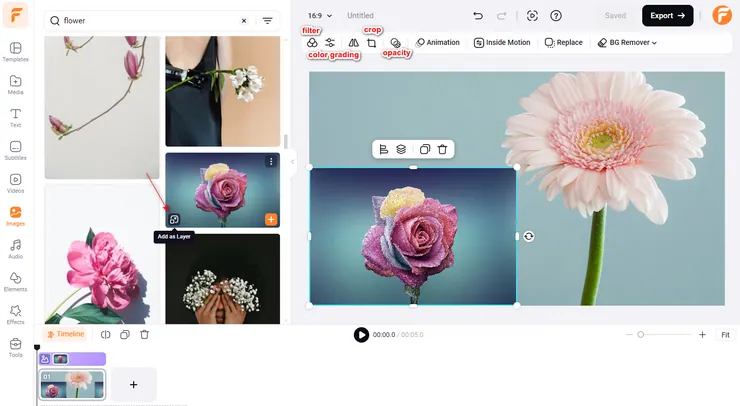
7. Picture in Picture
You may need to add multiple layers to a scene and play them simultaneously. Then, the Picture in Picture feature can be your good assistant.
Click the Add as Layer button on the lower left of a media file to add it as a layer, the so-called Picture in Picture.
Click the image/video layer you added, and you will find many options on the toolbar. According to your needs, you can Crop it to other shapes, change its Opacity, add a suitable Animation or Inside Motion, Replace it with another image/video, etc.
8. Text
Choose from a collection of handpicked text animations to touch up your video.
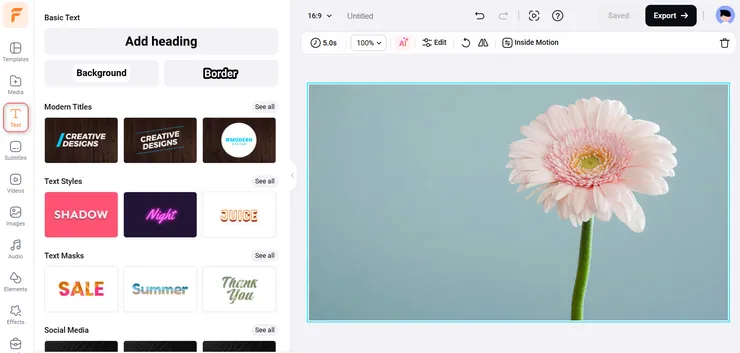
10.1 Add Text
Click Text on the sidebar to find a lot of pre-built text samples: Basic Text, Modern Titles, Logo Overlays, Social Media, and many other styles. Select and add the one that fits your needs.
8.2 Edit Text
Double-click the text box to type words freely. To adjust the text size, you can drag the text box border, click the [-] and [+] signs, or click the number icon and choose a suitable size directly.
To further customize your text, click on any text box and open the text editing panel on the top of the canvas, where you can change the font, color, format, size, background color, animation, style, or even convert the text to speech .
Besides, you can upload your own fronts if you have a premium account.

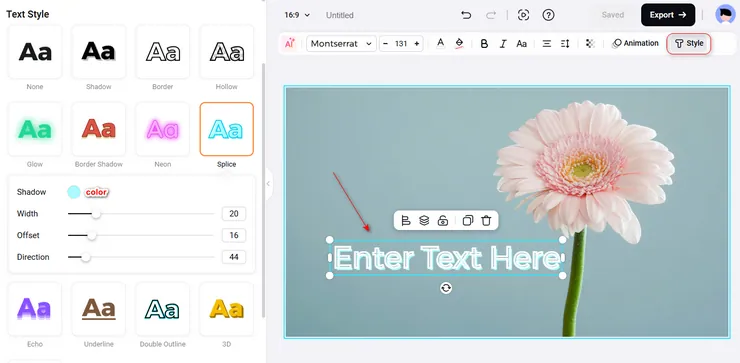
8.3 Text Style
Click the Style button and you can find various options on the left side. Each of them can give your text a unique appearance.
Apply a favorite style, and you can change its color or micro-adjust some values by dragging the slider.
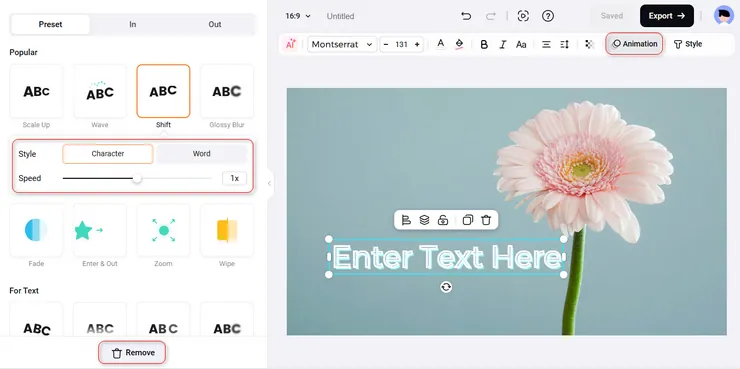
8.4 Text Motion
Click the Animation button, and you can choose a suitable motion for your text on the left side, including the preset of in & out and individual in and out motions.
Click one of the options, and you can preview its effect. You can choose to “move” the text by character or word. Feel free to select a suitable effect and make your text match your video perfectly!
9.Transition
To make two scenes merge more smoothly, it’s essential to add a suitable transition effect between them.
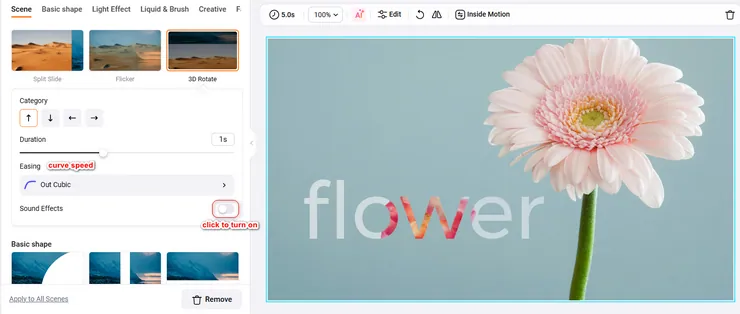
Click the Transition button between two scenes, and transition effects will display on the left side of the canvas. You can find categories in the first line, and then easily find and apply a favorite effect.
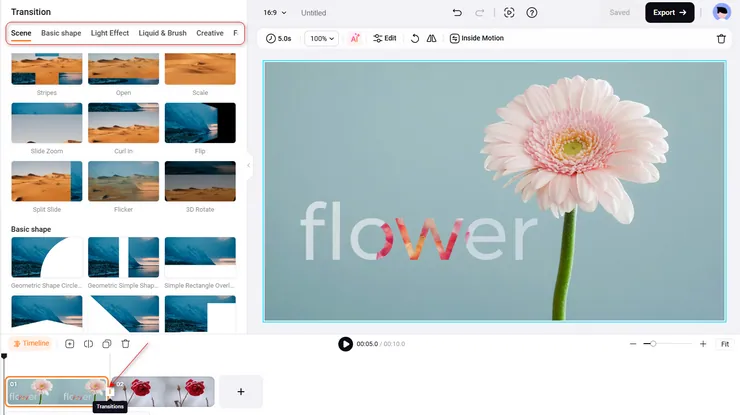
Then, customize the duration and direction according to the specific needs. Some of the effects also allow you to change the color freely.
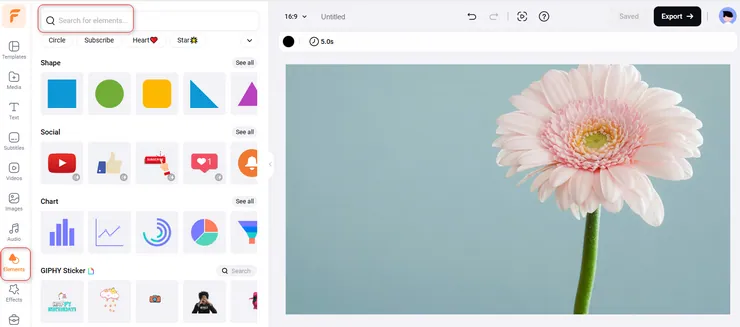
10. Elements
10.1 Ordinary Elements
Choose from a large number of elements and use them to highlight your video.
Click the Elements tab on the sidebar, and then you can type a keyword to search for the design you need, including arrows, bubbles, shapes, emojis, etc.
To make the element more flexible, click the Animation button on the top of the screen to apply suitable motions to make it come alive.
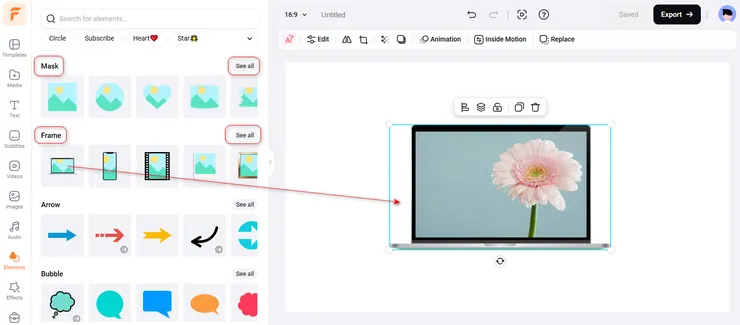
10.2 Frame & Mask
Choose a shape from Mask or Frame and add it to the canvas. Drag and drop a picture or video to the mask/frame, and then it will turn into the same shape.
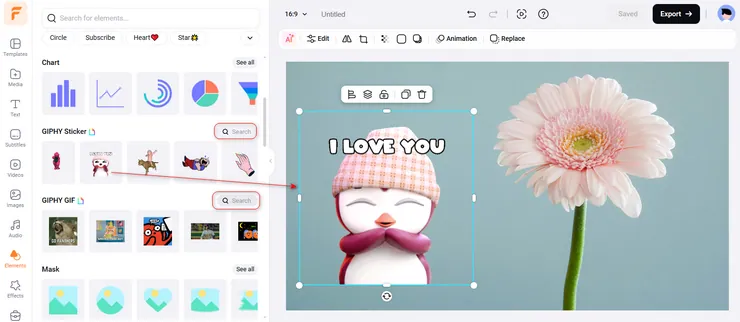
10.3 GIPHY Sticker & GIF
Want to add some interest to your video? Do not miss our funny GIF designs! Enter keywords on the top right corner and you can get GIF results only, which is convenient to find the GIF you need.
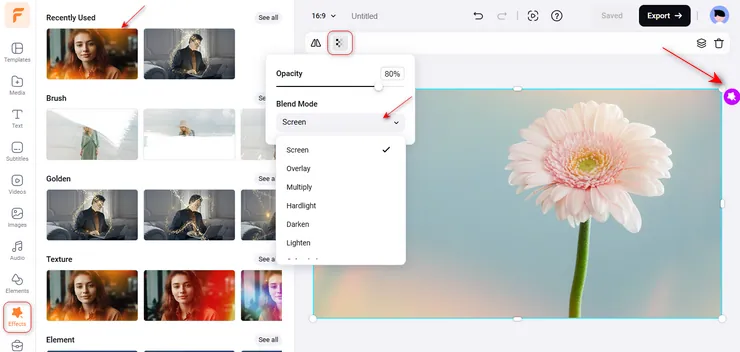
11. Effects
To take your video to the next level, select and apply a suitable effect to decorate the scene.
Click the Effects tab on the sidebar to find various premade designs in different styles, including Brush, Golden, Film, Lens Flare, etc. Select and apply a favorite effect, and you’ll see the magic!
Besides, click the purple icon on the top right corner, and you can edit the effect you applied in detail.
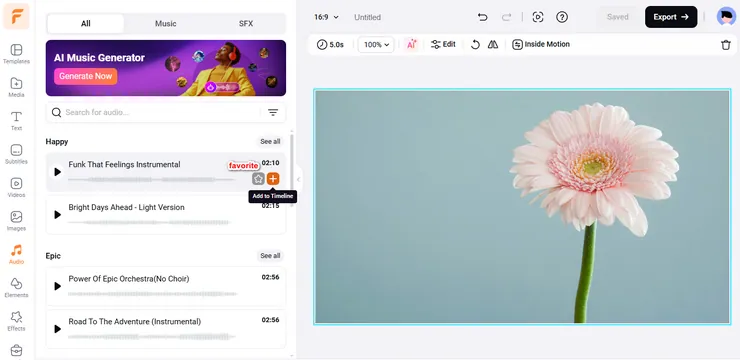
12. Audio
12.1 Add Audio
The next step is to add suitable audio to create and enhance the atmosphere of the video.
You can choose to upload local music files from Media, click the audio track on the timeline to upload audio directly, or search resources from the Audio library.
Click Audio on the sidebar, and enter keywords to find the Music or SFX you need. Click the [+] button to add it to the timeline, and you can edit it in detail.
12.2 Edit Audio
You can add as many music tracks as you want.
On the top left corner of the timeline, you can find options to adjust the Volume, apply fade-in and fade-out effects, split/trim/duplicate/delete the audio, and link one audio and one scene to move them synchronously.

13. AI Tools
Nowadays, it’s really popular to use AI to help you create stunning videos with ease. FlexClip also prepares lots of useful AI tools for you. Let’s have a look!
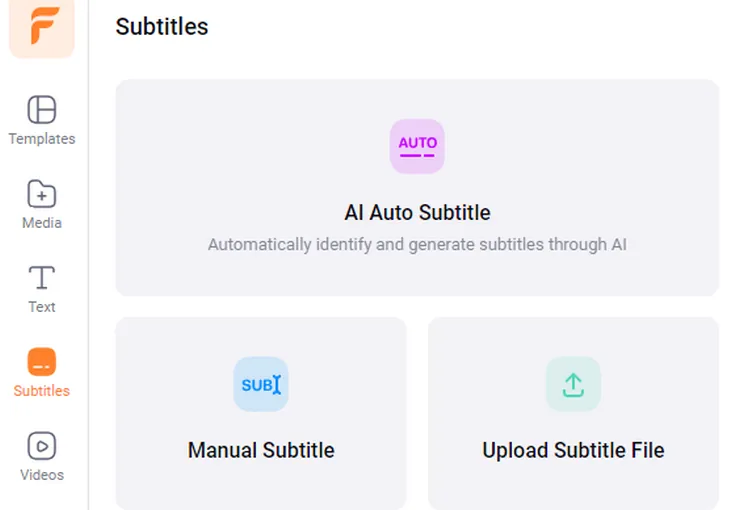
13.1 Subtitle
Want to generate subtitles or captions for your video and make it more compelling and accessible? AI makes it easy!
Click Subtitles on the sidebar. You can choose Auto AI Subtitle to add subtitles automatically, Manual Subtitle to type texts manually, or Upload Subtitle File to upload your own files to create subtitles for your video.
Once finished, you can find options on the toolbar to edit subtitles’ font, size, color, etc. Click the Style button, so you can choose a pre-made sample to customize your subtitles.

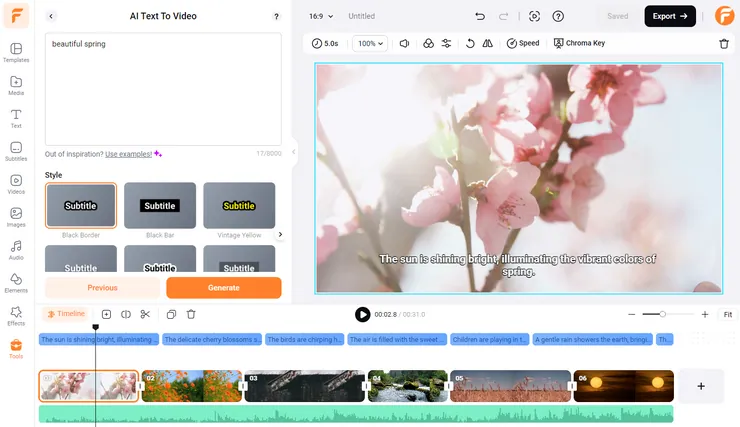
13.2 AI Video Generator
AI Video Generator is designed to help you make stunning videos with ease! It is divided into Text to Video and URL to Video. Simply describe the video you want to generate or paste the article content/URL, and the AI will generate a satisfying video for you in minutes!
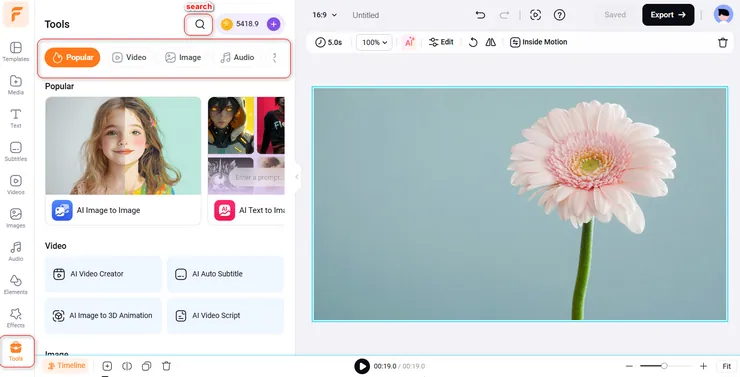
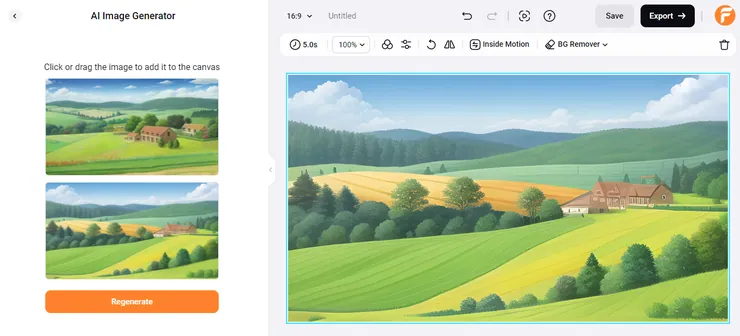
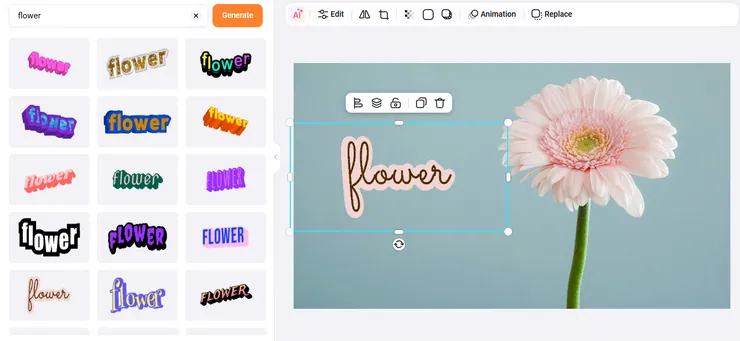
13.3 AI Image Generator
Do you want to create unique and desired images using texts? FlexClip can do it for you!
Find the AI Image Generator in Tools and describe the image you want in English words separated by commas. Then, choose a style and ratio, and click the Generate button. Done!
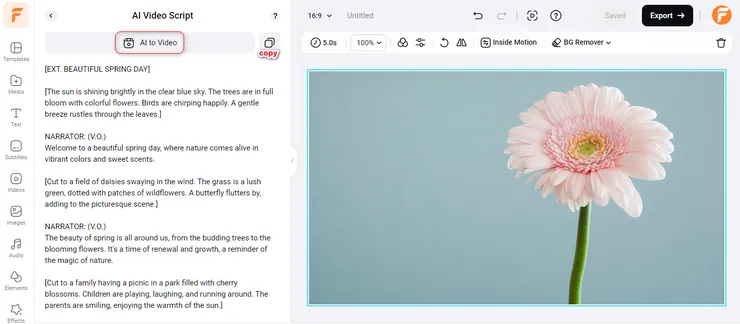
13.4 AI Video Script
Want to use the AI Text to Video feature to make a stunning video but have no idea how to write the prompts? No worries. AI Video Script tool is here to help you make a detailed description of your video.
Type several words, and AI will finish the work for you. Then, you can convert the script to a real video by clicking the AI to Video button directly!
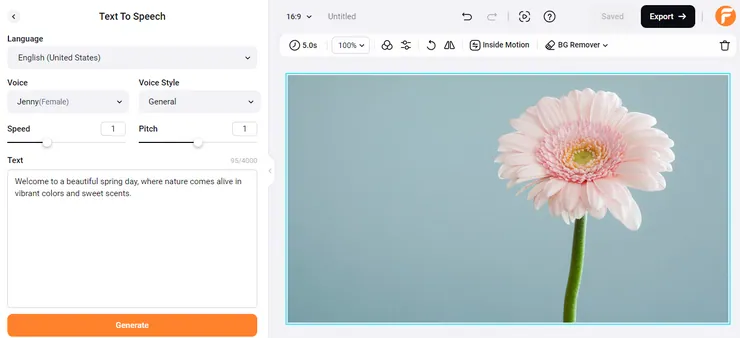
13.5 Text to Speech
If you want to add a voiceover to your video but don’t want to record your voice, the Text to Speech feature is ready to help!
Open the Text to Speech tool, choose a language, voice, voice style, etc., type texts, and click Generate. Done! It’s that easy!
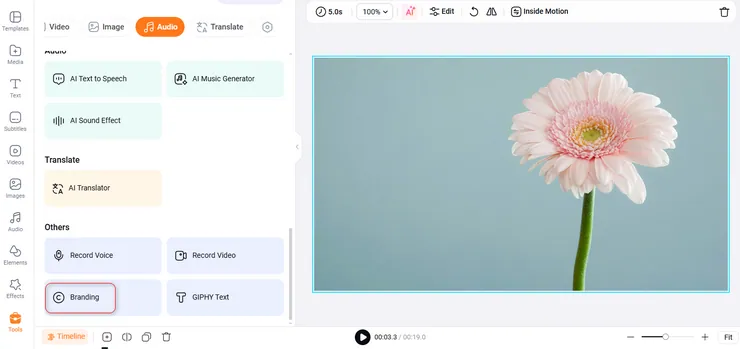
14. Branding
You may also need to add a watermark to protect your copyright or share your company brand in the video.
Click Tools , scroll down, and you can find the Branding option.
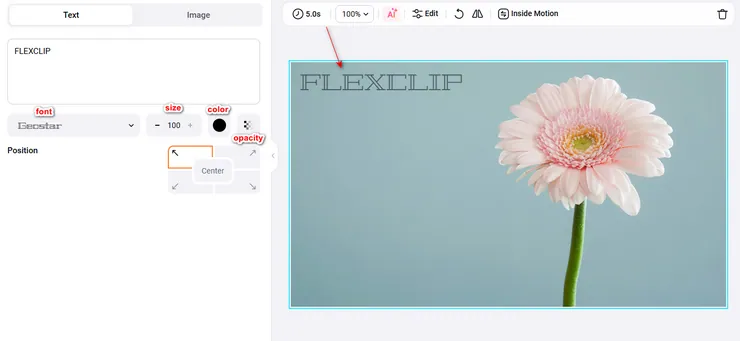
14.1 Text Branding
Type your brand name, then freely change the color, position, font, size, and opacity of the text.
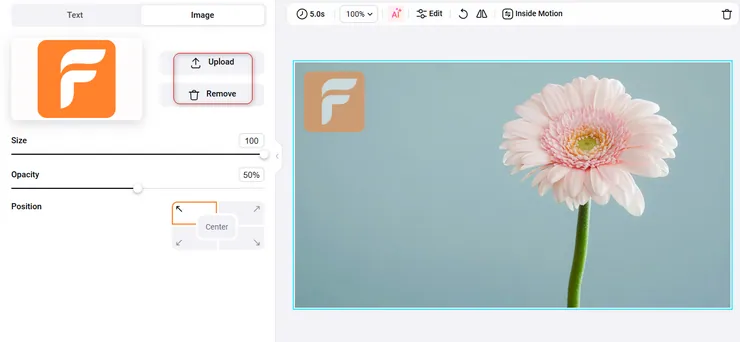
14.2 Image Branding
Upload a JPG or PNG image from your computer, and then change the position, size, and opacity properly.
15. Export
When you are done creating your video, click the Export bbutton to download a Video, GIF or Audio only.
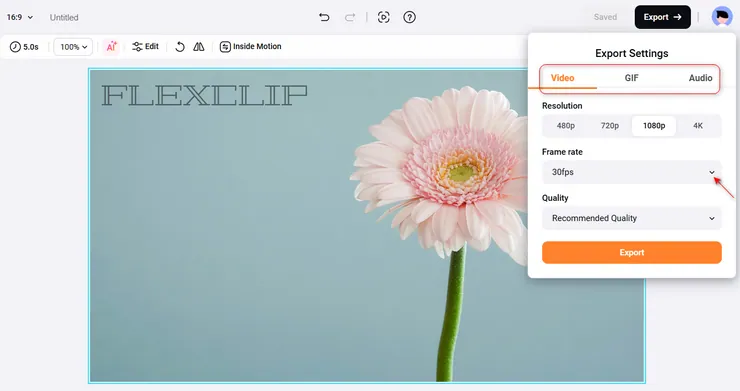
15.1 Export Video
You can select the quality from 480p, 720p, and 1080p to download a video. Staying on the export page can download the video faster.
15.2 Export GIF
If you choose to download a GIF, you can choose a size directly or customize a suitable size to meet your needs.
15.3 Export Audio
If you want to export the background music separately, click the Export button and choose Audio. You’ll get an MP3 file in seconds.
16. Advanced Features
16.1 Ratio, Undo & Redo, and Full-Screen Preview
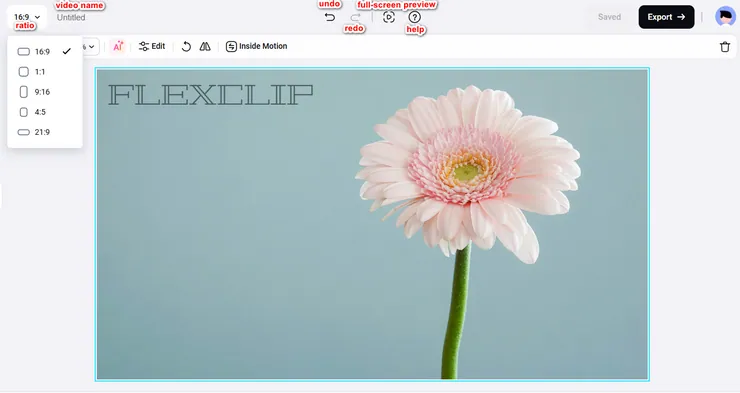
Click the Ratio button to select a suitable ratio for different platforms, including 16:9, 9:16, 1:1, 21:9, and 4:5.
Click the Untitled button to name your video.
Click the  button on the top left corner of the canvas or directly press Ctrl - Z to undo the last action you did; click the
  button on the top left corner of the canvas or directly press Ctrl - Y to redo the last action quickly. Tips: Replace Ctrl with Command on Mac.
Click the Full-Screen Preview button and you can preview your video in a better view.
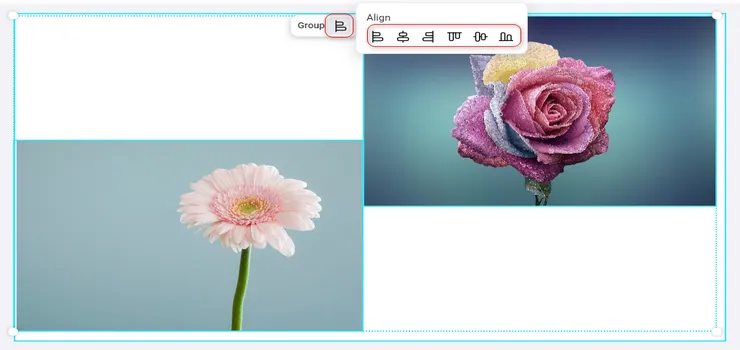
16.2 Align Multiple Objects
Single-click the canvas, move your mouse to select all elements, and then click the Distribute button. Next, align all elements the way you want.
16.3 Cloud Storage
You can find the Cloud Storage button on the top right corner by opening Media. It is available to all premium accounts. You can upload your video, music, and pictures files to FlexClip and save them online in case of data loss. Besides, these saved files can be used in every video you edit.
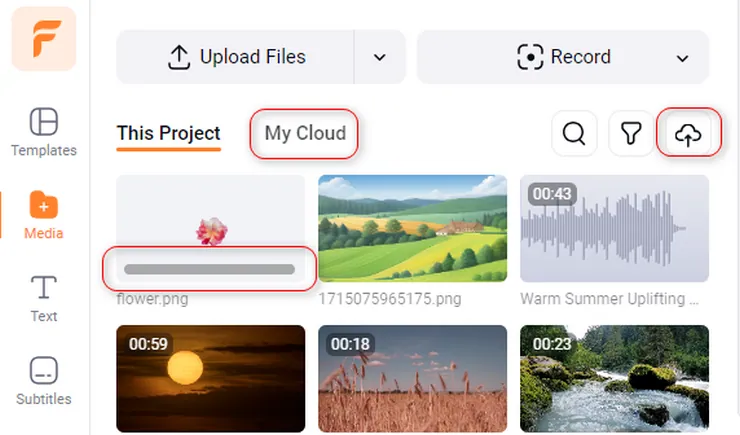
You can find the Cloud Storage as well as the My Fonts and My Templates entrance on your Home page.
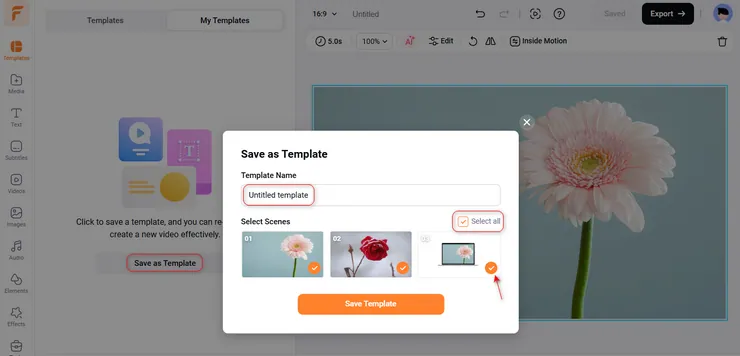
16.4 My Templates
It’s really convenient to create your own templates.
Method 1: Hover the cursor on the template’s thumbnail, click the star-shaped icon on the top right corner, and then you can mark it as your Favorites. All favorite templates can be found on the home page as well.
Method 2: After finishing a video, click My Templates > Save current project as template to save this video as a template for further editing in the future.
16.5 Giphy Text
Click the Tools button on the sidebar and scroll down to find the Giphy Text option.
Click this option, enter a word in the search box, and it will show you lots of Giphy texts to choose from. They are dynamic! (Note: Giphy texts are kind of gifs, which are images instead of real texts.)
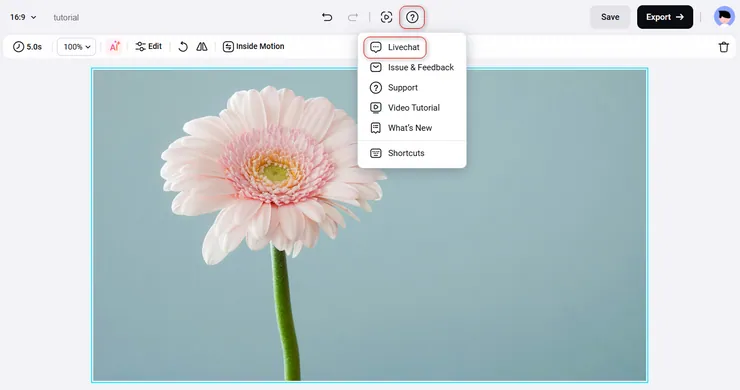
16.6 Livechat
If you have any questions or suggestions while editing, just click the question icon and choose LiveChat to chat with our support team. We'll try to help you solve problems ASAP.